Fix Jet Ski Fiberglass Chips and Gouges Yourself, Step by Step
Fiberglass is forgiving until you treat a structural crack like a cosmetic scratch; MagicEzy's decision-first repair method tells you exactly which damage is safe to tackle yourself.
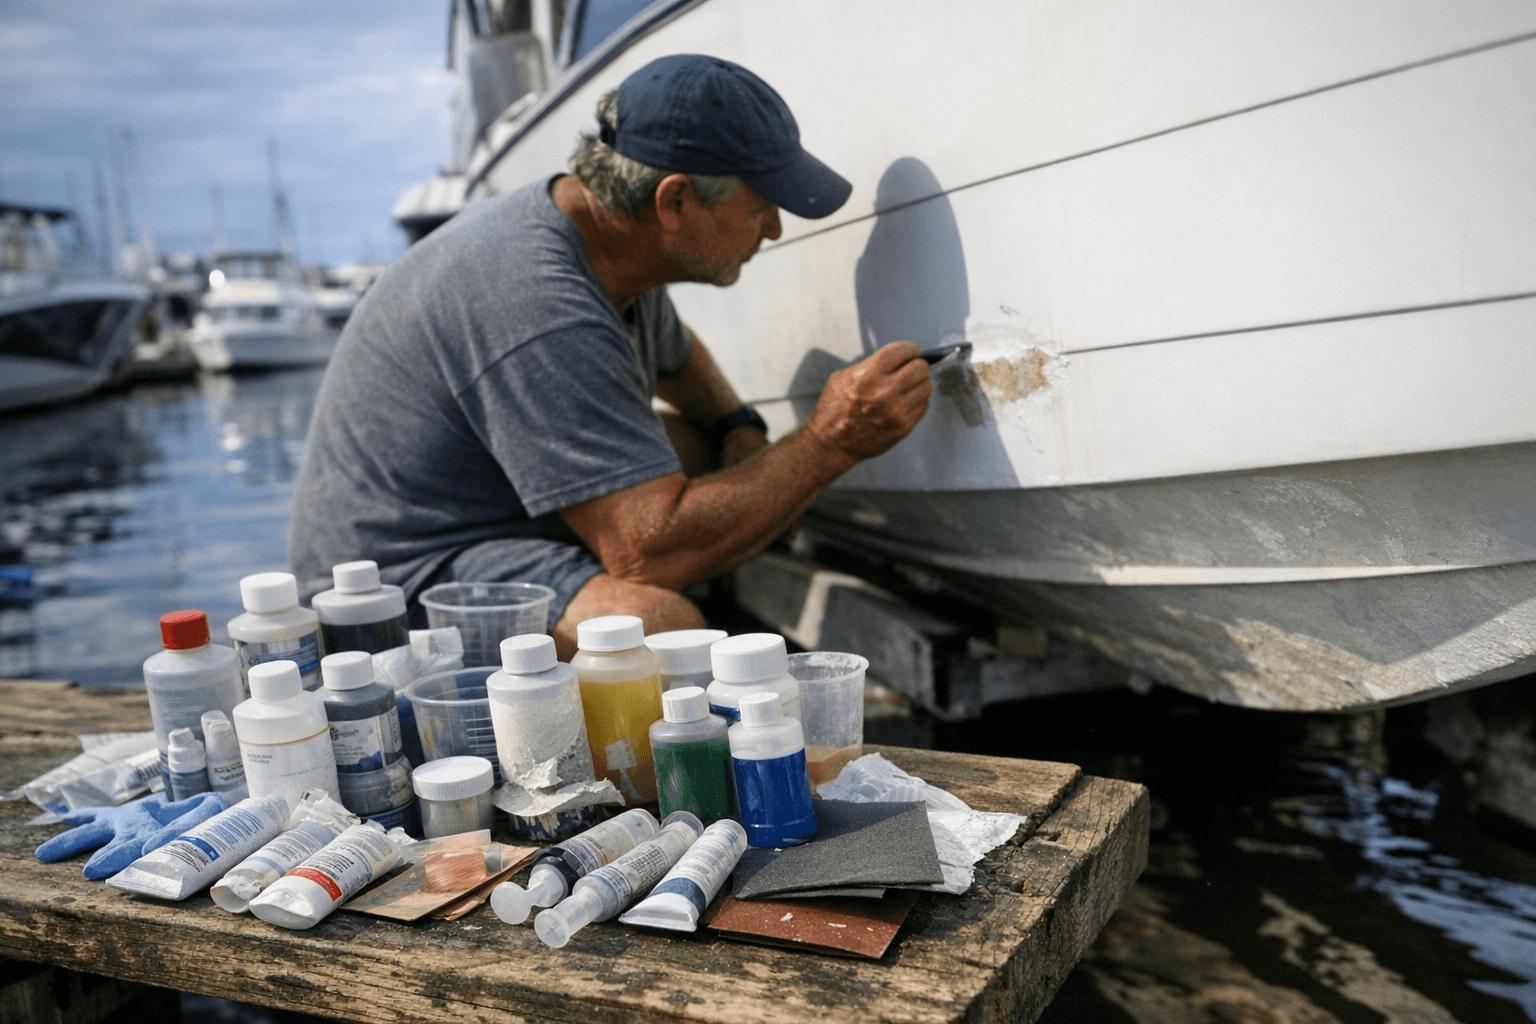
Fiberglass is forgiving material, until you treat a structural crack like a cosmetic scratch. That misclassification is where DIY jet ski and small-craft repairs go wrong: the hull looks patched from the outside while water quietly works its way into the core. MagicEzy's step-by-step repair guide cuts through that risk by putting damage assessment at the front of the process, before you crack open a tube of anything.
Assess the Damage First
The entire MagicEzy workflow is built around a single gate question: is this damage cosmetic or structural? Small chips, surface cracks, and localized gouges where the hull integrity remains visibly intact all fall on the DIY side of that line. These are the repairs where a quality kit compound, correctly applied, can restore both appearance and the hull's protective barrier above the waterline without a yard visit.
The structural side of the line is non-negotiable. Splits that run through the laminate, any area where pressing the hull surface produces a soft or springy feel, visible delamination that extends beyond a small localized patch, or a core that looks or feels wet are all signals to stop and call a professional. Pushing ahead with a surface kit over any of those conditions produces a repair that is purely cosmetic, locks moisture into the core, and can accelerate failure. The honest framing here is that the kit is excellent at what it does and genuinely not suited for what it doesn't do.
Prepare the Surface Properly
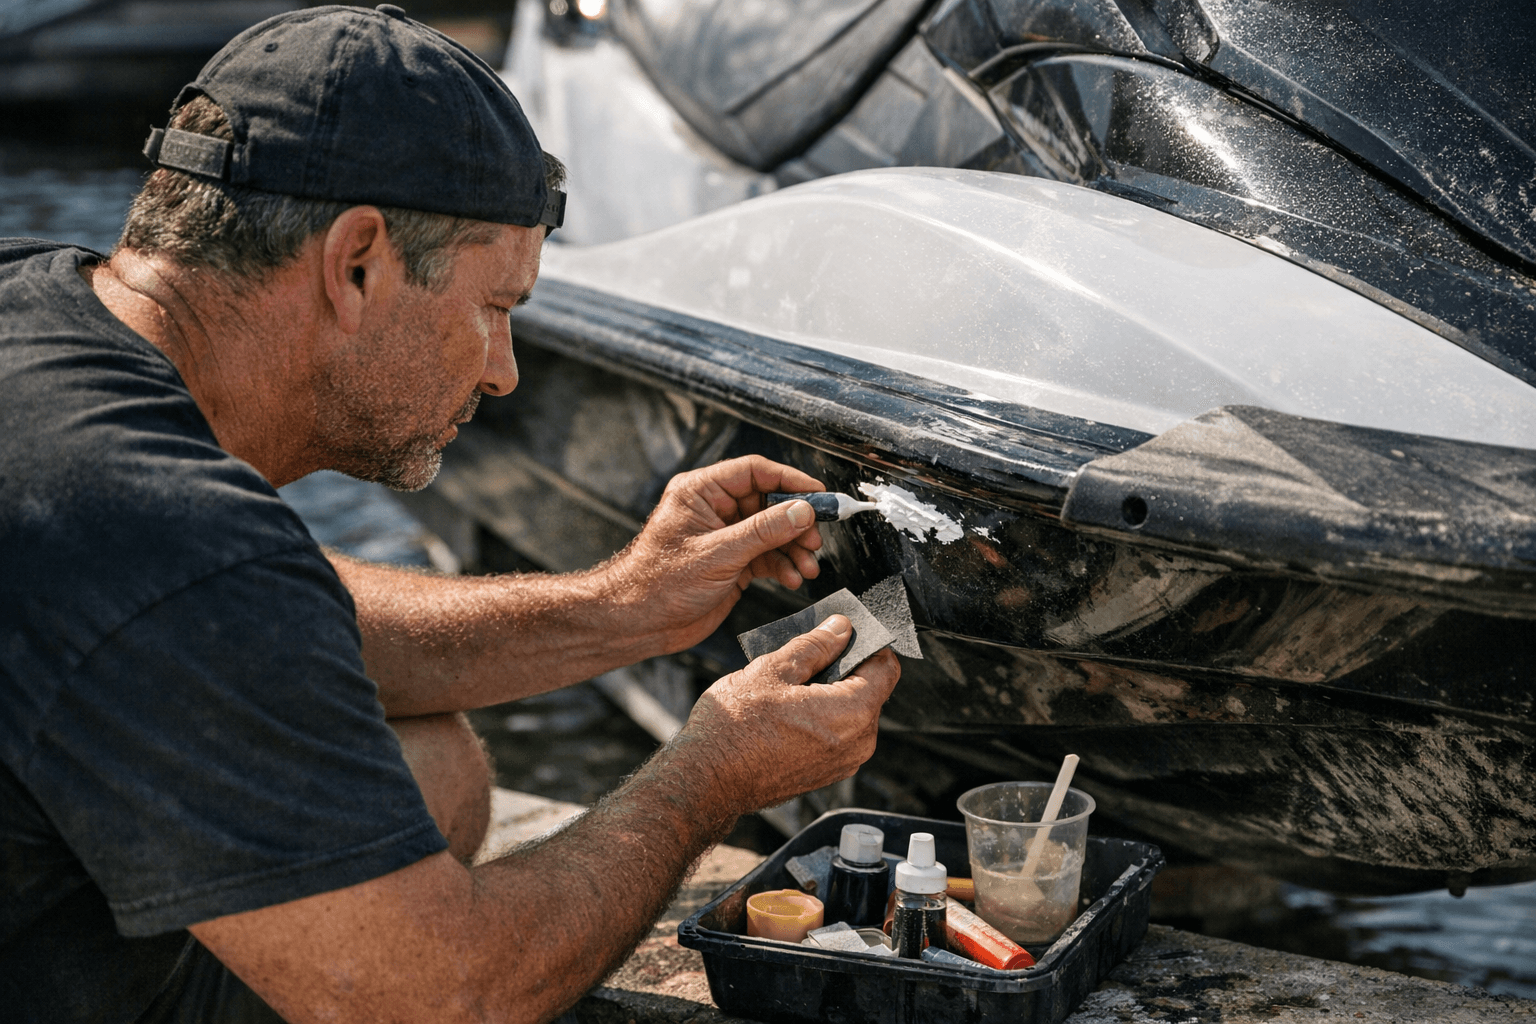
Surface preparation determines whether the repair bonds or eventually peels, and MagicEzy's instructions leave no ambiguity about it. Start by cleaning the damaged area thoroughly and allowing it to dry completely. Any wax, oil, sunscreen, or salt residue left on the surface will interfere with adhesion, so wipe down with an appropriate solvent before anything else touches the hull.
Once the surface is clean and dry, sand the repair zone to create a keyed surface. This step gives the compound mechanical grip, and skipping it is one of the most common reasons kit repairs fail over time. Feather the edges of the damaged area so the compound transitions smoothly rather than sitting on top of the surrounding gelcoat as a visible ridge. The time invested here directly determines the quality of the finished result.
Match the Color
Color matching is where small-craft repairs either look professional or obviously amateur, and MagicEzy's Fiberglass REPAIREZY™ line addresses this directly. The product is available in pre-tinted tubes, which covers most common hull colors without any mixing. If your ski runs a less standard color, the tinting strategy is to blend from the available range to approximate the original gelcoat shade.
Take your color selection seriously, especially on visible topsides. Pull the repair area into good natural light and compare carefully before committing. A slightly off match is more obvious once the compound has cured and been polished than it appears wet during application.
Apply, Level, and Cure
Application technique is straightforward but requires patience. Work the REPAIREZY™ compound into the damaged area and build it to slightly proud of the surrounding surface, then use a leveling tool or spreader to bring it flush. The compound is formulated to be sandable and polishable once cured, so minor overfill is correctable, but underfilling the repair means going back for a second application.
Cure time is 24 to 48 hours at temperatures above 20°C. That window matters: ambient temperature directly affects how the compound sets, and a repair done in cool conditions may remain tacky long past the expected cure window. In cooler weather, a brief pass with a hairdryer over the repair area accelerates the process without compromising the cure. Once fully hardened, the surface is described as a gloss finish ready to sand through progressively finer grits and then polish back to match the surrounding hull.
Safety in the Workspace
REPAIREZY™ uses peroxide-based catalysts as part of its chemistry, which means ventilation and basic handling precautions are not optional. Work in a well-ventilated space, keep the area warm to support curing, and follow the handling guidance on the packaging. This is standard practice for fiberglass repair products, but worth stating clearly for anyone doing their first kit-based repair. The catalyst component is what drives the cure, and exposure in an enclosed or cold space is both a health consideration and a variable that directly affects how the repair performs.
The Real Value of Getting This Right
The practical appeal of a kit repair during peak season is obvious: no transport, no yard schedule, no waiting. For above-waterline chips and localized gelcoat damage, the approach is genuinely effective and preserves the hull's protective function while avoiding the cost and downtime of a professional booking when service yards are running weeks out.
The important caveat, and the one worth holding clearly, is that kit-based results are entirely dependent on execution. Inadequate surface prep, wrong ambient temperature, poor color matching, or rushing the cure all produce repairs that look finished but don't perform. The steps above are not suggestions; they are the conditions under which the compound does what it's designed to do.
The broader skill this workflow builds is accurate damage triage. An owner who can confidently distinguish a scuff that a tube of compound will fully resolve from a crack that represents laminate or core compromise is better positioned to make good calls across the life of the craft, not just on this one repair. That judgment, more than any product, is what keeps fiberglass hulls in the water and out of expensive trouble.
Know something we missed? Have a correction or additional information?
Submit a Tip