How to replace leaking cabin windows without damaging gelcoat
Leaking cabin windows are a gelcoat trap if you rush the job. The fix lives in the template, the panel material, and the bedding system you choose.
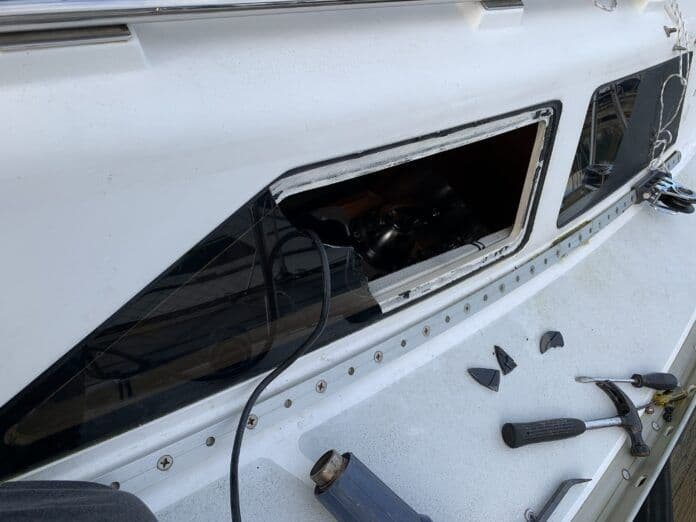
Leaking cabin windows cloud the light below, stain liners, and, if you force the job, can turn into a gelcoat repair you did not plan on. The cleanest fix is often a careful replacement of old plexiglass with new acrylic or polycarbonate, but the outcome depends on the details you get right before the first fastener comes out.
When replacement beats another round of patching
A Feb. 19, 2009 Practical Sailor piece on restoring clear plastic windows pointed back to earlier coverage from February 2003 and made the blunt point that old or badly neglected soft plastic windows are almost impossible to restore. Many dodger and cabin windows look tired long before the surrounding canvas gives up.
Practical Sailor put the worn-looking threshold at more than five to seven years old even when the canvas is still in good shape, and light wear is not the same as a dead panel. If you are dealing with oxidation, plasticizer residue, embedded dirt, scuffs, or very shallow scratches, restoration may buy time. If the panel is crazed, cloudy, leaking, or badly aged, replacement is the honest fix.
Choose the panel for the job, not just the name on the package
A lot of sailors say “plexiglass” as shorthand, but the real choice is usually acrylic versus polycarbonate. Acrylic is clearer and more UV-stable, which is why it often wins when you care most about light transmission and long-term appearance. Polycarbonate brings more impact resistance, but it scratches more easily and can need different handling during cutting, drilling, and installation.
Geometry matters just as much as material. A framed window, a frameless panel, a curved opening, or a nearly flat cabin side all change the job. Some boats need only a re-bed if the sheet is sound and the opening is stable; others need a full replacement with a fresh template and new cutouts. That judgment call is where many DIY repairs either save a weekend or create a leak path that shows up the first time the boat takes rain or green water over the deck.
Template accuracy is the difference between a neat job and a cracked one
Start by removing the old panel carefully and cleaning away the old sealant without damaging the cabin top or the surrounding gelcoat. If the original sheet is unusable, make a template from cardboard or thin plywood, then transfer that pattern to the new sheet before you cut anything. This is the point where a few millimeters matter, because an accurate template keeps the new window from binding in the opening.
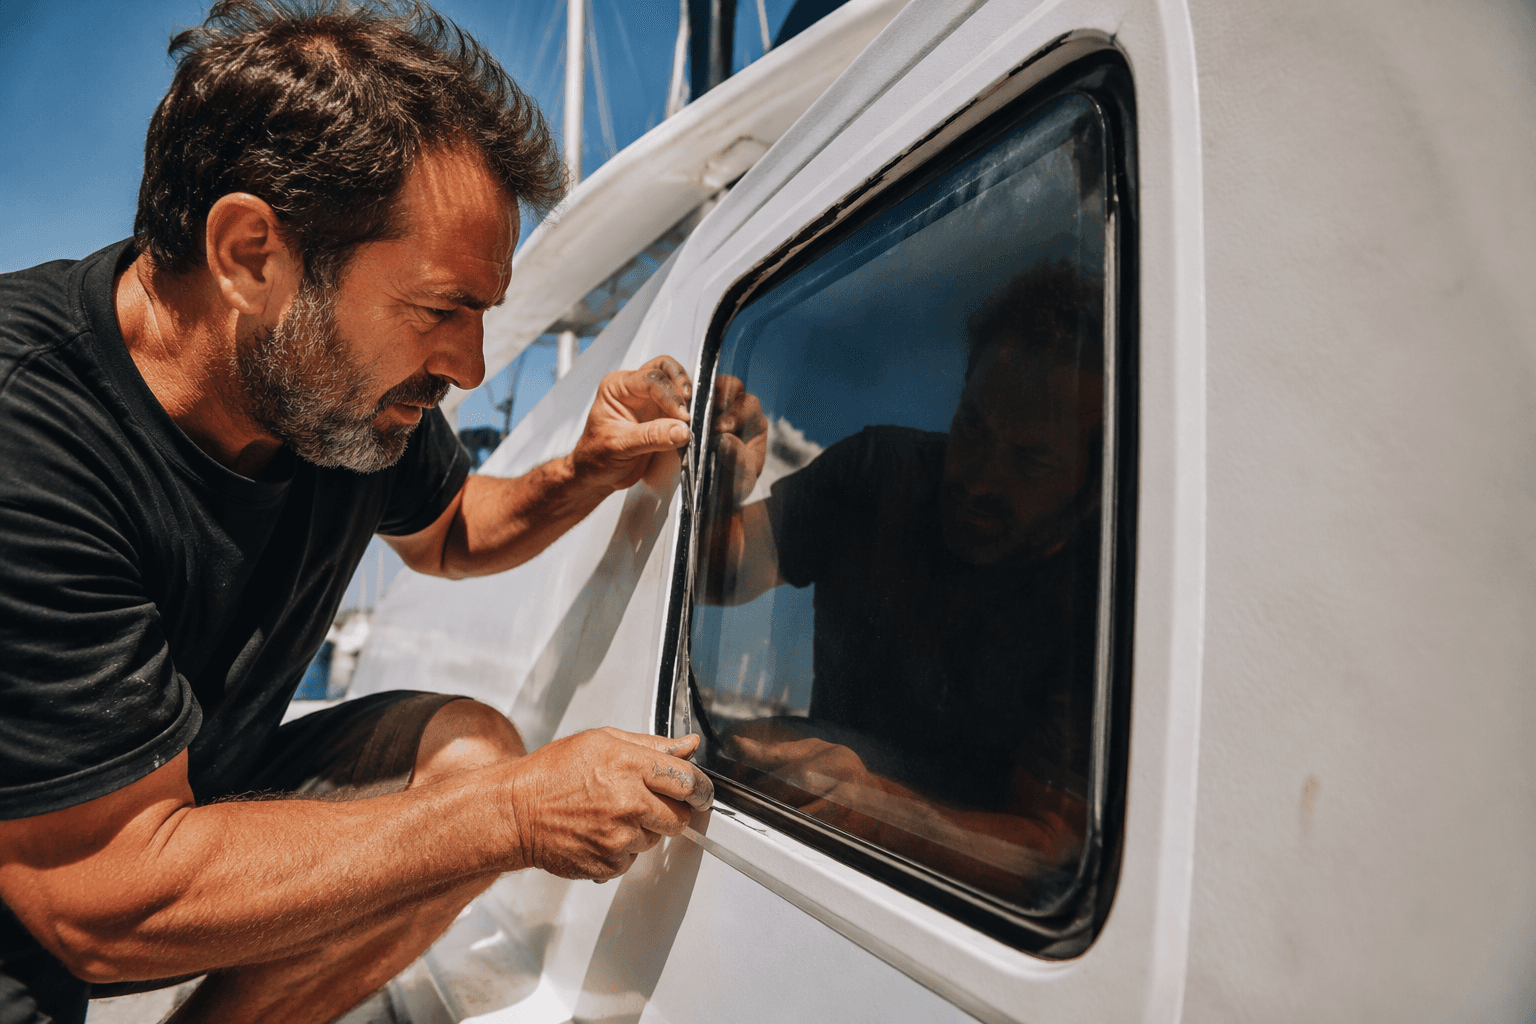
Edge finishing is not cosmetic. The edge should be finished so there are no stress risers, and that is exactly what you want on a sheet that will see heat, flex, and movement. A rough edge or a tiny nick can become the weak point that starts a crack later, especially once the panel is loaded by fasteners or sealant movement.
The installation details that prevent early failure
The mechanical traps are simple, but they are the ones that hurt boats most often. Fastener holes should be drilled oversized, not tight, so the plastic can expand and contract without binding. The edges should be chamfered, and the fasteners should not be overtightened, because both a too-tight hole and a clamped-down panel can crack the sheet or break the sealant bond.
That expansion issue is not theoretical. If the sheet cannot move, thermal expansion can crack the panel or defeat the bedding. For the same reason, the sealant choice is not just a cosmetic decision. Marine Sealant Adhesion Tests and The Great Stickup: Practical Sailor Tests Marine Adhesives, Caulks, and Sealants underline that the bond to plastic, fiberglass, and hardware is a technical part of the repair.
You also need to decide whether the job is mechanical, adhesive-only, or a hybrid. Some bedding products are compatible with acrylic, while others can attack it, so the material and the sealant have to be chosen together. On a window job, the weakest link is usually not the sheet itself but the interface between the panel, the bedding, and the cabin top.
Why UV and age make the project worth doing now
UV light destroys vinyl, gelcoat, paint, and lines bit by bit. That is the broader reason leaking, crazed windows keep showing up on older boats: the same weathering that hazes the plastic also hardens it, weakens seals, and shortens the life of the whole installation. Practical Sailor’s Dec. 12, 2013 Best Practices for Maintaining Clear Vinyl focused on ongoing care for transparent marine panels.
That care starts with knowing when restoration can still help and when the panel has crossed the line into replacement territory. If the problem is light oxidation or a few shallow scratches, restoration can improve the view. If the window is old, leaking, and badly neglected, the smarter move is a clean replacement with a proper template, the right material, and bedding that can survive movement and weather.
This article was produced by Prism’s automated news system from verified source data, official records, and press releases, then run through automated quality and moderation checks before publishing. The system is built and supervised by the people who set the standards it runs under. Read our full AI policy.
Did this article answer your question?