Culinary Expert Shares Her Tested Method for Making Sourdough Starter From Scratch
Eva Bleyer of the Good Housekeeping Institute Kitchen & Cooking Lab built her sourdough starter from scratch — and her tested, step-by-step method proves a bakery-worthy loaf is closer than you think.
Most bread bakers have a packet of commercial yeast tucked somewhere in the back of the pantry. Sourdough bakers have something better: a living, breathing culture they built themselves, fed for days, and named like a family pet. If you've ever wanted to join their ranks, Eva Bleyer — culinary expert and analyst at the Good Housekeeping Institute Kitchen & Cooking Lab — has laid out exactly how she does it.
Bleyer is the reviews analyst in the Good Housekeeping Institute Kitchen & Cooking Lab, where she has tested a wide range of kitchen appliances, including gas ranges, bread cloches, and kitchen scales. She holds a B.S. in Food Studies, Nutrition, and Public Health from New York University and is a graduate of the Natural Gourmet Institute's culinary school. She's also an avid sourdough baker and the lead expert in this category. That combination of formal training and hands-on baking obsession is exactly what makes her method worth following.
What a Sourdough Starter Actually Is
Before you mix a single gram of flour, it helps to understand what you're building. A sourdough starter is a mixture of flour and water that has been left at room temperature to ferment over the course of about a week. Throughout that period, the starter harvests yeast from the air around it. Those bubbles are what will eventually be used to leaven — or give rise — your bread naturally, without the help of commercially produced yeast. This fermented mixture is also what gives sourdough bread its signature tang.
Sourdough starter is considered a living thing, which means you have to continuously feed and water it as you would a plant. That's not a metaphor to take lightly. The microorganisms inside your jar need consistent nourishment to thrive, and neglecting them has real consequences for the flavor and rise of your bread.
What You'll Need Before You Start
The ingredient list is almost comically short: flour and water. But the details around each one matter considerably.
Bleyer's method, like most tested approaches, recommends starting with whole grain flour — whole wheat or pumpernickel. The wild yeast that gives sourdough starter its life is more likely to be found in the flora- and fauna-rich environment of a whole grain flour than in all-purpose flour. Using a percentage of whole-grain rye flour helps kickstart the starter creation process. The additional nutrients in rye flour, combined with keeping the mixture warm and highly hydrated, have increased the reliability of creating a new starter.
For water, unless the water from your faucet is so heavily treated that you can smell the chemicals, there's no need to use bottled water — tap water is fine. For best results, use room-temperature water, 68°F to 70°F.
On the equipment side, precision matters from the start:
- A digital kitchen scale ensures precise amounts, though traditional measuring cups and spoons could suffice.
- You'll need a non-reactive container — glass, stainless steel, or ceramic all work — that can hold at least 1 quart, since your starter will need room to grow.
- Glass jars are recommended because you can easily see the fermentation as it progresses. It also helps to place a rubber band around the jar at the height of your starter after mixing, so you have a visual guide for how high it rises between feedings.
The Day-by-Day Process
This is where patience becomes your most important ingredient. The overall process will take 7 days or more from start to finish. It's not instant.
1. Day 1: Combine your whole grain flour and room-temperature water in your jar — equal parts by weight is the standard starting ratio.
Mix thoroughly, making sure all the dry flour is incorporated. Cover loosely to allow airflow and set it aside at room temperature.
2. Days 2 through 4: Discard half of the mixture and repeat the process: add flour, add water, stir vigorously, and cover.
Don't skip the discard step. Unless you discard starter at some point, you'll quickly end up with a very large container of starter. Keeping the volume down also offers the yeast more food to eat each time you feed it.
3. Days 5 through 7: Repeat the same 1:1:1 ratio of starter, flour, and water feeding every 12 hours.
By the end of Day 5, you may have an active sourdough starter. Activity can look misleadingly slow mid-week. Growth will seem to slow down on Days 3-4. This delay is commonly called a "false" start — it's normal, because the yeast simply needs time to cultivate.
4. Beyond Day 7: If your starter hasn't doubled in volume and is not bubbly, repeat the process of discarding and feeding every 12 hours until it does.
The process often takes up to a week, so continue feeding for a few extra days if it hasn't doubled yet — patience is key.
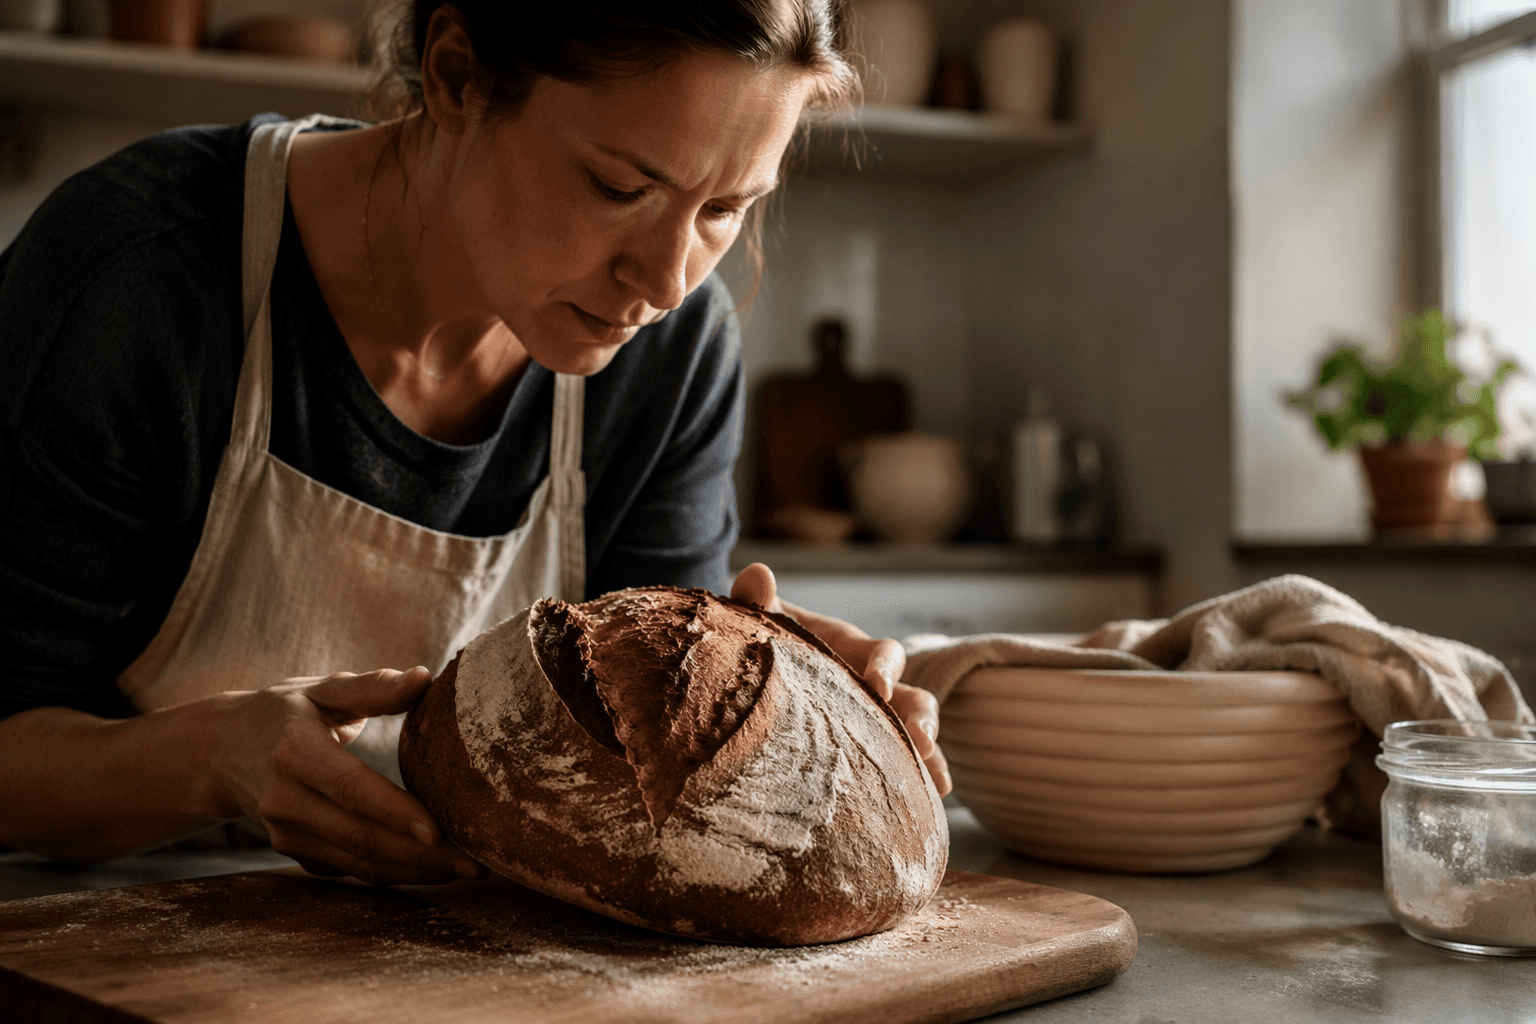
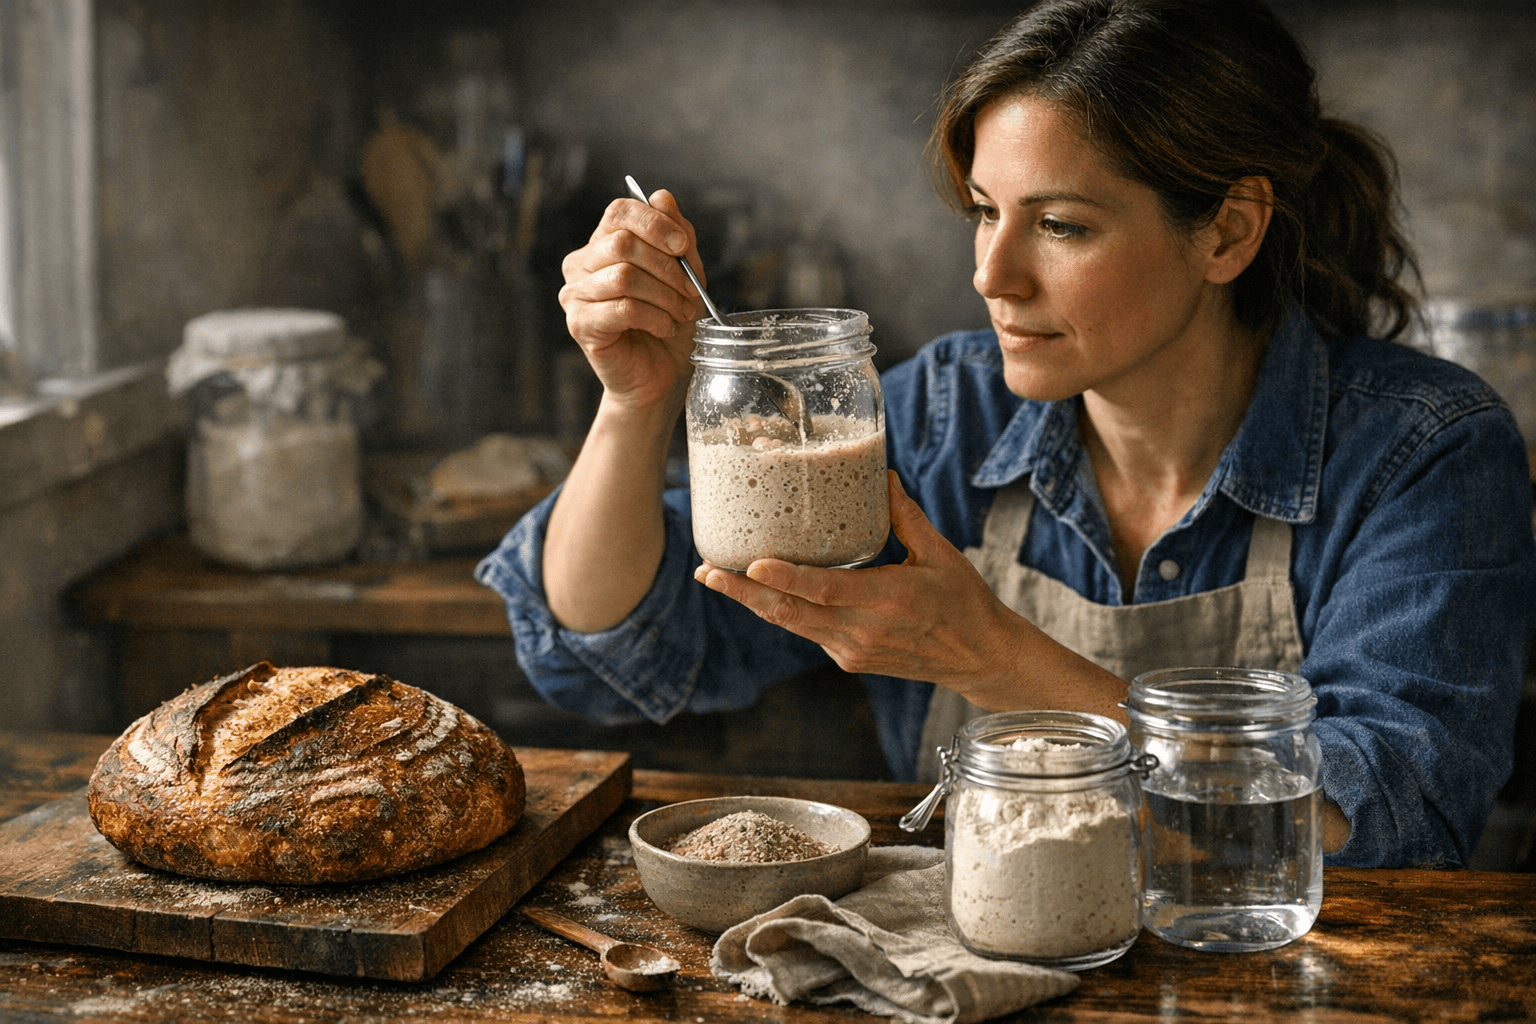
How to Know Your Starter Is Ready
This is the question every new sourdough baker obsesses over, and the answer is more sensory than technical. A sourdough starter is ready to use when you see lots of bubbles on the surface and the mixture has doubled in volume. An active sourdough starter will also smell a little bit fruity or tangy.
Your new starter is ready to bake with when it's reliably becoming very bubbly and doubling in size within 6 to 8 hours of feeding. This is why it's useful to feed your starter in a clear, straight-sided container, so it's easy to track its upward progress. Ripe starter will be viscous, not thin; and if you taste a tiny bit, it will be nicely balanced between rich flavor and acidity.
Temperature: The Variable Most Beginners Ignore
Your kitchen environment plays a bigger role than most first-timers expect. The ideal temperature range to keep your starter active and ready to use on the counter is 75°F to 82°F. The overall process takes around 7 or more days if the temperature is warm enough, ideally 70–75°F. It can take up to 2 or more weeks for a strong starter to become fully established. If your kitchen runs cold in winter, find a warm corner — near the oven, on top of the refrigerator, or in a slightly warm oven with just the light on.
Storing and Maintaining Your Starter
Once your starter is reliably active, you have two main paths forward: keeping your starter at room temperature and feeding it daily, or storing it in the refrigerator and feeding it weekly. If you plan to bake often (multiple times a week), keep your starter on your counter — the organisms in starter thrive at room temperature. If you plan to bake less frequently, store your starter in the refrigerator, knowing it will need a few feedings at room temperature before it's ready.
Once you have an active sourdough starter that has doubled in volume, you can begin to store it in your refrigerator, covered, and reduce the feedings to about once a week. You should feed it at least once a week, even if you're not using it to bake.
What to Do With the Discard
The discard you generate during the creation phase doesn't have to go in the bin. You don't have to actually discard starter if you don't want to — you can give it to a friend, or use it to bake. There are quite a few recipes using "discard" starter, including pizza crust, pretzels, waffles, and even chocolate cake. Discard is simply unfed starter, and its mild, tangy flavor adds character to a wide range of baked goods beyond bread.
When Things Go Wrong
Not every starter cooperates on schedule, and knowing the difference between a stall and a genuine failure saves a lot of anxiety. It's very normal for a starter to be very active in the beginning and slow down to almost a stop in the middle before slowly building back up. This is normal and part of the process — if yours slows down in the middle, keep going.
Watch for the signals that mean it's genuinely time to start over: if your starter shows any signs of spoilage such as pink, orange, green, or blue colors, fuzzy mold, dark spots with white on top, or if it smells unpleasantly sour or funky, it is best to throw it out and start a new sourdough starter.
When sourdough starter is neglected — left on the counter or in the refrigerator for extended periods without being fed — the yeast and bacteria run out of food and their populations gradually decline. Feeding your starter regularly can prevent this situation. And if you do happen to forget your starter for a while, a series of regular feedings should restore its health.
The thing about building a starter from scratch is that it teaches you to read your dough before you've ever shaped a loaf. By the time your culture is doubling reliably and smelling faintly of ripe fruit, you've already learned the most important lesson in sourdough: fermentation runs on its own clock, and the best bakers know how to listen to it.
This article was produced by Prism’s automated news system from verified source data, official records, and press releases, then run through automated quality and moderation checks before publishing. The system is built and supervised by the people who set the standards it runs under. Read our full AI policy.
Did this article answer your question?