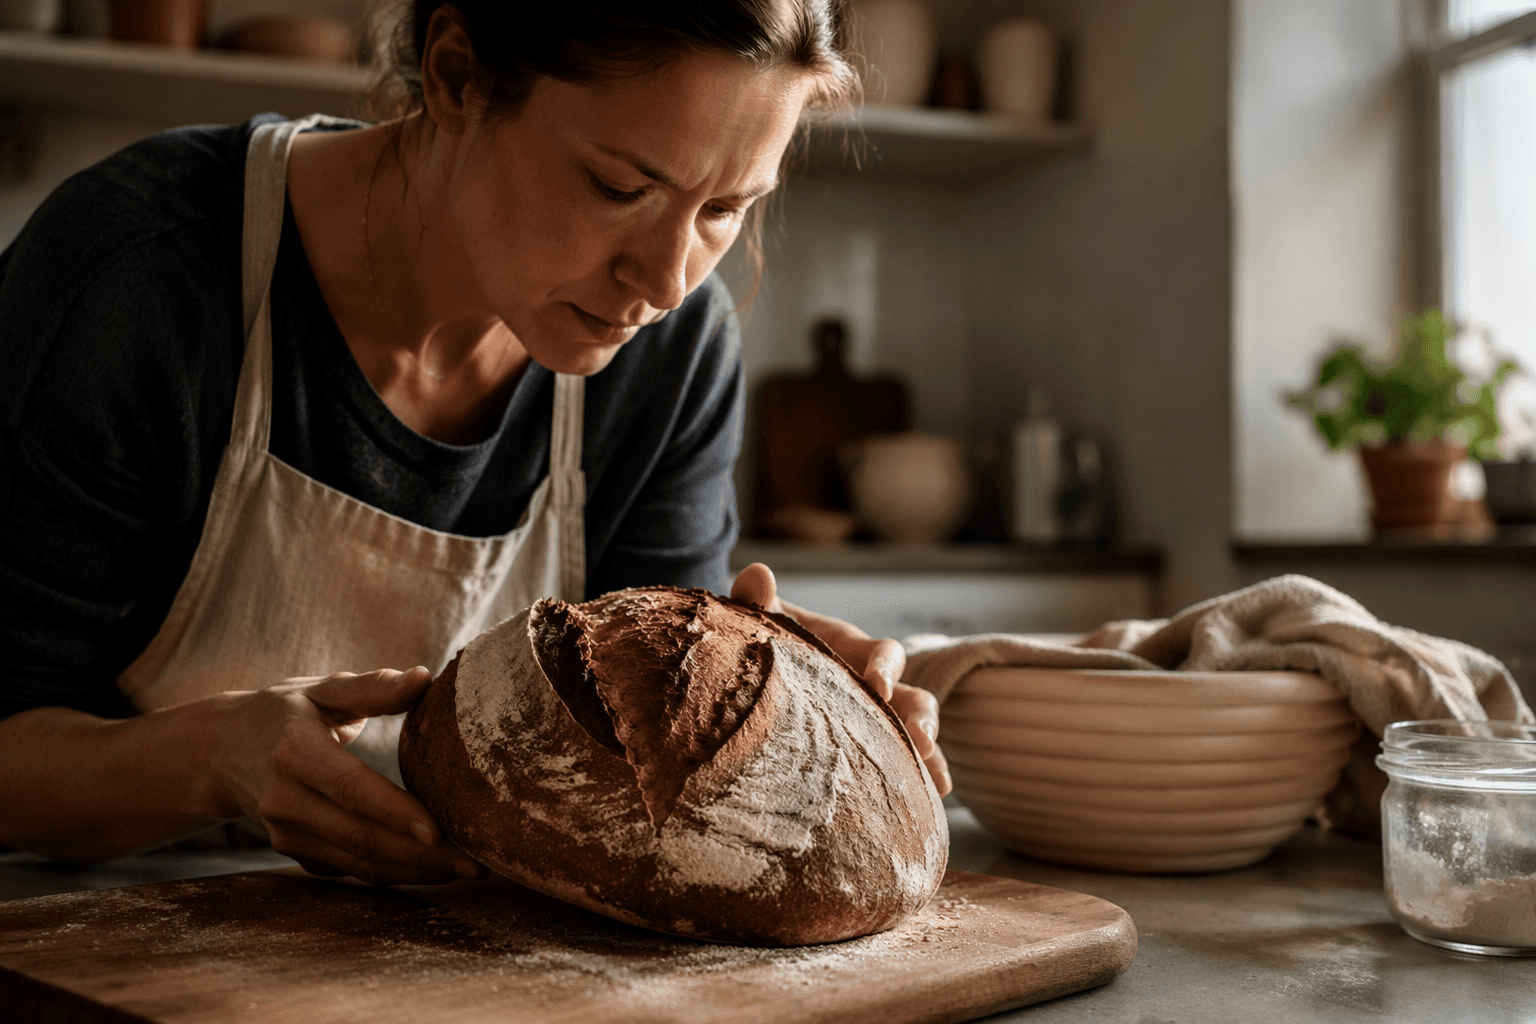
How to Feed Your Sourdough Starter on Any Baking Schedule
Your feeding ratio, not your baking calendar, determines starter health: a 1:5:5 approach keeps counter starters thriving every 12-24 hours, while fridge bakers need just one weekly refresh.
Your sourdough starter does not care about your schedule. It cares about one thing: a steady supply of fresh flour and water before its microbial community tips too far into acid production. The good news is that whether you bake three times a week or once a month, there is a feeding routine precise enough to keep that culture strong, and flexible enough to bend around real life.
Understanding What Feeding Actually Does
Every time you feed your starter, you are resetting a biological cycle. The flour introduces fresh starches and sugars, wild yeast converts those into carbon dioxide and causes the starter to rise, and lactic acid bacteria produce organic acids that give sourdough its characteristic tang. After a feeding, the starter climbs steadily toward a peak, the window where it is most active and powerful for leavening dough. After a feeding, the starter goes through a predictable cycle: it starts flat, the yeast gets to work producing gas, the starter rises, and it hits a peak, which is when it's most active and powerful for baking.
Miss that window consistently, and problems compound. A starter left too long without fresh food exhausts its available sugars. Yeast activity drops, acid levels climb, and the culture becomes a poor leavener. That flat, sharp, vinegary smell is not random; it is the measurable signature of acid build-up overtaking yeast output. An acidic odor is a natural byproduct of lactic acid bacteria and acetic acid bacteria. A "falling," "fallen," or "starving" starter will often smell acidic, and if it always smells acidic, even after feeding, that is generally not desirable, since high acidity levels can choke off the yeast's production of carbon dioxide.
The practical takeaway: your feeding schedule is not a chore imposed on top of baking. It is the mechanism that controls when and how strongly your starter peaks, which in turn determines when your dough is ready to go into the oven.
The Counter Starter: For Frequent Bakers
If you bake at least a few times a week, keeping your starter at room temperature is the most responsive approach. The target environment is roughly 70-75°F (21-24°C). An ideal feeding regimen for a starter kept at room temperature (in the low 70s) is two feedings a day at 12-hour intervals. That cadence matches the typical rise-and-fall cycle at those temperatures and ensures you always have an active starter on hand.
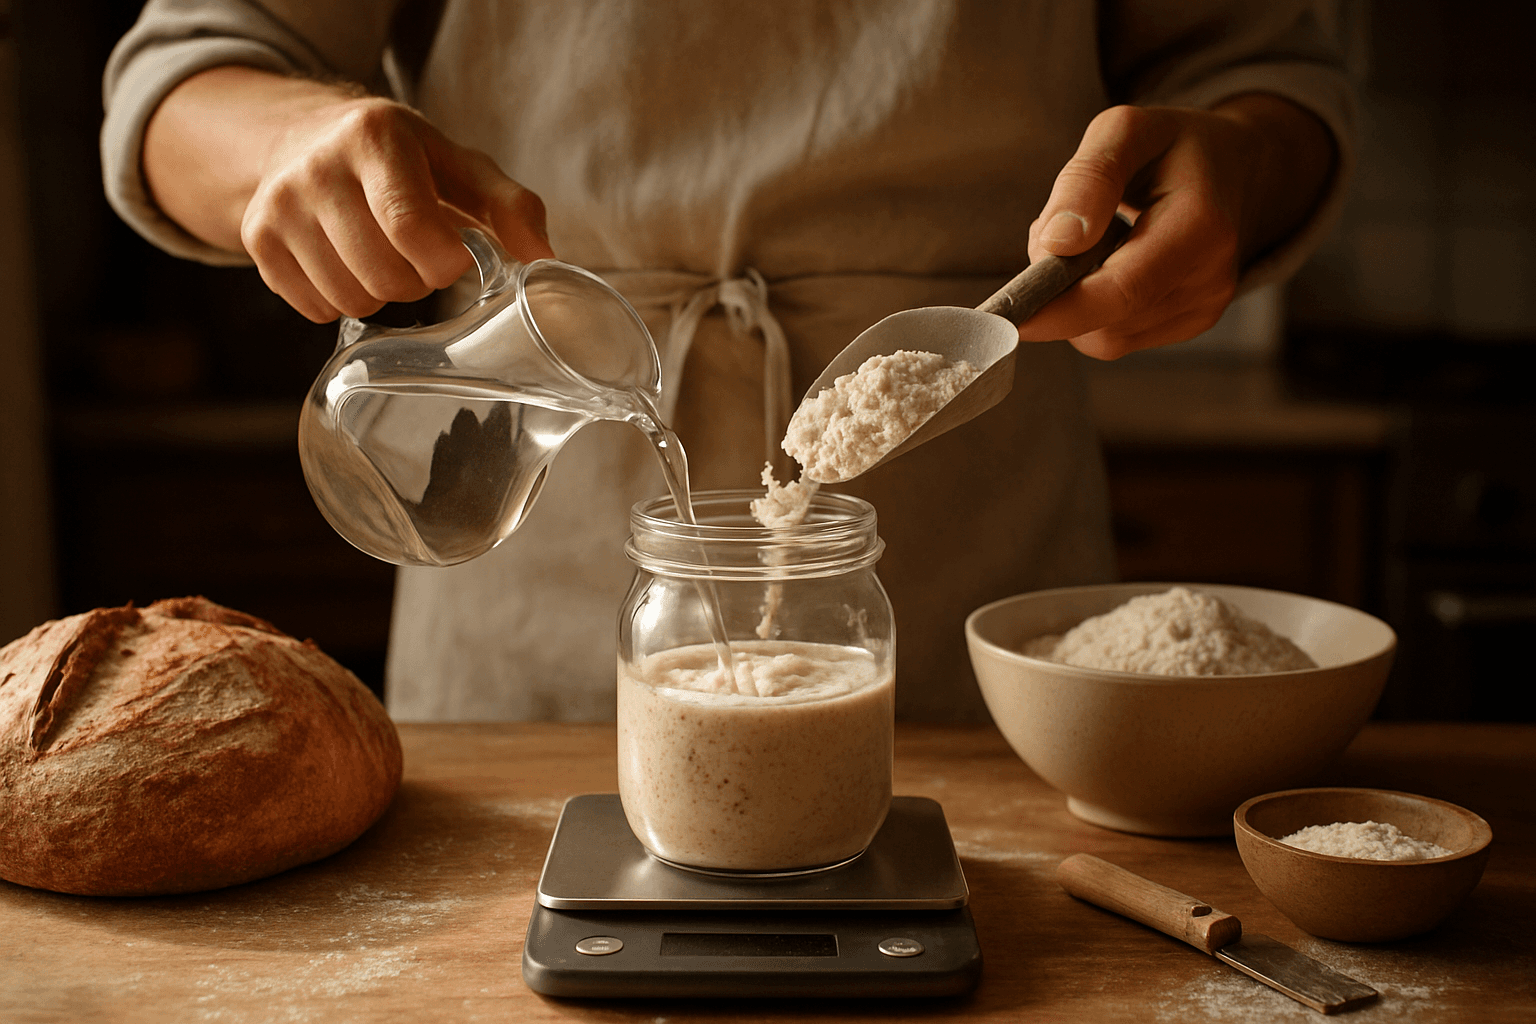
The default ratio for a counter starter is 1:5:5 by weight: one part starter, five parts flour, five parts water. That higher ratio dilutes accumulated acids, gives the yeast a generous food supply, and extends the time before the starter peaks, buying you more scheduling flexibility than a tighter 1:1:1 ratio allows. At 1:1:1, a warm kitchen will push the starter to peak in four to six hours; at 1:5:5, you typically get a longer, steadier climb that is easier to time around a workday.
The key variable that throws counter schedules off is ambient temperature. As lucybamboo writes on SourdoughRise, "adjust your ratio based on how quickly your starter rises and falls — a hotter kitchen means faster fermentation and potentially more frequent feedings or higher ratios." A summer kitchen sitting at 80°F will behave very differently from the same kitchen in January. When the starter is peaking and collapsing faster than you can use it, increase the ratio or move to a cooler spot; when it seems sluggish and slow to rise, try a lower ratio, a warmer proofing location, or both.
The Refrigerator Starter: For Occasional Bakers
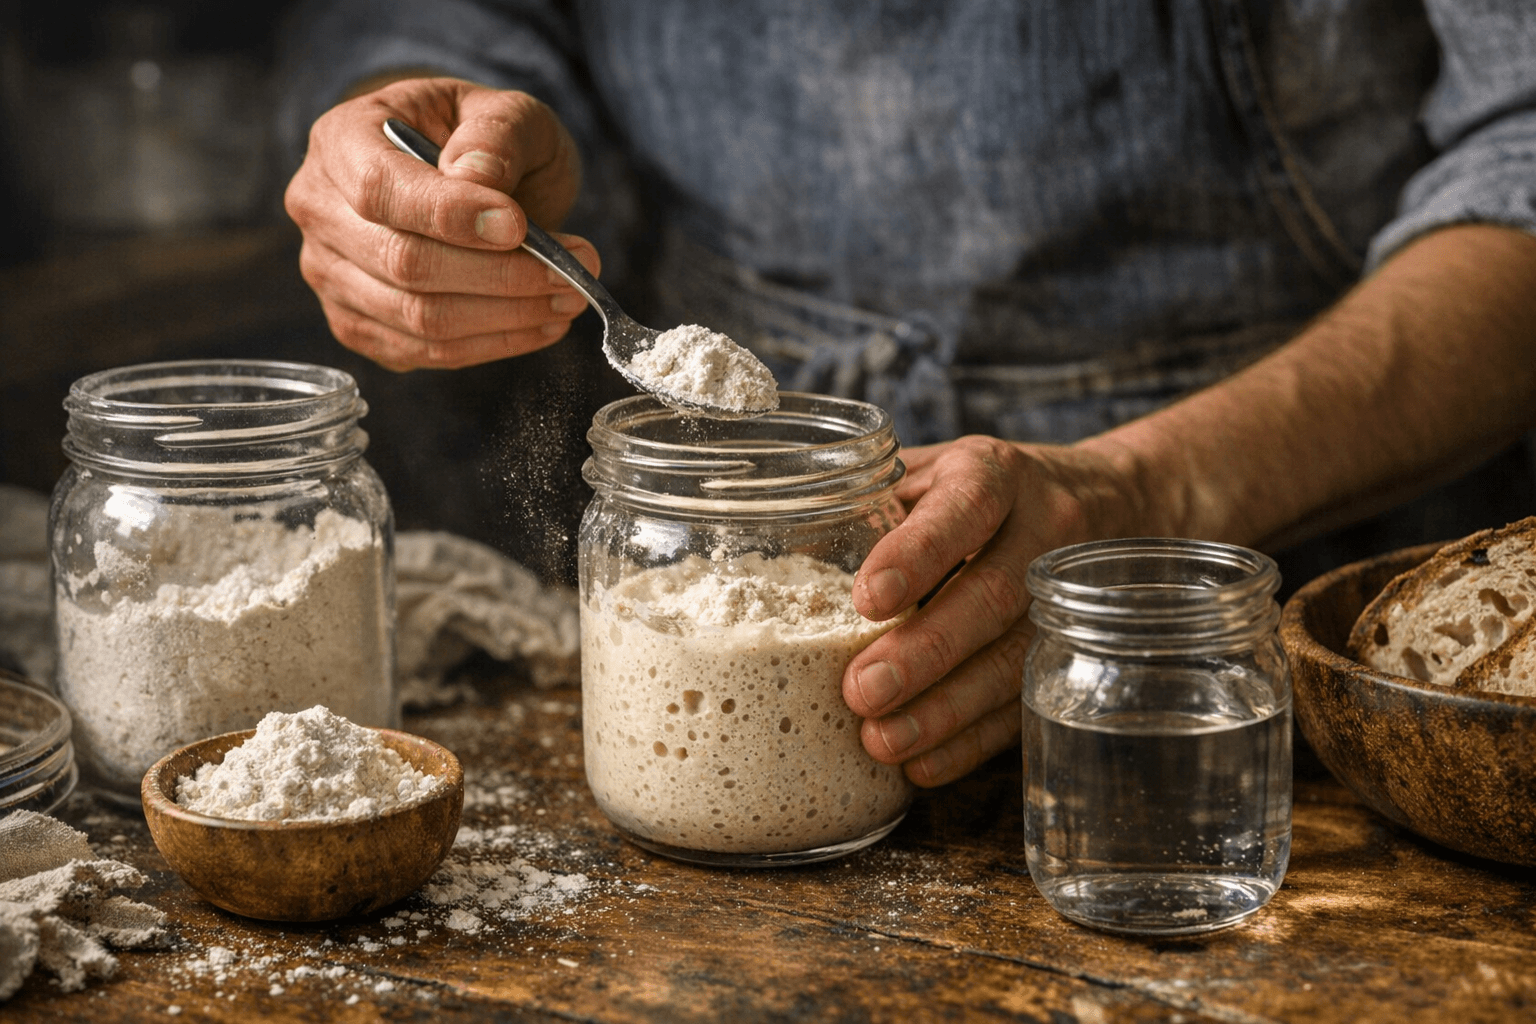
Cold storage is the solution for bakers who do not want, or cannot maintain, daily feedings. Refrigeration slows fermentation dramatically, shifting the feeding cadence from twice daily to roughly once a week. It's possible to store your starter in the refrigerator, feeding it just once a week. Feed it before it goes back in the fridge, not after, so the culture has enough fresh food to sustain it through the cold week.
Before baking with a refrigerator starter, plan ahead. Pull it out at least 24 hours in advance, discard down to a small amount, and give it one or two refreshes at room temperature to wake the microbial community back up. To ready your refrigerated starter for baking: remove it from the refrigerator, discard all but 50g, and feed it with equal parts flour and water by weight. Wait until it shows clear signs of activity: visible bubbles, a domed or risen surface, and a yeasty (not purely acidic) aroma. Only then is it ready to leaven your dough reliably.
A starter that has been in the refrigerator for several weeks, or that was stored without a pre-storage feeding, may need two or three discard-and-refresh cycles before it is fully active again. Patience here pays off in the final loaf; using an under-refreshed starter produces flat bread and no amount of extra bulk fermentation time fully compensates for weak leavening power at the start.
Reading Ratios: Matching Dilution to Demand
The ratio you choose is one of the most powerful tools in your starter management kit, and it is worth understanding what each number actually controls.
In the 1:5:5 notation, the first number is the amount of existing starter (the inoculant), and the second and third numbers are flour and water respectively. A lower inoculant percentage, like 1:5:5 or even 1:10:10, means slower fermentation and a later, more extended peak, useful when you need to time a starter around a long workday or a night schedule. A higher inoculant percentage, like 1:2:2 or 1:1:1, produces a faster, more aggressive rise, useful when you need an active starter quickly or when your kitchen is cool.
A starter smelling strongly of vinegar benefits from a high feeding ratio such as 1:5:5, with a discard and refeed right after the starter rises and peaks, a technique known as the "peak-to-peak" method. Running two or three of these cycles in succession is often enough to pull a sluggish or over-acidified starter back to reliable activity without discarding the whole culture.
Flour Type and Hydration
The flour you feed with is not neutral. Whole wheat and rye flours contain more natural sugars, minerals, and wild yeast than white all-purpose flour, so a starter fed with whole grain flours tends to ferment faster and peak sooner at the same temperature. If you switch flour types, expect a period of adjustment; the microbial community takes a few feedings to adapt to a new food source, and activity may temporarily dip before rebounding.
Hydration, the ratio of water to flour, affects both texture and fermentation speed. A stiffer starter (lower hydration, around 60-65%) ferments more slowly and produces more acetic acid, which sharpens the tang. A more liquid starter (100% hydration, equal weights flour and water) ferments faster and tends toward a milder, more lactic flavor profile. Neither is objectively better; the choice depends on the style of bread you are making and the feeding schedule that suits your routine.
Troubleshooting Common Problems
Even well-maintained starters occasionally behave unexpectedly. A few patterns are worth knowing:
- No rise after feeding: Check temperature first. Below 65°F, fermentation slows to a near-standstill. Move the starter somewhere warmer, such as an oven with just the light on, and give it additional time before concluding there is a problem.
- Persistent vinegary or acetone smell: This points to an overly acidic environment. Switch to a higher ratio (1:5:5), feed at or just before the peak, and repeat for two to three cycles to dilute accumulated acids and restore yeast dominance.
- Liquid layer on top (hooch): This grayish liquid is a sign the starter has exhausted its food supply. Pour it off or stir it back in, then perform a fresh feeding. It is not a sign of spoilage, but it does confirm you need to feed more frequently or with a higher ratio.
- Starter smells like beer or wine: Some starters smell like beer or wine after they peak and begin falling, which is the early alcohol aroma and a natural byproduct of yeast fermentation. This is normal and indicates the starter has passed its peak. Feed sooner next time.
Building the Habit
The bakers who maintain the most consistent starters are not necessarily the most skilled; they are the most systematic. Weighing every feeding rather than eyeballing, noting the time of feeding and the time of peak, and logging kitchen temperature for a week gives you the data to turn the abstract advice of "feed when it peaks" into a specific, repeatable schedule tied to your actual kitchen and your actual life. Once those parameters are dialed in, a healthy, active starter becomes one of the most reliable tools in your baking practice, ready when you need it and easy to maintain when you do not.
This article was produced by Prism’s automated news system from verified source data, official records, and press releases, then run through automated quality and moderation checks before publishing. The system is built and supervised by the people who set the standards it runs under. Read our full AI policy.
Did this article answer your question?