Winter Hacks: How to Proof Sourdough Without a Proofing Box
Learn equipment‑free winter tricks to proof sourdough in a cold kitchen using oven heat, microwave humidity, coolers, blankets, and community-tested workarounds.

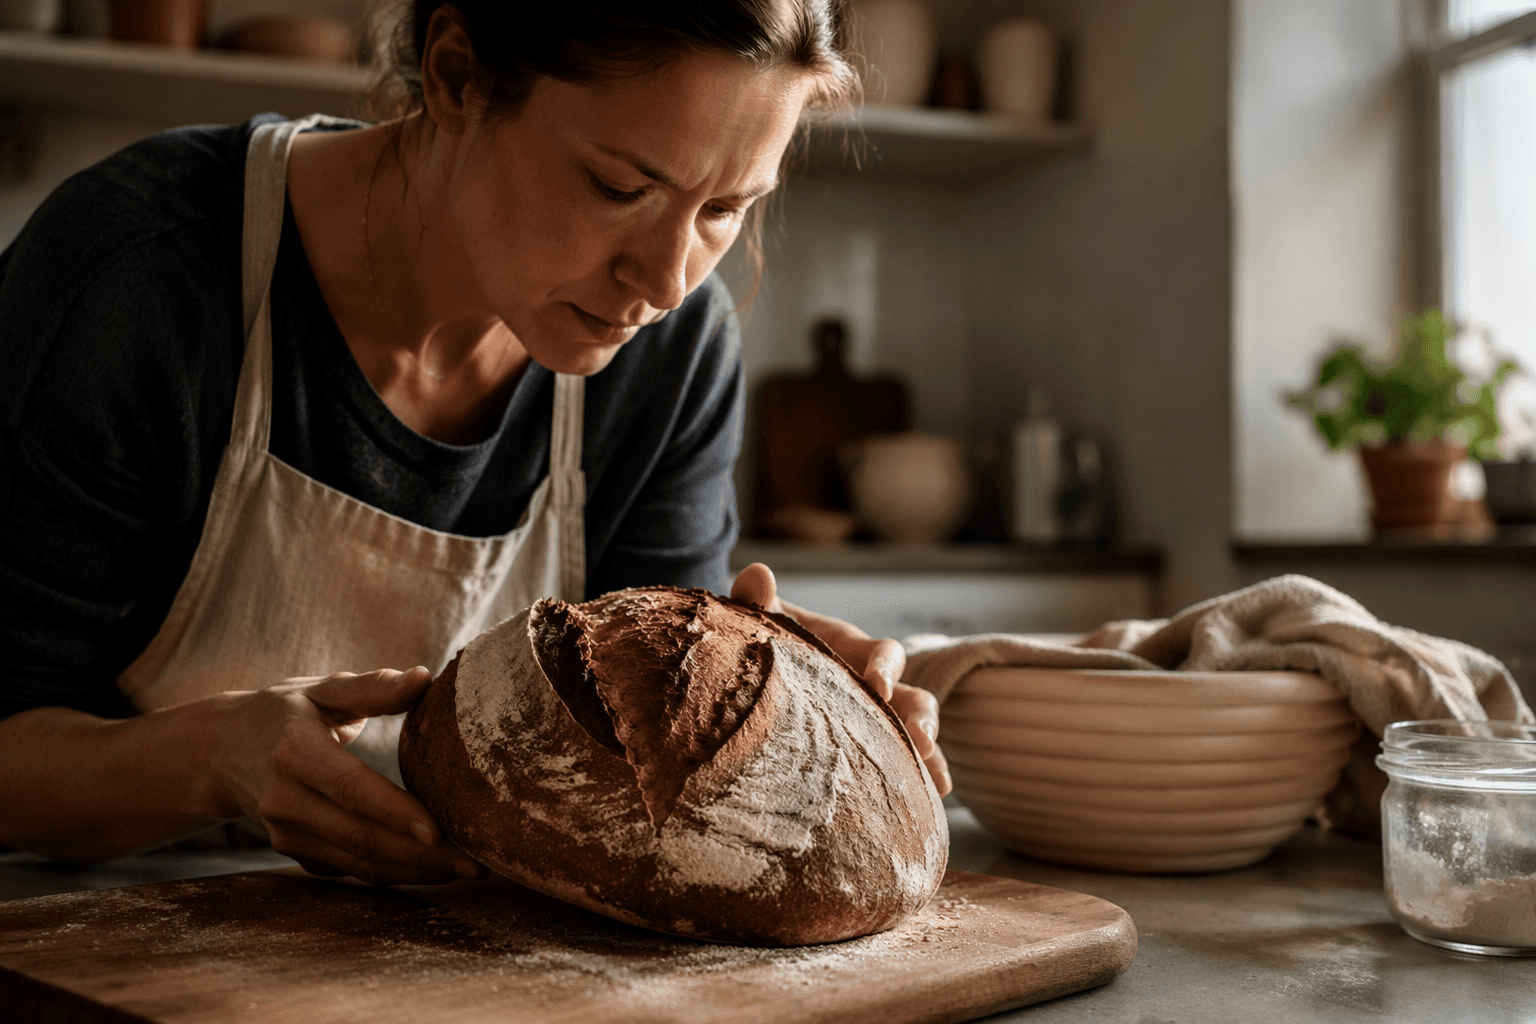
Cold kitchens slow fermentation, but home bakers have a toolbox of low‑tech hacks to nudge your starter and dough through bulk fermentation and final proof without buying a proofing box. Below are step‑by‑step options, real community experiences, and clear temperature notes pulled from bakers and sourdough resources so you can pick the right hack for your kitchen.
1. Oven light method
Turn the oven light on and place your dough inside to give a gentle, steady warmth. Natasha Krajnc presents this approach and gives a clear target: “Oven with the light on (target 75–80°F) for bulk fermentation; Cooler + hot jars method to create a steady warm envir”. Sourdoughtalk echoes the oven‑light approach: "Turn on the oven light, which creates gentle warmth, and place your dough inside." For safety and control, Sourdoughtalk adds: "To keep it below 90°F (32°C), use an oven thermometer to check the temperature." This hack works well when you need a moderate boost for bulk ferment; use an oven thermometer to avoid overheating, and remove drafts, an oven light is low‑energy and easy to monitor.
2. Microwave trick
Use your microwave as a small warm, humid chamber by following the steps Sourdoughtalk outlines in order. First, boil a cup of water in the microwave to fill the space with warmth and humidity. After heating the water, carefully remove it and place your dough inside the microwave. Be sure to keep the microwave turned off during the proofing. To prevent accidental disasters, place a sticky reminder on the door: "Dough inside; do not turn on." This is quick, no‑cost, and great for a single loaf’s final rise when ambient temps are just a touch too cool.
3. Cooler + hot jars method
Create a stable micro‑climate with insulation plus a heat source, Natasha Krajnc lists a “Cooler + hot jars method to create a steady warm envir” as a named technique. The core idea is to use the cooler as an insulated box and warm elements to raise its internal temperature steadily. Community reports show mixed results: one baker said, "Coolers, I packed with towels and layers of boxes still create starter with no progress." That tells us coolers can work but need correct heat and setup to be effective. If you try this, monitor internal temps with a thermometer and compare different heat sources and placement before trusting it for critical feedings or long bulk ferments.
4. Thermal blankets and heating pads
Sourdoughtalk recommends wrapping dough or using a low setting heating pad as a low‑tech incubator: "You can wrap your dough bowl in a thermal blanket or place it on a heating pad set to low. This will help warm the dough and activate the yeast." This method is discreet and portable, useful if you only need a small, stable boost without enclosing dough in a box. Heating pads can provide gentle bottom heat; blankets trap that heat around the bowl. Treat the pad like any electrical appliance, use low settings, avoid direct contact with plastic containers, and check temperatures periodically.
5. Pet warming pad in a cooler (community idea)
Some bakers in forums have floated pet‑pad combinations as an improvised heat source. One home baker asked, "I am Considering placing a pet warming pad that creates a 20 degree temperature increases in a cooler.. Is that a good idea?" That quote captures a real, on‑site experiment idea from a cold‑house baker. Pet pads can deliver steady low heat, but treat community anecdotes as that, anecdotes. If you try a pet pad, measure the actual temperature change with a thermometer and watch for hotspots or electrical safety issues. Community members often adapt gear, but testing and caution are essential.
6. Proofing box pitfalls and what the community experienced
Not every plug‑and‑play proofing solution behaves. One baker reported a defective box and precise discrepancies: "The box I bought was defective with the LED showing 70 degrees and the dial.showing 80-90 degrees when my house is in the 55-60F range. RETURNIN it." That post highlights two practical lessons: verify any new device with an independent thermometer and be prepared to return gear that disagrees with your readings. Homeproofing failures can be down to calibration issues, inconsistent insulation, or simple design flaws, so test before relying on a device for a bake.
7. Troubleshooting starter behavior in cold homes
Cold environments can trigger a range of starter symptoms, and community posts show how that looks in real life. One baker described multiple problems: "Putting the starter in the rooms with heaters (and the other attempts) make my starter split the starter to water on top and starter on the bottom..no healthy bubbling." They also reported: "My starters smell like acetone withing a day of the feedings, 2 feeding a day with discard ro 20% of starter to feed. I feed starters once a week." Those quotes show both physical symptoms (separation, lack of bubbling) and conflicting feeding rhythms, an important reminder to audit your schedule and conditions. Another note: "I've added rye flour to it and no go. I use bread flour for feedings." If your starter smells strongly of acetone or separates quickly, look at temperature, hydration, and feeding frequency as variables to test one at a time, community experience shows cold and inconsistent feeding are frequent culprits.
8. Practical testing, safety, and community habits
Across these hacks, the practical priorities are simple: create a steady, moderate temperature (Natasha’s 75–80°F target for bulk fermentation is a good named benchmark); avoid overheating (Sourdoughtalk’s "To keep it below 90°F (32°C), use an oven thermometer to check the temperature."); and treat user anecdotes as troubleshooting data points, not definitive protocols. Many posts underscore the grind of repeated failed feedings, "I dislike the endless feedings over several days with no progress as I waste bread flour." That frustration is real; small, measurable changes and consistent monitoring will save both flour and time.
Closing practical wisdom You don’t need a proofing box to bake great sourdough this winter, just a thermometer, a low‑tech heat plan, and a little patience. Start with the oven light or microwave trick for single loaves, use blankets or pads for gentle, steady warmth, and treat coolers and improvised heat sources as experimental setups that need careful measuring. If a hack isn’t working, compare temperatures, feeding patterns, and flour types one change at a time; community threads are full of lessons learned the hard way, and the baker who keeps testing will find the setup that works for their kitchen.
This article was produced by Prism’s automated news system from verified source data, official records, and press releases, then run through automated quality and moderation checks before publishing. The system is built and supervised by the people who set the standards it runs under. Read our full AI policy.
Did this article answer your question?