How to Magnetise Imperial Knights for Easy Weapon Swaps and Transport
Magnetising your Imperial Knight takes one afternoon and pays back every time you swap loadouts, pack for a tournament, or strip a weapon for airbrushing.

A Knight Paladin sitting permanently armed with a Reaper Chainsword it never uses is a common hobby tragedy. Magnetisation solves it, and unlike many hobby techniques that demand specialist skill, this one is genuinely forgiving once you understand the fundamentals. Whether you're building your first Questoris chassis or adding flexibility to a growing Household, the process is the same: small magnets, a pin vise, and a methodical approach to polarity.
What You'll Need Before You Start
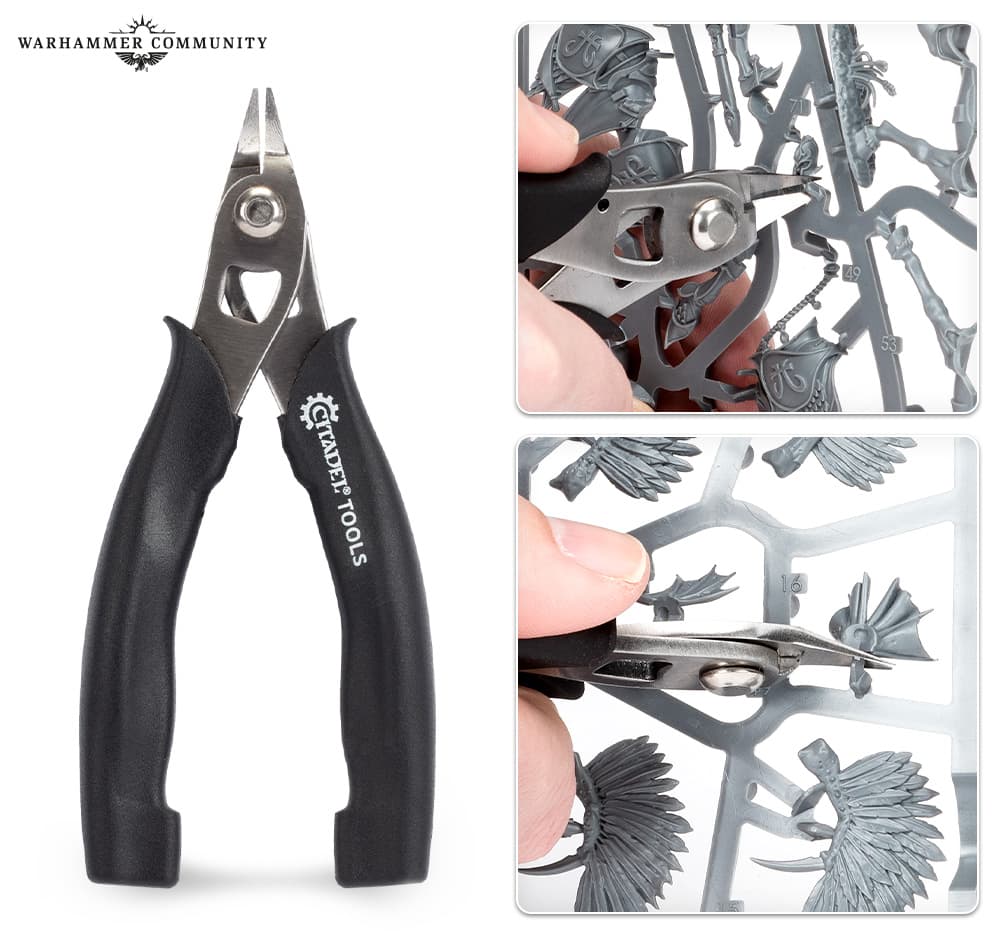
The core of any magnetisation kit is the magnets themselves. Small rare-earth disc magnets, 3mm to 5mm in diameter and 1mm to 2mm thick, are the standard for plastic kits at this scale. Aim for N42 or N52 strength; anything weaker risks weapon arms drooping mid-game, and anything stronger makes dry-fitting and polarity checks unnecessarily nerve-wracking. For tools, you'll need a pin vise with drill bits ranging from 1.5mm to 3mm, super glue (cyanoacrylate), plastic glue for normal structural assembly, a small hobby file, and masking tape. A compass or a simple jig for keeping magnets aligned during the gluing step is worth having. None of this is exotic — most of it is already on a hobbyist's desk.
Step 1: Plan Your Swap Points
Before a single hole is drilled, spend time identifying which parts you actually want to swap. For a Knight, the highest-value magnetisation points are the primary weapon arms (arm cannons, melee weapons) and the carapace; these carry the heaviest components and give you the most tactical flexibility between games. Shoulder carapaces, the top carapace weapon, and optional iconography are secondary candidates if you want maximum configurability, but the arm/carapace combination alone covers most competitive loadout changes.
Once you've identified your swap points, photograph the model and mark the underside of each removable part where the magnet will be embedded. This sounds pedantic, but the mark-up step forces you to think through the mating surfaces in three dimensions before committing to drilling, and it's especially useful on a kit as large and detailed as a Knight chassis.
Step 2: Drill Pilot Holes and Test Fit
For each mating surface — both the model body and the matching weapon or carapace — drill a pilot hole in the corresponding locations. Start with a 1.5mm bit for 3mm magnets and expand only if the fit demands it. The critical discipline here is drilling perpendicularly: a misaligned magnet creates stress on the joint every time the weapon is seated or removed, and over hundreds of swaps that adds up. Drill straight, check frequently.
Use masking tape wrapped around the drill bit as a depth stop. Wrap it at the correct depth for your magnet's thickness so you physically cannot over-drill. Over-drilling is one of the most common beginner mistakes and the resulting loose fit weakens the bond. Before any glue touches the magnets, test fit them dry: press a magnet into each hole, seat the parts together, and confirm the polarity is correct and that both surfaces sit flush. This dry-run step costs thirty seconds and prevents the far more expensive problem of a cured, wrongly-polarised magnet.
Step 3: Glue Magnets With Polarity Checks
Super glue works well for embedding magnets in both plastic and resin. The process is sequential: glue one magnet into one half, let it fully cure, then glue its mate into the corresponding half. Never glue both sides simultaneously; the risk of accidentally locking the parts together is too high.
The polarity rule is non-negotiable: the magnet on the arm side must be the opposite pole of the magnet in the torso so they attract. Before every gluing operation, check polarity against a spare magnet from your set. Mark the "up" face of each magnet with a dot of paint or a pen mark before you begin — this is the single best habit you can build for magnetisation work. For larger weapon mounts, seat two small magnets side-by-side rather than one larger one; two smaller magnets distribute shear stress across a wider surface area, significantly reducing the chance of the joint failing under the weight of a heavy arm weapon.
After gluing, test and re-seat the joint several times. A well-fitted magnet joint should snap positively into place with no wobble and no side-to-side play.
Step 4: Reinforce and Finish
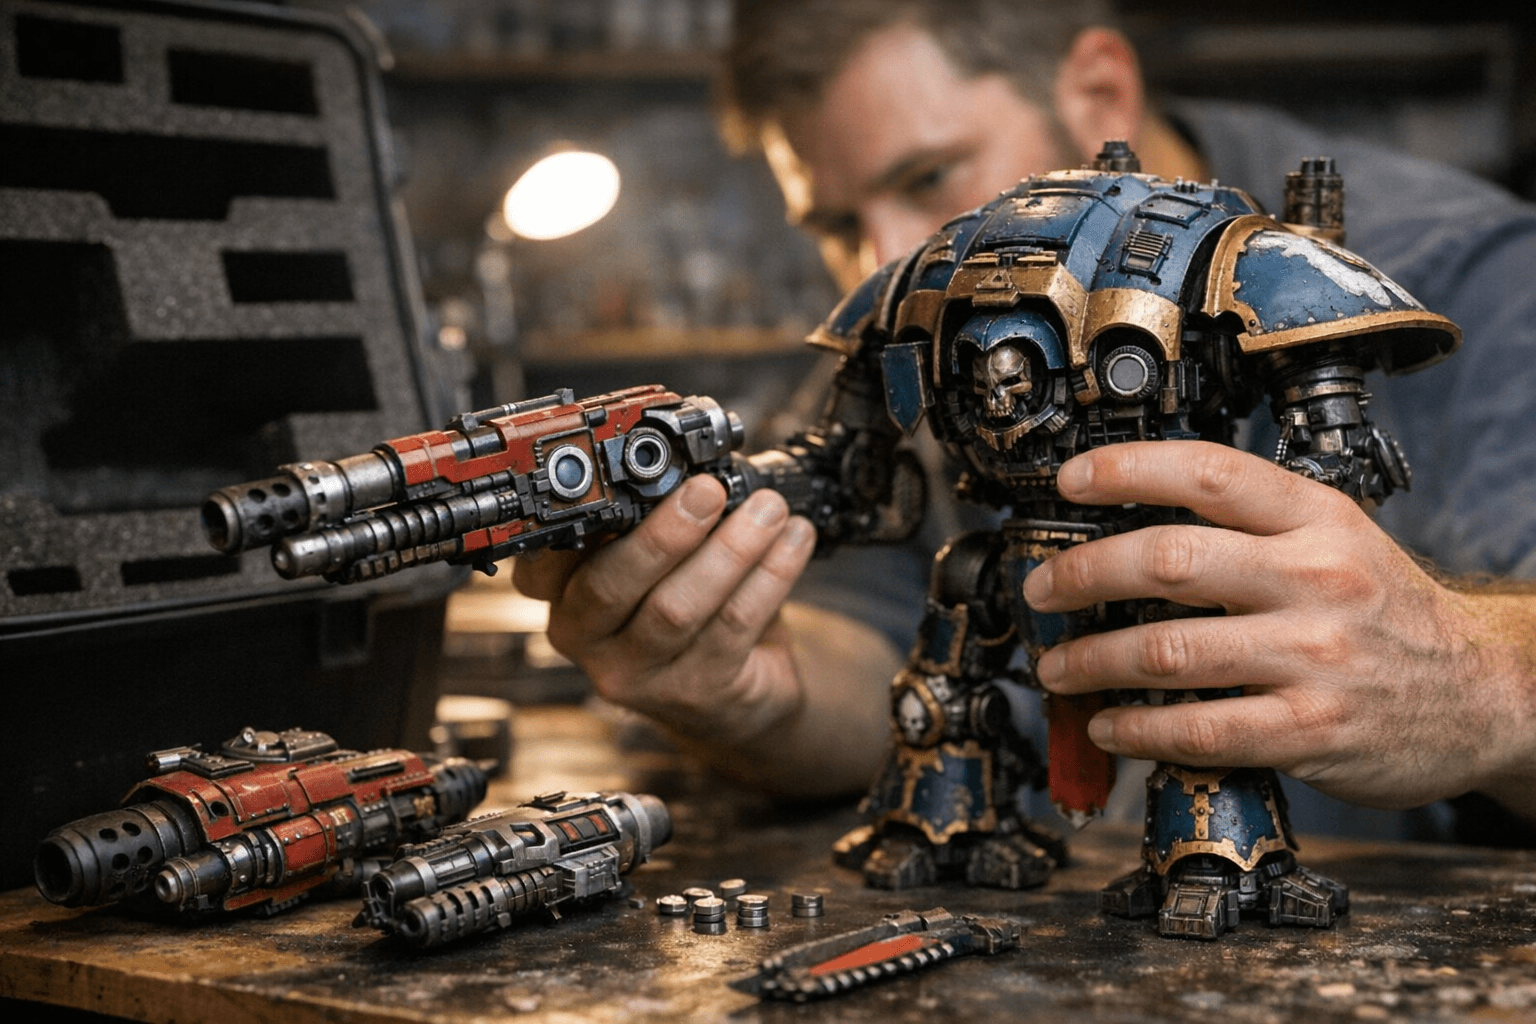
For particularly heavy armaments — a Thunderstrike Gauntlet or a Volcano Lance, for example — consider a hybrid magnet and pin system. Drill mating holes in both halves, epoxy a short plastic rod or a trimmed paperclip into one side, then glue the magnet over the top. The pin takes the mechanical load; the magnet handles alignment and retention. It's a belt-and-braces approach that makes the joint nearly indestructible.
Once all magnets are fitted and cured, assemble the full model and check its balance. Some Knights carrying heavy arm weapons need small foam pads in the feet or a modest amount of added weight in the torso to prevent tipping. Better to discover this on your workbench than at a tournament table.
Common Pitfalls and How to Fix Them
- Magnets repelling: caused by incorrect polarity. Always test against a spare magnet before gluing; establish a consistent marking system for pole orientation.
- Over-drilling: the depth stop masking tape technique exists specifically for this. Use it every time. Test the depth frequently as you drill.
- Fragile weapon joints: use two magnets side-by-side or a hybrid pin/magnet system for any weapon heavier than a standard arm cannon.
- Misdrilled magnet hole: carefully re-drill a slightly larger hole and bed the magnet with epoxy rather than super glue, which gives a stronger fill in an oversized cavity.
Best Practices for the Long Game
Magnetisation is best done before priming and painting. Gluing operations near finished paintwork risk chipping or marring surfaces, and the ability to remove weapons for separate airbrushing is one of magnetisation's best secondary benefits: you can prime arms in a different colour, apply precise OSL effects, or touch up weathering without masking a fully assembled Knight. Removing arms for painting access alone justifies the time investment.
Keep a small dedicated magnet test set in your hobby case. When a new weapon kit arrives months later, you can immediately verify polarity and check that your existing drill sizes still match without hunting through old notes. Speaking of notes: photograph magnet positions and record your drill sizes after every build. A simple photo on your phone with a caption noting the bit size takes ten seconds and becomes invaluable when you return to a kit a year later or build a second Knight for the same Household.
If the prospect of drilling into a freshly assembled Knight chassis feels daunting, practice first on a spare sprue or an inexpensive kit. The technique normalises quickly, the margin for error is wider than it initially appears, and a Knight that can swap from a Rapid-Fire Battle Cannon loadout to a Thermal Cannon setup between rounds is a genuinely better hobby object than one that cannot.
This article was produced by Prism’s automated news system from verified source data, official records, and press releases, then run through automated quality and moderation checks before publishing. The system is built and supervised by the people who set the standards it runs under. Read our full AI policy.
Did this article answer your question?