How to Photograph Miniatures: Lighting, Stability, and Background Tips
Your painted army deserves better than a blurry Discord upload. Ten minutes, two lamps, and a sheet of paper can transform how your miniatures read anywhere judges or followers see them.

When James Taro won the Solo Entrant category at Armies on Parade 2025, the community reaction focused on one detail: his Legions Imperialis Titans were so meticulously photographed that viewers genuinely mistook them for full-scale God Engines. The painting was exceptional, yes, but the photography made it legible. That gap between "good paintjob nobody can see properly" and "paintjob that stops the scroll" is almost entirely a lighting and setup problem, and it is one you can close in about ten minutes before your next post.
The framework that works across Warhammer Community guides, Goonhammer's photography walkthrough, and the Warhammer Guild how-to is consistent: lighting comes first, then background, then camera settings, then composition. That is your priority ladder. Fix each rung in order and the photograph improves at every step.
Do This First: The Household Setup
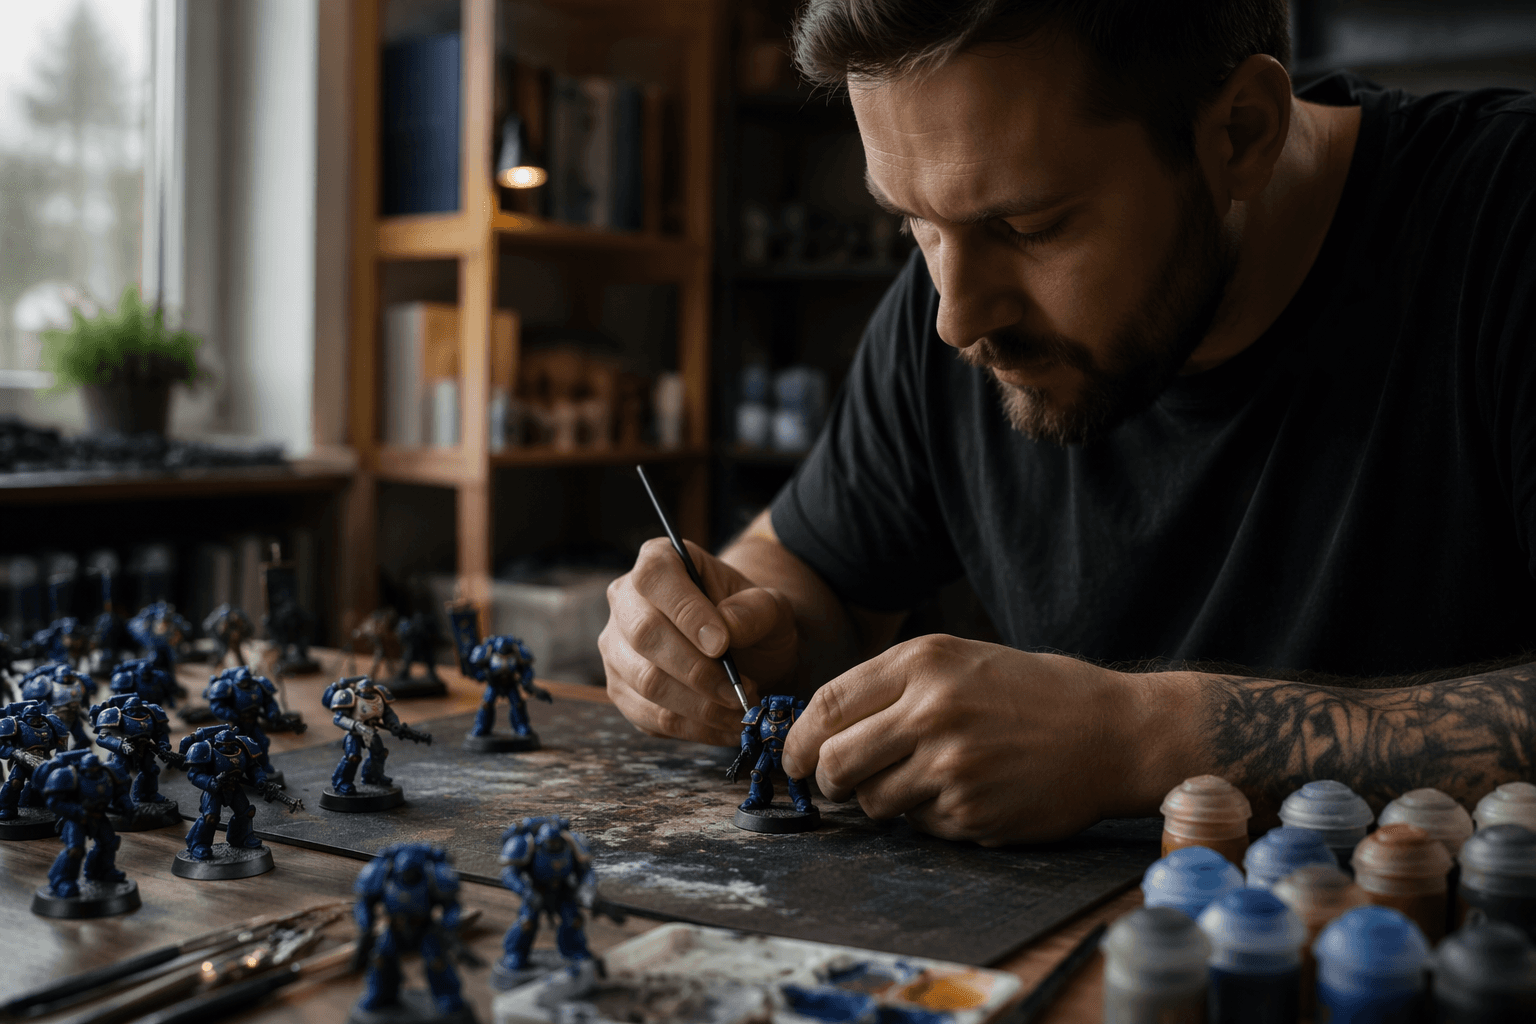
Before you buy anything, do this. Place your model on a sheet of plain white A4 paper curved up against a box or book stack to create a seamless backdrop. Set two desk lamps or any two daylight bulbs (5000–6500K if you have them, warm white if you do not) roughly 45 degrees to the left and right of the model, slightly above it and aimed inward. If you only have one lamp, fold a sheet of white card and prop it on the opposite side: it acts as a reflector and bounces enough fill light back to kill the worst shadows. Put your phone on a stack of books, set a two-second timer to eliminate handshake, switch to portrait or macro mode, and shoot.
That setup costs nothing. It produces a photograph that is clean, evenly lit, and usable on Reddit, Instagram, or Discord right now.
Priority 1: Lighting
Lighting is the single variable that matters most, which is why it sits at the top of the ladder. The goal is soft, even illumination that wraps the model without casting deep shadows into recesses or blowing out edge highlights. Two diffused sources at roughly 45 degrees left and right, positioned slightly above the subject, achieve both: glare drops away and the light reads the contours of the sculpt without flattening them.
Two lamps positioned in front and slightly to either side of the model work best, lighting the front of the miniature. Daylight-temperature bulbs in the 5000–6500K range give the most accurate colour reproduction and are the standard recommendation across hobby photography guides. Avoid mixing colour temperatures, such as one warm bulb and one cool, unless you are deliberately going for a stylised atmospheric shot. Mixed temperatures create colour casts that post-processing cannot fully remove and that make paint colours read incorrectly.
Priority 2: Background
A plain white background, such as a piece of paper stuck to a sturdy backdrop, is a quick and easy solution and perfectly suitable for the job, providing a neutral backdrop for your models. For competition submissions including Golden Demon and Armies on Parade, neutral backgrounds, plain grey, black, or white, are the correct choice: they communicate the paintwork without distraction. Scenic or printed backdrops work well for display posts and editorial-style social content but can compete visually with the model when the background pattern is busy.
For dark backdrops, a black foamcore trifold hanging about eight feet back from the model means that nearly no light reaches it, keeping it clean and separate from the subject. The separation matters for both visual clarity and flexibility in post-processing. If your background is too close and picks up the same light as the model, you lose the ability to control them independently.
Priority 3: Camera Settings
Modern smartphones with macro or portrait modes are genuinely capable of producing competition-quality images. If you own a mirrorless camera or DSLR, use a macro lens in the 60–105mm equivalent range for sharp close focus. Either way, the settings that matter most are ISO, aperture, and focus mode.
Keep ISO between 100 and 400. Higher ISO introduces noise that appears in flat colour areas like armour panels and destroys the smooth gradients in blended transitions. For aperture, f/5.6 to f/11 gives sufficient depth of field to keep the front of the model and the back of the model sharp simultaneously while retaining fine detail. F/8 with ISO 100 is the specific combination that delivers optimal results on many compact and DSLR setups. Use manual focus if your camera allows it: autofocus systems often hunt across a textured miniature surface and lock onto the wrong plane.
If your model appears really small in the viewfinder, your camera likely has a zoom function. These distances work well for 18-megapixel cameras; lower-resolution cameras may need to be placed closer to capture sufficient detail.
Priority 4: Stability and Composition
Handshake is the invisible killer of miniature photos. Even a small amount of movement during a slow shutter exposure, which low-light miniature photography often requires, softens edge highlights and washes out fine linework. Mount your phone or camera on a tripod and use a remote shutter release or the two-second self-timer. This is non-negotiable for close detail shots where the depth of field is shallow and any movement causes blur.
For framing, shoot at least three crop levels for each finished model: a full-body shot showing the base and full silhouette, a three-quarter crop that captures the torso and main detail areas, and one or two tight detail shots focused on the face, the weapon, or whatever paintwork you most want to show off. Multiple angles gives you content for different platforms and documentation for competition judges who need to assess specific techniques.
Slightly off-centre framing adds dynamism for social posts; centred framing with generous negative space reads as a catalogue shot and is the right choice for White Dwarf submissions or Golden Demon documentation.
Post-Processing: The Last Ten Percent
Even basic editing in a free tool like Snapseed, specifically the Curves function under Tools, can correct brightness and levels without requiring photography expertise. The adjustment improves almost every image.
Adjust white balance first to neutralise any colour cast from your bulbs. Then lift exposure slightly if the image is dark, watching that highlight areas do not blow out. Selectively boost clarity or sharpness to emphasise wash lines and edge highlight details rather than applying global sharpening, which creates artefacts in smooth areas. Avoid heavy saturation increases: they look striking as a thumbnail but destroy the subtle temperature shifts that make blended skin tones and Object Source Lighting read correctly.
Export a high-quality JPEG for social media. Keep a TIFF or RAW master file for any competition submissions where organisers may request original uncompressed images.
The Optional Next-Step Kit
Once the free household setup has become a habit, the upgrades that return the most for the spend are:
- A purpose-built lightbox with diffusion panels (under £30 from most photography retailers), which gives consistent light placement every session without rebuilding your lamp arrangement
- Adjustable colour temperature desk lights (5000–6500K switchable), so you can match your reference paint photos exactly
- A small tripod or phone clamp with a remote shutter trigger (under £15 combined)
- A macro lens attachment for your phone if you do not own a dedicated camera (clip-on options exist from around £20)
Where the Photo Actually Gets Judged
The reason this matters beyond personal satisfaction is that every major community showcase uses photographs as the primary record. Armies on Parade 2025 accepted online entries with a submission deadline of 23:59 BST on October 5th, with the awards ceremony streamed live on November 13th. Winners were selected entirely from photographs: no judge handled the physical models. Golden Demon 2026 ran at AdeptiCon in Milwaukee from March 26 to 29, with the ultimate prize being the Slayer Sword awarded to the best Gold winner across all categories. In-person Golden Demon judging does involve handling the model, but the documentation photographs that accompany entries, and the images that reach the community afterwards, are what define how the work is perceived and remembered.
Warhammer Community's photography guide was created specifically so that hobbyists could send pictures in to be featured in the pages of White Dwarf, noting that the models appearing regularly in the Readers' Models section are there partly because those painters took the photography tips on board. That pipeline, from finished model to digital image to published feature, runs entirely on the quality of the photo. Photos that do not make the White Dwarf cut share common problems: they are dark, the subject is cropped at the edge of the image, the resolution is too low, or the background is not white.
Every one of those problems is solved by the setup described above. The paintwork on your shelf has already done the hard work. The photograph is just ten minutes standing between it and the audience it deserves.
This article was produced by Prism’s automated news system from verified source data, official records, and press releases, then run through automated quality and moderation checks before publishing. The system is built and supervised by the people who set the standards it runs under. Read our full AI policy.
Did this article answer your question?