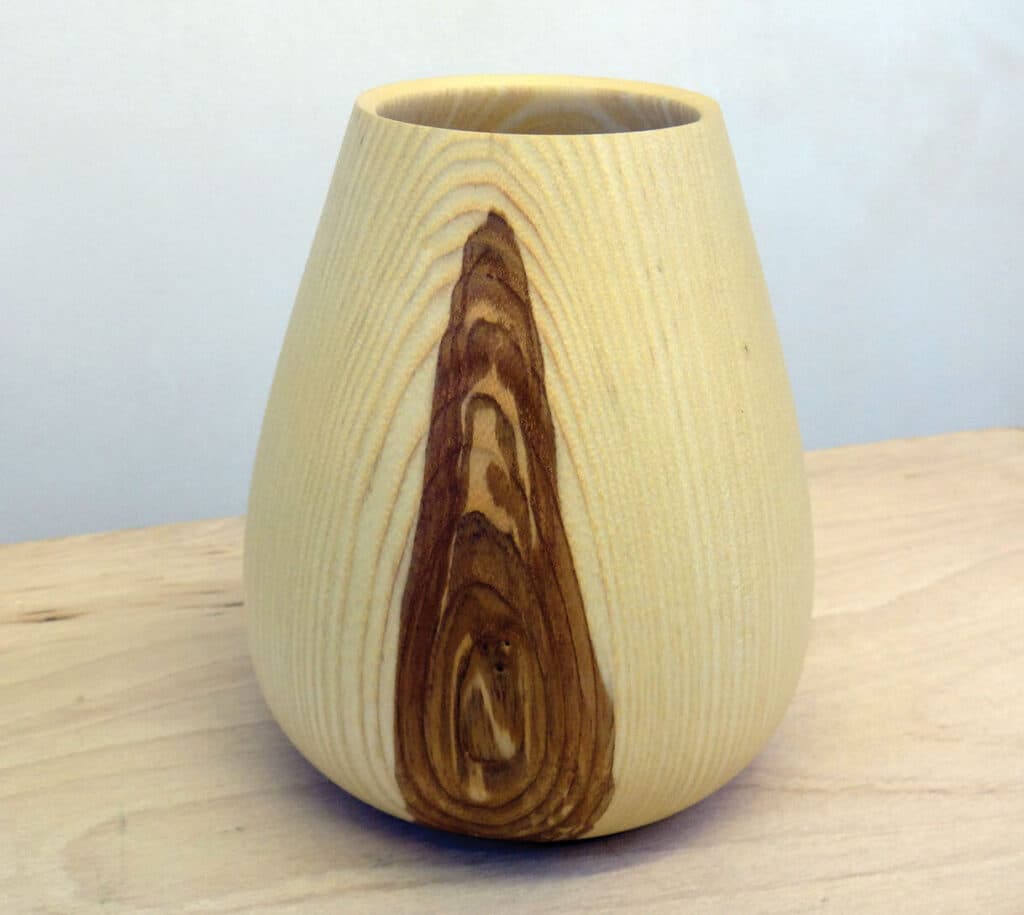
From Raw Log to Finished Bowl, Speedy Woodturning in No Time
Green log to finished bowl faster than you'd think — here's the workflow that makes rapid woodturning actually work.

There's a particular kind of satisfaction in walking into the shop with a freshly cut log and walking out with a bowl the same day. Most turners assume that kind of speed means cutting corners, but the truth is that a streamlined raw-to-finished workflow is less about rushing and more about making smart decisions at every stage. Once you understand where the time actually goes, you can compress it without sacrificing quality.
Start with the right log
Not every piece of wood is a good candidate for a fast-turn project. Green wood is your friend here — it cuts faster, puts less stress on your tools, and doesn't require the weeks of drying time that air-dried blanks demand. The trade-off is movement: green wood will warp as it dries, which means you need to account for that in your wall thickness. A general rule of thumb is to rough-turn your bowl to about 10% of its diameter in wall thickness, then let it dry before finishing. But if you're going truly speedy, there are species that are more stable and more forgiving — cherry, maple, and walnut all behave reasonably well for a same-session project if you're working with smaller diameter pieces.
When you're selecting your log, look for:
- No major cracks running toward the pith — the center of the log is a tension nightmare and should usually be excluded from your blank
- Grain that runs as parallel to the bowl axis as possible, which reduces tearout on the inside
- A diameter that gives you room to work but doesn't require extended rough-out time — 6 to 10 inches is a sweet spot for a fast project
- Clean ends without significant checking, which tells you the wood hasn't been sitting long and is still workable
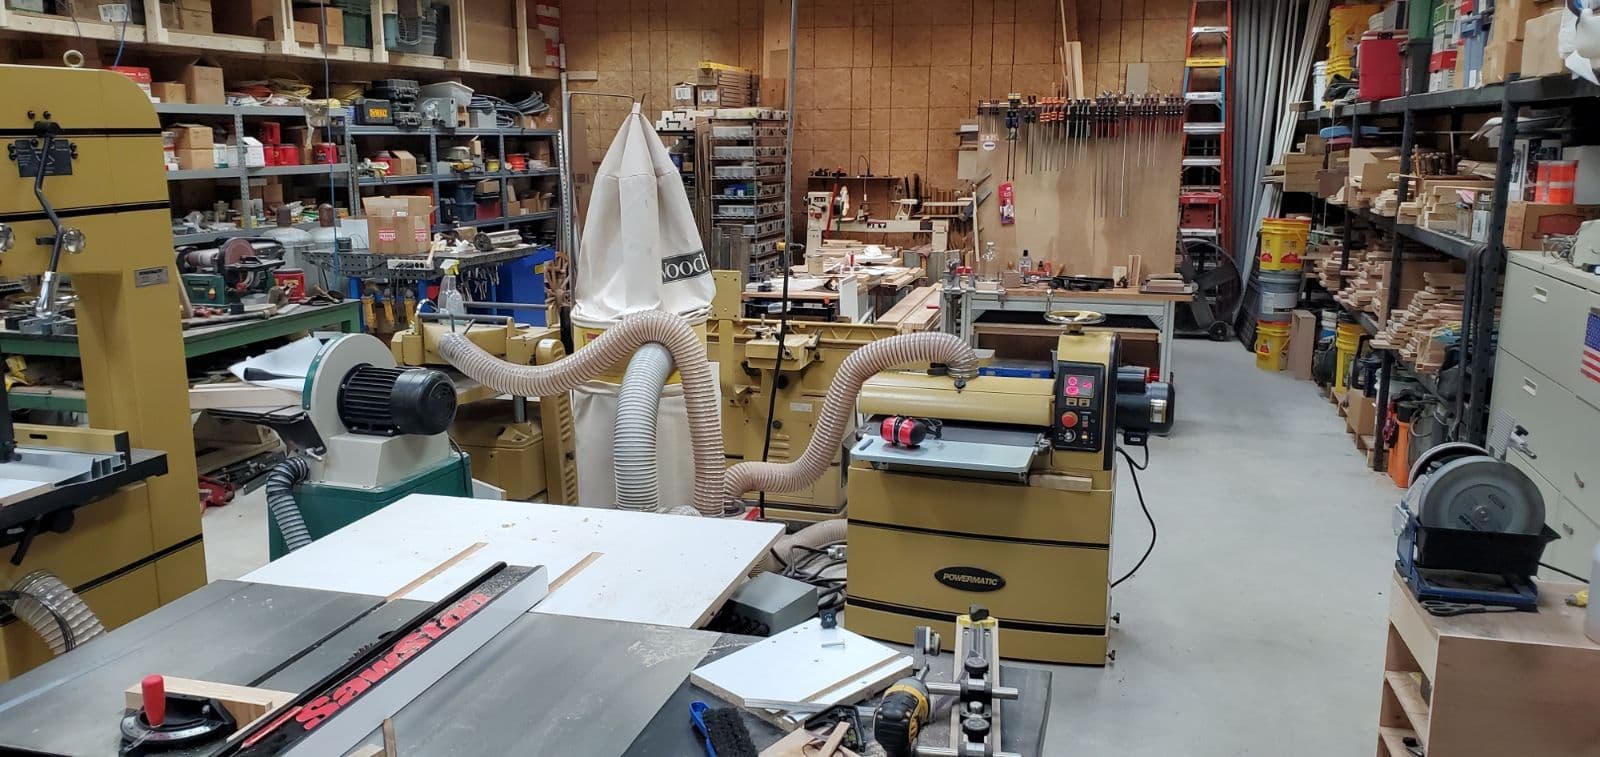
Breaking down the blank
This is where a lot of turners lose time unnecessarily. A chainsaw or a bandsaw with a decent fence will break your log down into a usable blank faster than any other method. Cut your log to length first — your blank should be roughly as long as it is wide for a standard bowl form — then split or saw off the pith. You're looking for a blank that gives you centered grain and eliminates the structural weak point at the log's core.
Mount the blank between centers first, not on a faceplate. This gives you the flexibility to find the best orientation for your bowl before you commit to a glue block or screw chuck. Spin it by hand, watch for major wobble, and adjust your tailstock center until the rotation feels balanced. A few minutes here saves you significant vibration problems once the lathe is running.
Rough turning: go fast, stay controlled
With the blank mounted and the lathe at an appropriate speed for the diameter (larger blanks need lower RPM — a 10-inch blank shouldn't be spinning faster than 500-600 RPM during the rough-out), your goal is material removal. This is not the time for refined cuts. A bowl gouge with a swept-back grind, something like a 1/2-inch or 5/8-inch gouge, will move wood efficiently. Work from the rim toward the base on the outside, keeping your flute oriented between 10 and 11 o'clock and your tool rest close to the work.
Don't try to get your final shape on the first pass. Get close, reduce the blank to a manageable form, and focus on establishing your wall thickness. For a same-day finish, you want walls that are even and somewhere between 3/8 and 1/2 inch — thin enough to dry reasonably fast if you're going to let it move, thick enough to turn on the inside without blowing through.
Hollowing the interior
Once the outside is shaped and you've cut your tenon for the chuck, reverse-mount and start hollowing. Work from the center outward, pulling the gouge toward you and keeping the bevel rubbing. This is where tearout becomes the biggest issue, especially near end grain at the sides of the bowl. A sharp tool is non-negotiable — if you're fighting the wood, your edge needs attention, not more pressure.
Take the interior down to match your wall thickness. Use calipers constantly; you don't want to guess. For a fast project, a pair of double-ended bowl calipers will save you from pulling the piece off the lathe to check, which costs you time and risks losing your registration.
Sanding without losing your mind
Sanding is where fast projects can bog down if you don't have a system. Start with the coarsest grit that actually addresses your surface — if your tool work was clean, that might be 120. If you left significant tool marks, start at 80. Work through your grits systematically: 80, 120, 180, 220. Don't skip grits; you'll just create more work at the finer end.
For green or partially green wood, wrap your sandpaper around a foam block rather than using it flat. This conforms to slight surface irregularities and keeps you from creating flat spots. Power sanding with a drill-mounted disc speeds this up considerably — a 2-inch or 3-inch pad with hook-and-loop paper will take care of the interior in a fraction of the hand-sanding time.
Finishing the same day
For a true raw-log-to-finished-bowl session, your finish needs to be practical. Wipe-on finishes are the fastest and most forgiving option. A wipe-on oil-varnish blend, or even straight boiled linseed oil for a more traditional look, can go on right at the lathe with the piece still spinning. Apply it with a cloth, let it penetrate for a few minutes, then buff it off. For a harder surface, a wipe-on poly applied in two or three thin coats with a light scuff between them gives you something more durable without adding significant time.
If the wood is still slightly green, avoid film-building finishes entirely — the continued movement in the wood will crack a thick film finish as it dries. Penetrating oils are your best option in that case; they move with the wood rather than against it.
The bigger lesson
Speed in the shop isn't about moving fast; it's about eliminating hesitation. Knowing what cut to make next, having your tools sharp before you start, and making decisions at the log selection stage rather than correcting mistakes at the lathe — that's what compresses a multi-day project into a single satisfying session. The raw-log-to-finished-bowl workflow is one of the best exercises a turner can do precisely because it forces you to be deliberate about every step. Once you've done it a few times, those habits carry over to every project in your shop.
This article was produced by Prism’s automated news system from verified source data, official records, and press releases, then run through automated quality and moderation checks before publishing. The system is built and supervised by the people who set the standards it runs under. Read our full AI policy.
Did this article answer your question?