How to turn live-edge bowls with natural bark intact
The bark stays put when you choose the right blank, follow the log’s curve, and mount the bowl with balance in mind before the first cut.

Cherry, ash, oak, and box elder are reliable starting points for live-edge bowls when the bark is attractive and sound. The bark stays put only when the blank is chosen and mounted as if the tree still has the final say. Live-edge bowls get their drama from the scalloped lip, the elongated grain on the bottom, and the intact bark rim, but that look is built long before the gouge ever touches the wood. Miss the blank selection or the orientation, and the edge that looks so effortless in the finished bowl becomes the first thing to fail.
Start with wood that still wants to hold its bark
The harvest window falls in late autumn through early early winter, before the new cambium layer starts forming and the outer fibers are more likely to separate. The cambium is the growing layer between bark and wood, which is exactly why the timing matters so much when you want the bark to survive the turning.
Trees compartmentalize decay rather than truly heal wounds, so once a log starts sitting around, the bark edge and the fibers beneath it are already under pressure from cracks, fungus, and insects. Dale Larson makes the same point from the bowl blank side: unprocessed green timber does not improve with time, and a cherry bowl blank cut in July can show visible cracks within an hour. If the goal is to keep the rim intact, the clock starts at the moment the log comes down.
Burls are tumor-like growths that produce dense, highly figured wood, which gives you another way to end up with one-of-a-kind bowls that carry natural surface character.
Let the log decide the shape
A live-edge bowl looks organic because the blank is cut to follow the log’s curvature, not because the turner improvises the shape at the lathe. Choose a section with a broad arc, crosscut it slightly longer than the intended bowl diameter, and rip the blank from the log while it is supported in wedged chocks. That broad arc is what produces the oval, flowing profile instead of a hard-edged symmetrical form.
Marking the rough bowl profile before the cut makes that curvature easier to preserve. A chalk line on the bark gives you a visual guide for the rip, and a hardboard template helps when you rough out the circular blank on the bandsaw. The point is not to force the wood into a perfect round too early. It is to respect the geometry already present in the log so the rim keeps its natural edge and the bottom shows that elongated grain that makes the bowl read as live-edge from every angle.
Mount the blank for balance before you chase the rim
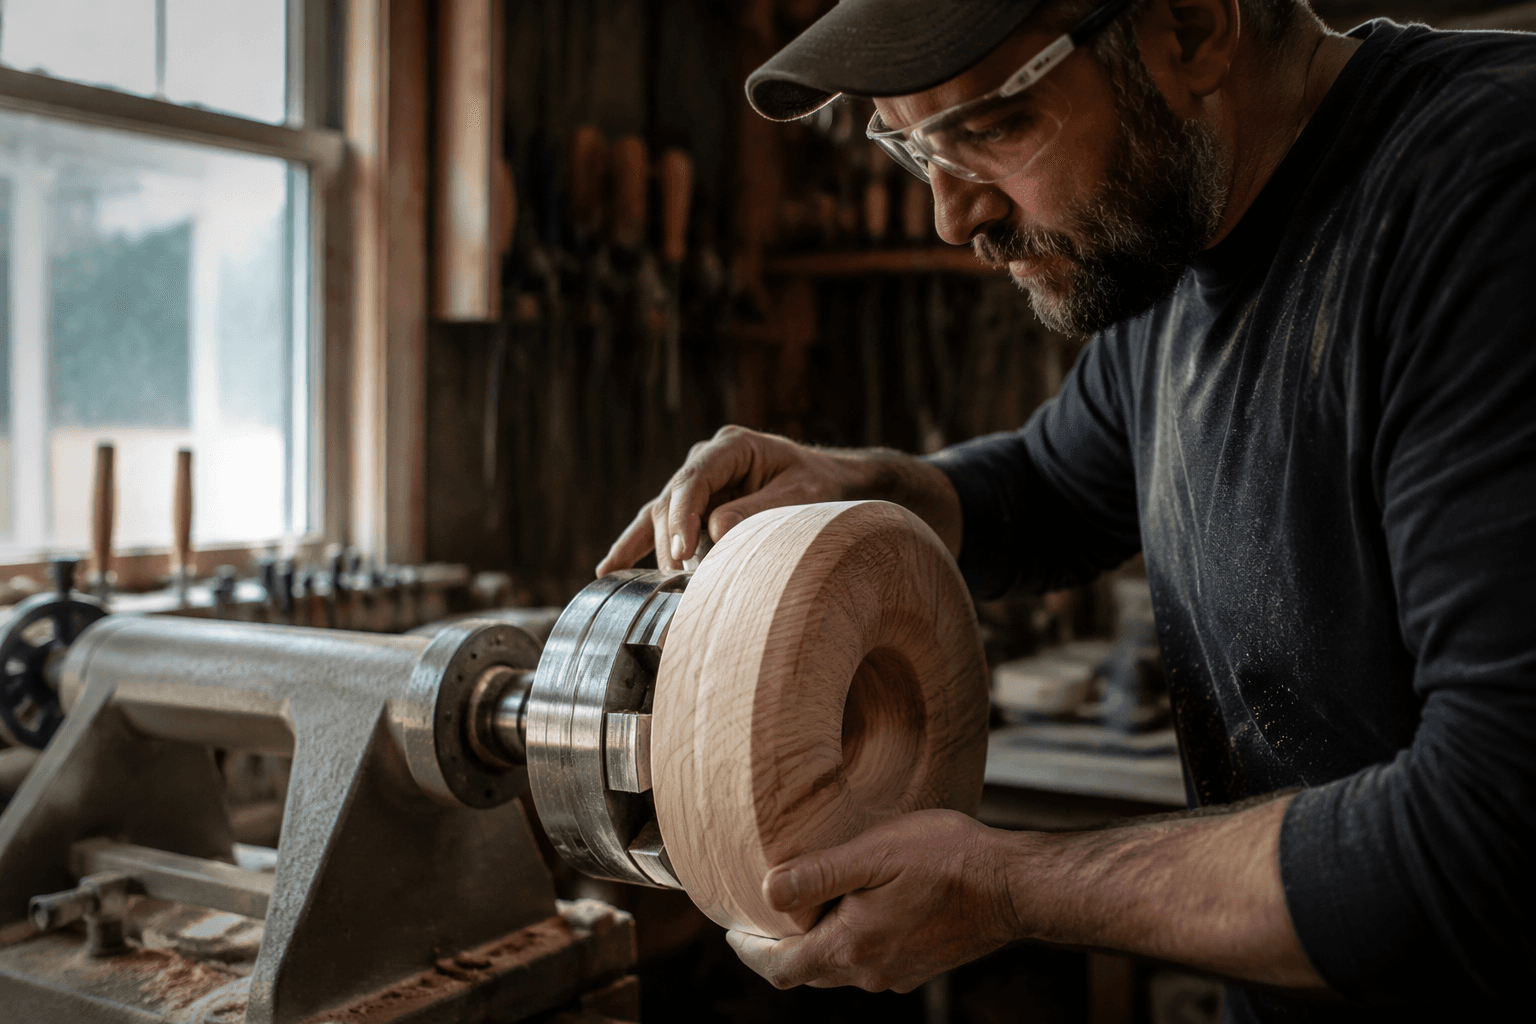
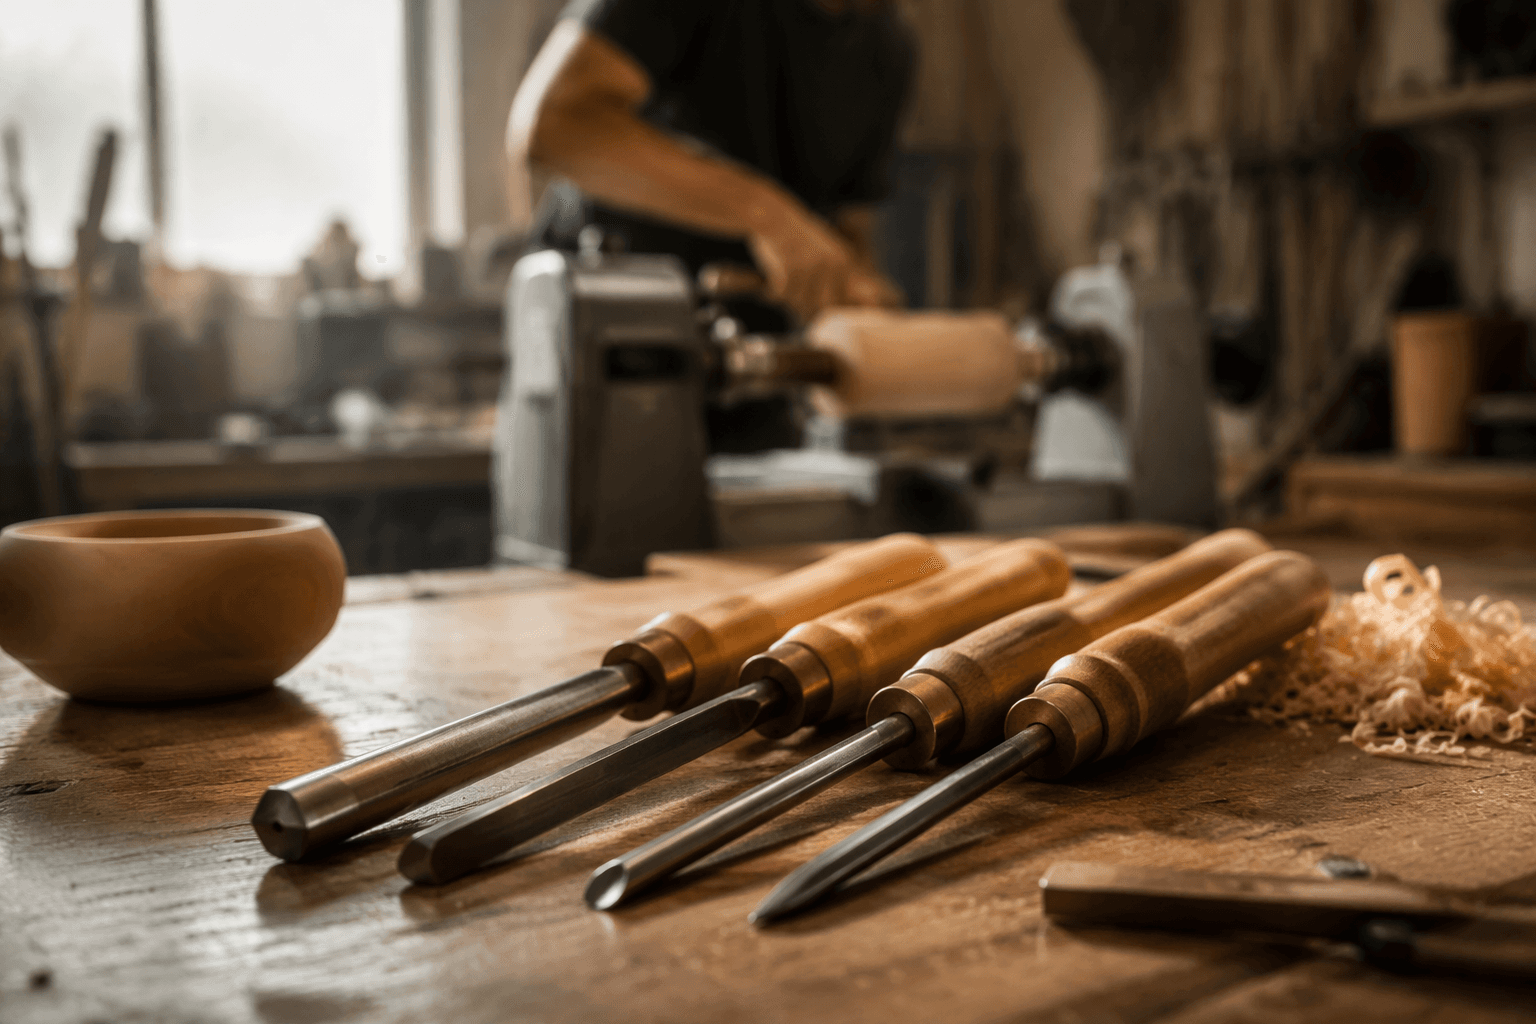
For this kind of work, the setup is straightforward but unforgiving. No special tools are required beyond a 4-prong drive center, a 4-jaw chuck, a cup center, and the usual turning tools. The difference between a bowl that keeps its rim and one that sheds it often comes down to how carefully the blank is centered and supported before the cut begins.
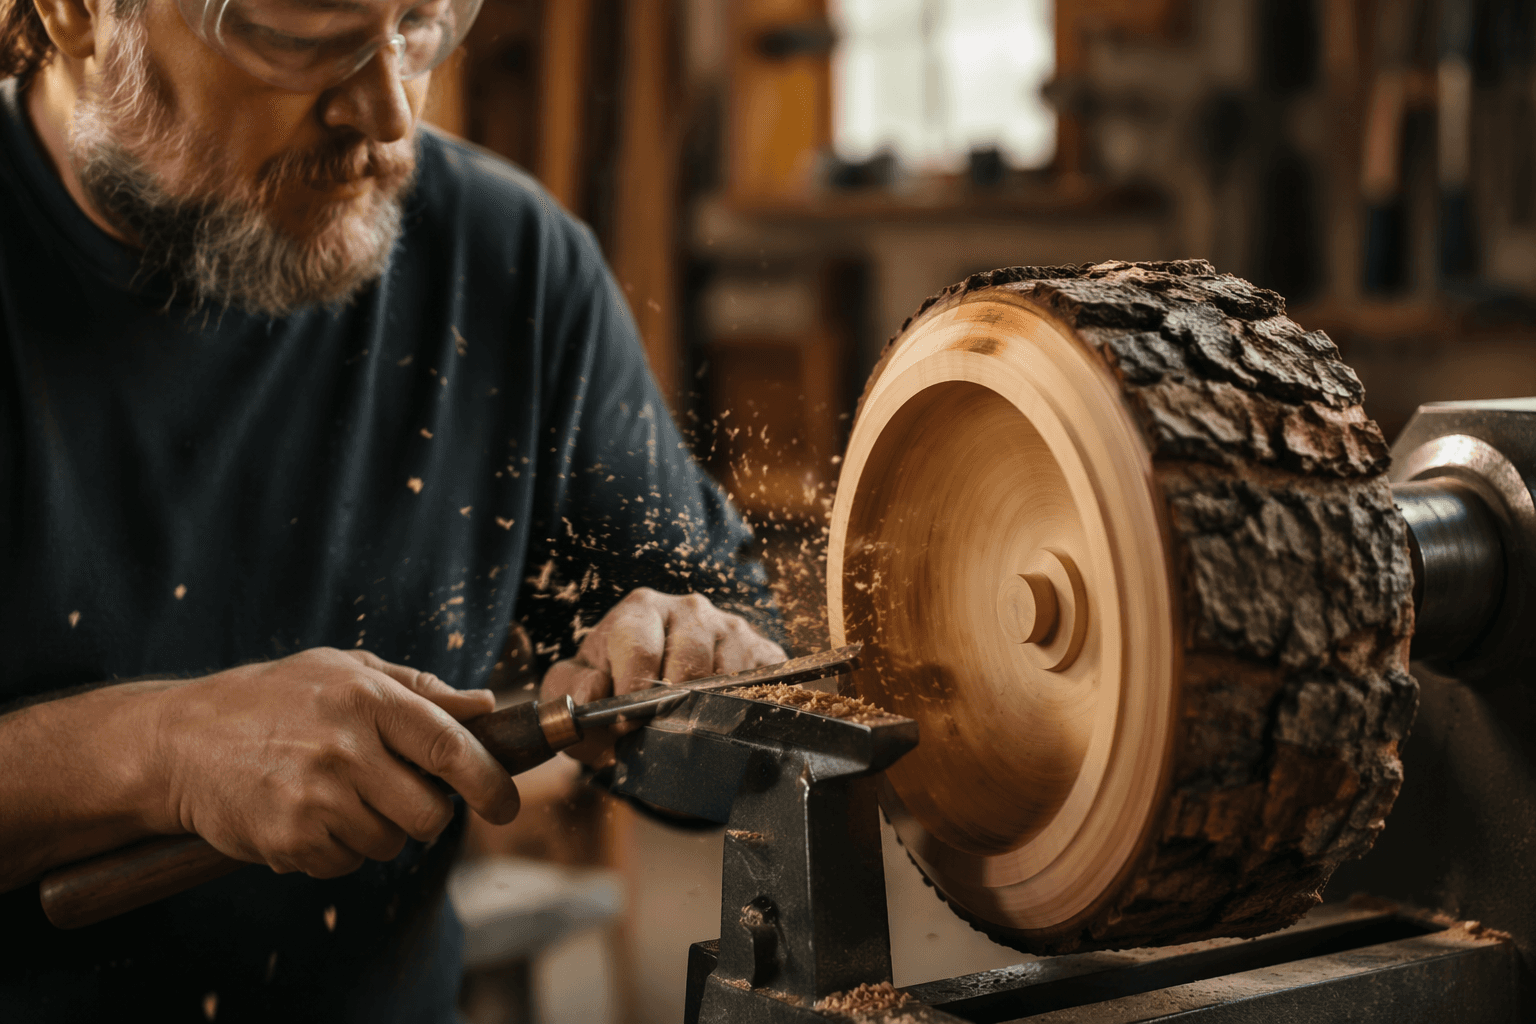
The practical sequence starts with a shallow blind hole drilled through the bark so the drive center can bite into solid wood. From there, the blank is center-balanced against the tailstock, which matters because live-edge bowls depend on stability and orientation as much as they depend on the cutter. In Cindy Drozda’s AAW handout, the drive center goes on the natural-edge side of the blank and the live center on the bottom mark, then the turner adjusts the live center until the blank can “rock” into the best rim balance. If the burl surface is too uneven, a shallow Forstner-bit cut can level it before turning begins.
If the blank is not balanced, the bark line will show it immediately. In practice, the safer speed is the one that lets the blank run true against the tailstock instead of chasing vibration at the rim.
Turn the bark edge with a light hand
Once the blank is stable, the cutting strategy has to match the material. Live-edge bowls reward controlled removal, because the bark and the thin transition beneath it are not forgiving of aggressive catches or heavy vibration. A conservative approach keeps the focus on the bowl’s profile and the rim’s integrity rather than on rushing to final shape.
That caution is especially important with green wood. Larson’s warning about unprocessed timber getting worse with time is not just about storage, it is about the way the blank behaves once it is on the lathe. The fresher the wood, the more you want to move efficiently from roughing to a safe, stable form, because every minute of delay gives the blank more chance to split, check, or shed bark.
The same principle explains why the bowl’s underside often looks so different from a standard turned form. The grain opens into a broad oval pattern in the bottom, and the bark edge preserves the log’s original contour at the top.
A style with a long shop memory
The American Association of Woodturners archive reaches back to 1986, and its history materials place Bob Stocksdale’s natural-edge bowls in the 1970s as part of the field’s broader expansion. James Prestini helped establish woodturning as serious art in the 1940s, and Mark Lindquist later pushed rough-hewn, expressive forms into the mainstream of studio work.
This article was produced by Prism’s automated news system from verified source data, official records, and press releases, then run through automated quality and moderation checks before publishing. The system is built and supervised by the people who set the standards it runs under. Read our full AI policy.
Did this article answer your question?