Bend Copper Wire Into a Tiny Minimalist Ring at Home
A copper wire ring costs under $5 and takes 10 minutes — but the difference between DIY and intentional comes down to gauge, smooth ends, and one polished partner piece.
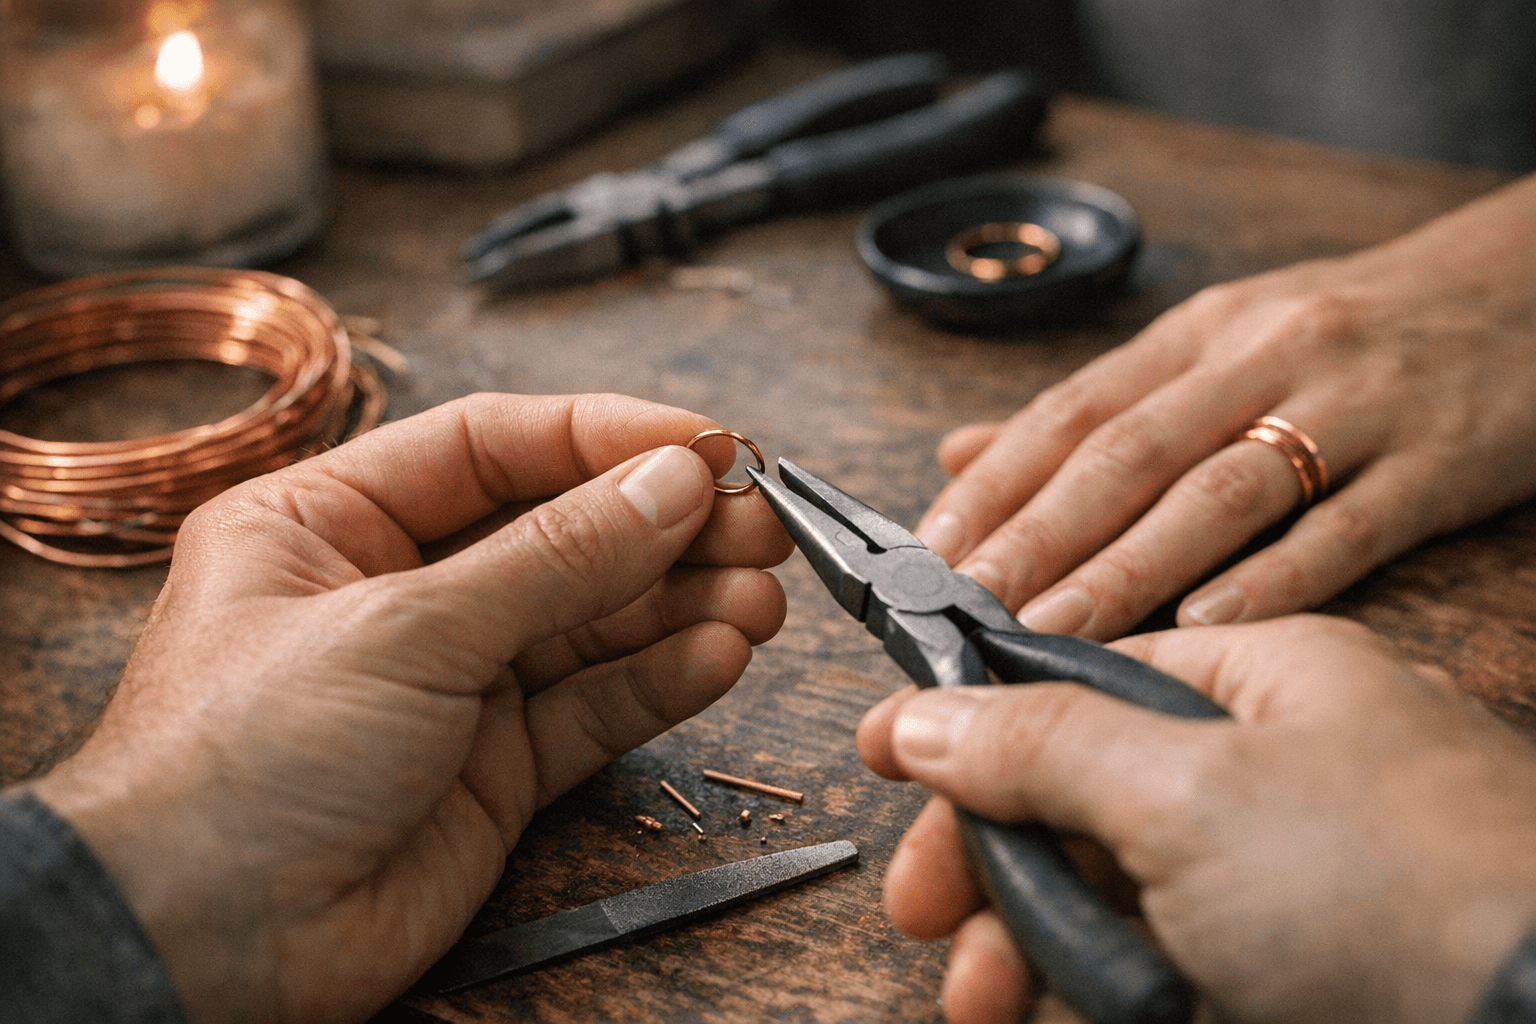
There is something disarming about a ring so thin it barely registers as jewelry until the light catches it. Hailey Bieber wore stacked wire bands before they became the internet's favorite styling trick; now the quiet ring stack has settled into the kind of everyday uniform that once required a trip to a boutique. It no longer does. With a coil of soft copper wire, round-nose pliers, and about ten minutes, you can bend a tiny minimalist ring that holds its own alongside the most considered fine jewelry.
The $5 Material List
The version worth making starts with 20- or 22-gauge copper wire. Twenty-two gauge is the beginner's gauge: soft enough to bend smoothly by hand, substantial enough to hold a circular shape without collapsing under daily wear. At higher gauges, wire becomes too delicate for a ring that will actually be worn; drop below 20 gauge and the wire starts to feel stiff and unforgiving when you're trying to achieve a clean curve. A 10-foot spool of 22-gauge copper craft wire costs roughly $4 at any hardware or craft store.
Beyond the wire, the tools are things most people already own or can substitute:
- Round-nose pliers (or a thick marker, a lipstick cap, even a pill bottle) for shaping the band
- Flat-nose or chain-nose pliers for tightening the loop and tucking ends
- A flush cutter or small wire cutter
- A nail file or fine jewelry file for finishing
- Clear nail polish or jewelry sealant (discussed below)
A ring mandrel is the professional tool for sizing, but any cylindrical object works in its place; the key is consistency, not equipment.
Sizing Without a Mandrel
Getting the size right before you cut is how you avoid waste and frustration. Wrap a thin strip of paper around the intended finger, mark where it overlaps, and measure that length. Add 3 to 4 millimeters of extra wire to account for the overlap at the join, then cut. This grace measurement is not optional: once copper work-hardens from handling, it shortens easily but doesn't lengthen.
Wrap the wire around your cylindrical form with steady, even pressure. The ring should feel slightly snug on the form because the metal will spring open fractionally when removed. If you're aiming for a size 6 and wrapping on a mandrel, wrap at the size 3 mark; the spring-back accounts for roughly three size increments. On a non-mandrel object, test-fit immediately after forming and adjust by pressing gently with padded pliers rather than bending with bare hands, which can create flat spots.
The Step That Separates DIY from Jewelry
Smooth ends are the single most important technical detail in wire ring making, and the step most casual tutorials skip. A wire end left raw from the cutter has a slight point on one side and a small burr on the other. That edge will snag fabric, scratch skin, and, in a stack, catch on neighboring rings.
The fix is a three-step finish:
1. Cut with flush cutters, placing the flat side of the cutter face-down toward the wire end you intend to keep. This leaves the cleanest possible cut.
2. File the tip in one direction using a fine jewelry file or the smooth grit of a nail file. Work around the cut edge, not just the flat face.
3. Burnish the end against a polishing cloth or even denim until no sharp sensation remains when you drag the tip across the inside of your wrist.
After filing, use flat-nose pliers to press each end inward, just a degree or two, so the tips curve toward the skin side of the band rather than standing proud. This small curve is what makes a wire ring feel like a finished piece rather than a coil.
A Necessary Word on Copper and Skin
Copper is a reactive metal. Worn against skin, especially in warm weather or over long stretches, it oxidizes and can leave a green tint on the finger. This is harmless but worth addressing before the ring goes on. Two coats of clear nail polish applied to the interior of the band, allowed to dry fully between coats, create a barrier that slows the reaction significantly. A dedicated clear jewelry sealant lasts longer. Reapply every few weeks of consistent wear.
For anyone with sensitive or reactive skin, the upgrade worth considering is gold-filled wire rather than raw copper. Gold-filled wire has a legally mandated layer of karat gold mechanically bonded to a base metal core; it wears far more like solid gold than like plating and sits comfortably against most skin types without any sealant needed. A 10-foot spool of 22-gauge gold-filled wire runs $10 to $15, still well under the price of a comparable boutique ring, and the color reads warmer and more refined in a stack.
The Quiet Ring Stack: How One DIY Ring Becomes Intentional
A single copper wire ring worn alone reads as a craft project. The same ring placed between a thin polished band and a small hoop on an adjacent finger reads as a considered stack. The difference is context, and context costs almost nothing to engineer.
The most effective pairing is one commercial piece with clean, professional finishing: a plain sterling or gold-fill band from a brand like Mejuri or Catbird, a small continuous hoop earring worn on the pinky or index, or a delicate chain ring. The contrast between the machine-polished finish of the store-bought piece and the hand-formed warmth of the wire ring is exactly what makes both look more interesting. Neither piece looks accidental; each appears chosen.
For stacking order: place the wire ring between two polished bands if wearing three, or alone on one finger while the polished band lives on a different finger of the same hand. Avoid stacking multiple wire rings without a refined anchor piece in the group; without contrast, the stack collapses into a craft fair aesthetic rather than a jewelry-editor one.
Keep metals consistent if you're new to mixing. Copper's warm reddish-gold tone pairs naturally with yellow gold-fill and brass; it reads muddier next to cool sterling silver or white gold. If your polish piece is silver-toned, use gold-filled wire rather than raw copper to bridge the two.
Daily Wear and Care
Remove the ring before washing hands, swimming, or applying lotion; soap accelerates oxidation and lotion leaves residue that dulls the metal. When the copper darkens, a paste of lemon juice and salt, left on for 30 seconds and rinsed clean, restores the bright reddish tone. Pat dry immediately and reapply sealant once the metal is fully dry.
The minimalist ring's power has always been its restraint: one thin line of metal that says something precise without demanding attention. A wire ring bent at home, finished properly, and worn as part of an edited stack proves that restraint is a skill anyone can practice with a $4 spool of wire and a little patience.
Know something we missed? Have a correction or additional information?
Submit a Tip