How to read maker’s marks on vintage jewelry correctly
A maker’s mark can point the way, but it never tells the whole story. Read the stamp with the clasp, the metal, the wear, and the history or it can mislead you.
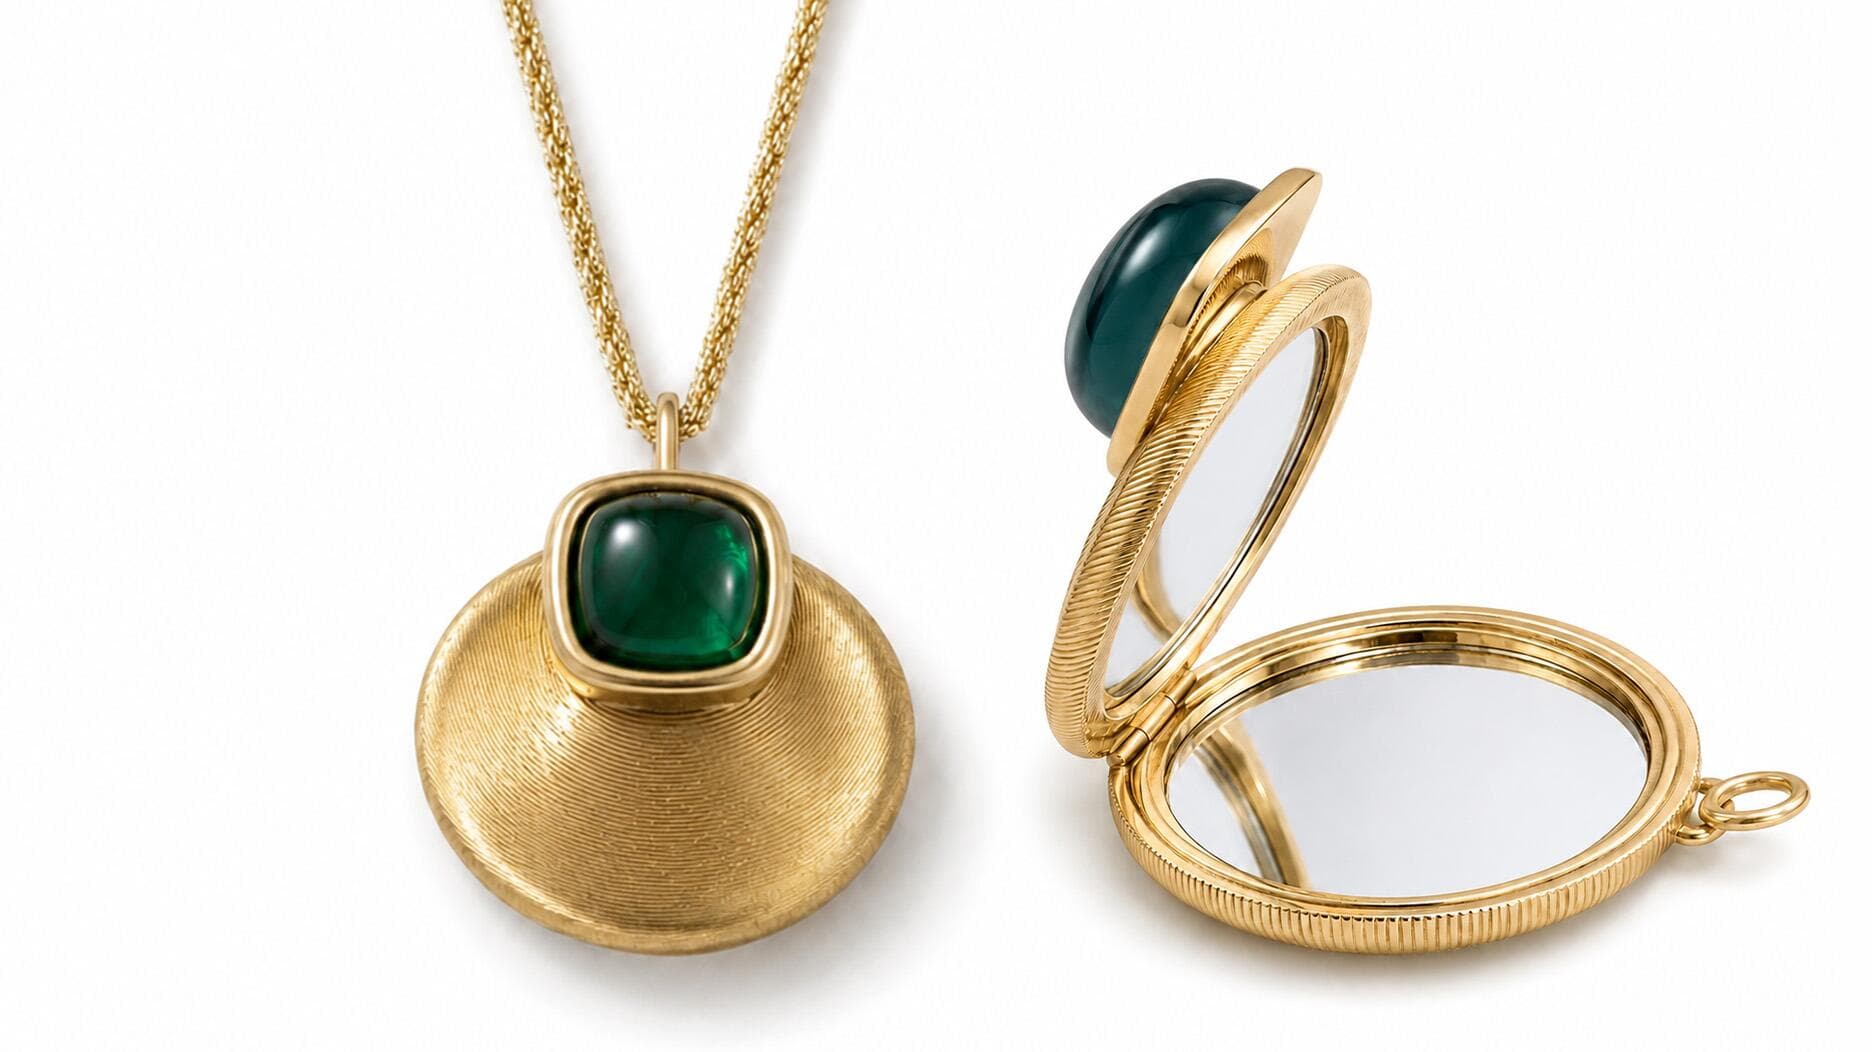
A maker’s mark can feel like a shortcut to a jewel’s identity, but on vintage pieces it is only the first clue in a much larger archive. The real read begins where the stamp meets the object: on the back of a brooch, inside a ring shank, near a clasp, or tucked into a cartouche that has survived decades of wear. That small impression may reveal authorship or origin, but it cannot, by itself, confirm age, authenticity, or value.
Start with what the mark is meant to do
A maker’s mark identifies authorship or origin, but the smartest way to read it is as one part of a broader marking system. Hallmarking in England dates back to 1300, when a statute of Edward I established the assaying and marking of precious metals to protect the public against fraud and unfair competition. That history matters because it explains the purpose of marks in the first place: they were created to support trust, not replace judgment.
In practical terms, a mark may tell you who registered it, who submitted the piece for testing, or which office handled the work. It does not always tell you the full story of who physically made the jewel. That distinction is crucial when you are looking at vintage and estate pieces, where retailers, workshops, and manufacturers were often linked but not identical.
Read the stamp with the object, not instead of it
The stamp should always be examined alongside placement, consistency, and context. A clear, well-placed mark on a ring or clasp can support the case for authenticity, but a mark that sits awkwardly, looks over-polished, or appears inconsistent with the rest of the piece deserves caution. Wear matters too: a piece with softened edges, old repairs, and honest abrasion may still carry a crisp mark, but the relationship between the stamp and the condition should make sense.
Font consistency is another quiet test. Genuine marks tend to sit naturally within the language of the object, while later additions can look too sharp, too shallow, or oddly proportioned. Look at the metal quality, too. A stamp that suggests one standard while the piece itself shows another kind of construction, alloy behavior, or surface texture should stop you before you assign a date or a maker.
Construction often speaks louder than the stamp. Hand-finished backs, riveted settings, old solder joints, and period-appropriate clasps all help place a jewel in its correct context. A mark on a piece with modern machine finishing or mismatched components may deserve skepticism, even if the stamp itself looks convincing.
Why British hallmarks still matter
If you are reading vintage jewelry from the United Kingdom, the system becomes more layered. Sheffield Assay Office says its registers of maker’s marks, now called sponsor’s marks, go back to 1773. It also notes that the sponsor’s mark identifies who registered the mark and submitted the item for testing and hallmarking, which is not always the same as the manufacturer.
That nuance changes the way you assign authorship. A sponsor’s mark can connect a jewel to a registered party, but it does not automatically name the workshop that fabricated it. For dating, the date letter is especially useful. Sheffield Assay Office describes it as a non-compulsory mark, but one that is highly useful for dating objects and marking special occasions, and it points readers to Bradbury’s Book of Hallmarks as a standard reference for this work.
For collectors, that means the mark can help anchor a piece in a period, but only if the surrounding evidence cooperates. If the style of the setting, the cut of the stones, and the finish of the metal all align with the date letter, the case grows stronger. If they do not, the stamp alone should not be allowed to overrule the object.
Treat marks as evidence, not verdicts
Marks can be misleading because they can be altered, misread, or divorced from their original setting. A replacement shank, a later safety catch, or a cleaned surface can change how a mark appears without changing the jewel’s deeper story. That is why professionals recommend cross-checking stamps with construction, metal testing, condition, and provenance before assigning age or value.
The Gemological Institute of America, established in 1931 to protect the gem and jewelry buying public, models that layered approach in its own reporting. Its jewelry reports include a photo, metal testing results, total item weight, markings, and an overall description. The structure is revealing: the marking is never treated as isolated proof, but as one field of evidence among several physical facts about the piece.
That is the standard to follow with vintage jewelry. A stamp may tell you where to look next, but metal testing tells you what the object is made of, total weight can support or challenge expectations, and condition can show whether a piece has been altered enough to complicate the reading. The most persuasive attribution is the one that survives comparison across all of those details.
Provenance completes the picture
Even the best mark does not explain a jewel’s journey. Provenance specialists at The Metropolitan Museum of Art ask two questions that every serious collector should borrow: who made the object, and what journey it took before it entered a collection. Those questions are especially important with inherited pieces, estate-sale finds, and jewels rescued from a drawer where labels have long vanished.
Provenance can confirm that a mark belongs where it should, or reveal that a piece has been remounted, recopied, or separated from its original context. A documented chain of ownership will not prove a stamp authentic on its own, but it can make a convincing case when paired with construction and material evidence. In vintage jewelry, history does not sit outside the object. It is built into the clasp, the bezel, the solder line, and the softened edge of a band.
How to read a maker’s mark correctly
Use the stamp as a starting point, then work outward. The sequence matters because the object itself should always have the final word.
1. Locate the mark and note where it sits.
2. Check whether the placement matches the piece’s construction and likely period.
3. Look for font consistency, depth, and wear that match the rest of the jewel.
4. Compare the mark with the metal quality, finish, and visible repairs.
5. Test the piece against known hallmarks, sponsor’s marks, and date letters.
6. Bring provenance into the frame before you settle on age or value.
Read this way, a vintage jewel becomes what it truly is: a small archive of decisions, repairs, trade practices, and ownership. The stamp is real evidence, but it is never the whole case. The pieces that reward the closest look are the ones that disclose their truth slowly, through the dialogue between mark and material.
This article was produced by Prism’s automated news system from verified source data, official records, and press releases, then run through automated quality and moderation checks before publishing. The system is built and supervised by the people who set the standards it runs under. Read our full AI policy.
Did this article answer your question?