Essential Safety Tips for Restoring Vintage Analog Synthesizers
Safety-first guidance for restoring vintage analog synths: disconnect power, document wiring, replace tired capacitors and check old 4000-series chips to keep machines playing.
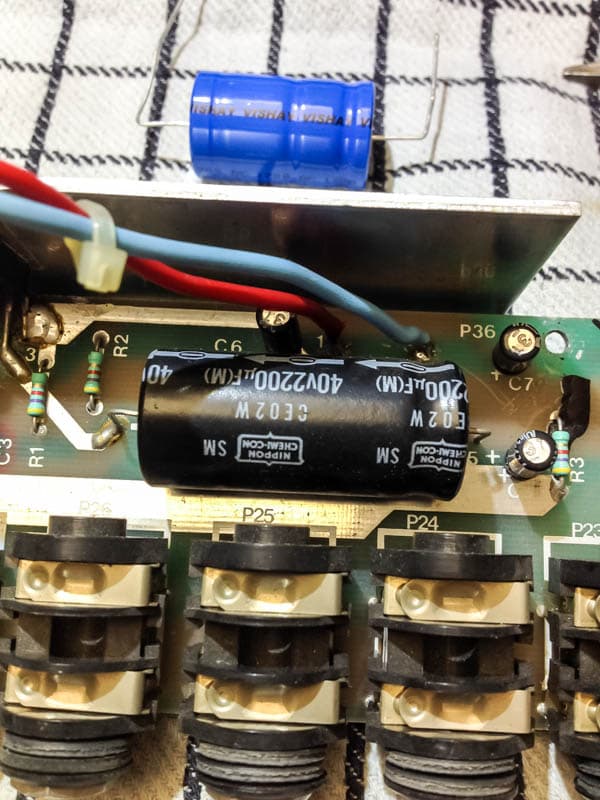
Disconnect power and discharge capacitors before opening any vintage synth. That simple rule is the foundation for every repair bench: capacitors store lethal charge and aging filter parts have taken abuse from the AC main line, so swapping them out keeps both you and the instrument safer.
Capacitors, too, also degrade over time. Keeping a handle on these two issues regarding one's vintage synthesizer(s) can lead to many more years of useful life for the machines. In practice, that means replacing worn electrolytics, renewing power-supply filter capacitors at least once in a synthesizer's life, and upgrading board decoupling where appropriate. Power-supply decoupling prevents glitch noise from switching logic, stops high-gain op amps from self-oscillating, and keeps rails cleaner overall. For board decoupling, replace the usual 0.1uF ceramic disc capacitors with monolithic dipped-ceramic parts and do the same for other decoupling values where the layout allows.
Old silicon and logic bring their own headaches. The 4000-series complementary metal-oxide semiconductor (CMOS) chips created in the early 1970s were originally a 6 micron fabrication process and were designed to supply a full set of logic functions and analog switching. Compared to today's microcircuit densities down to 0.07 micron, these old 6um chips must seem like bulky dinosaurs. That fact is they ARE! On instruments like the CS80, lack of decoupling around those chips can be why features such as polyphonic aftertouch fail first. Check decoupling and replace tired 4000-series ICs only after confirming faults with proper test gear.
Documenting every step saves hours at reassembly. Not so much a tool but a very good tip is to get a digital camera. When you start removing parts take photos of everything including wires and connections BEFORE unplugging boards and parts. Its much easier to then put back together a few days later when your scratching your head... I restore old moogs and that type of thing which have lots of wires soldered all over the place. Its very easy to break some off and have no idea where they went... a good close up photo will save hours of time!
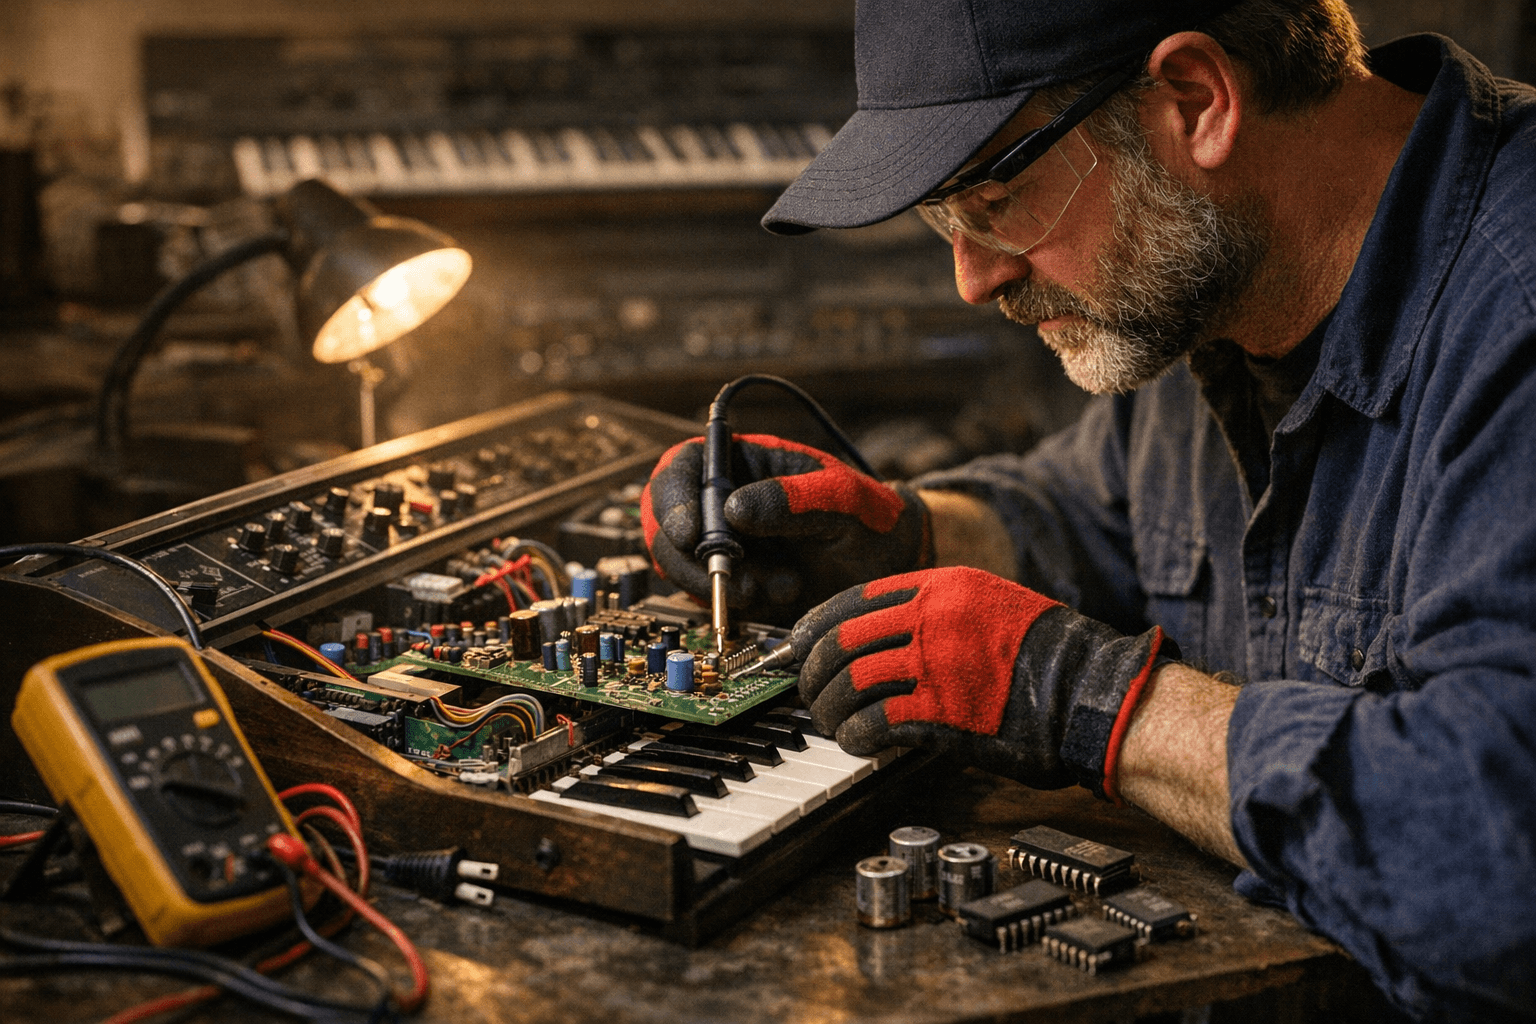
Equip the bench with practical tools: a temp-controled low-wattage iron (say 40 w, 1/32" cone tip), manual solder sucker and rolls of solder braid, picks and heat-sinks, fine flux-core solder, sharp mini cutters, IC pin straightener and IC remover tools, dental probes, haemostats, small long-nose pliers, micro screwdrivers, a lighted magnifier, and pads to prevent scratches. Start with a reliable DMM and a frequency counter; a 20 Mhz dual-chanel scope will handle many tasks. Learn how to use your metering gear. At some point you'll want a 'scope. Get one that runs fast enough to monitor clock signals to processors.
Practice makes steady solder joints: In fact, making cables is a decent way to practice soldering. Importantly, learn what's dangerous and don't do it. If mains voltages or large electrolytics are involved and you lack confidence, walk the job to a qualified tech.
Follow these steps and you'll extend the life of a CS80, a Moog, or any beloved analog voice. Replace tired caps, document every wire, respect vintage CMOS, and learn your tools - the payoff is fewer nasty surprises, more playable patches, and more time enjoying sound rather than chasing ghosts.
Know something we missed? Have a correction or additional information?
Submit a Tip

