Hands-on splicing and terminations for Dyneema and polyester rigging
Take control of your standing and running rigging: practical splices and serviceable terminations for Dyneema and polyester, laid out in a shop‑manual style for hands‑on sailors.
1. Purpose and scope
This hands‑on rigging and splicing primer is written for sailors who want to take control of standing and running rigging maintenance, especially splicing synthetic lines (Dyneema, polyester) and making serviceable terminations. The guide is formatted as a shop manual to keep procedures practical, stepwise, and easy to replicate at the dock or in your boat shop. Expect focused, actionable steps rather than theory-heavy explanations: the aim is maintenance and usable terminations you can trust.
2. Essential terminology
Before you pick up a fid, get the language right: "standing rigging" means the fixed forestays, shrouds and backstays, while "running rigging" covers sheets, halyards, and control lines, both are covered here in the context of Dyneema and polyester. Knowing whether a line is load‑bearing (standing) or service‑flex (running) matters because splices and terminations differ in procedure and safety margin. This primer emphasizes terms you will use in the shop manual workflow so you and your crew communicate clearly during repairs.
3. Tools and basic materials
Working on synthetic lines requires a small, repeatable toolkit tailored to polyester and Dyneema splices and terminations; assemble a fid, sharp snips, heat source, tape, marker, and a length of whipping twine or heat‑shrink sleeve. Because this guide focuses on synthetic rigging, choose tools compatible with low‑melting fibers: for example, cut with tools that make clean shears and use heat carefully on Dyneema and polyester. Lay out your tools in a shop‑manual sequence so each item is at hand when performing splices and serviceable terminations.
4. Safety and inspection before you begin
Inspect the target line as part of the procedure: check for chafe, UV damage, and any distortion that could indicate internal failure, maintenance of standing and running rigging is the primary goal of this primer. For lines in service on standing rigging, factor in the consequences of failure and treat those splices and terminations with higher scrutiny. This manual approach keeps safety front and center: if the line shows significant wear, replace it rather than splice it into a critical standing rigging termination.
5. Preparing the line: measuring, marking, and stopping ends
Accurate measurement and marking are the foundation of any splice or termination for Dyneema and polyester; measure twice and mark with permanent ink or tape where each tuck or bury will end. Stop the working ends against unraveling with tightly wrapped tape or a temporary whipping so the synthetic fibres do not fray during the shop‑manual steps. Preparing a consistent, clean end simplifies both polyester splices and the tighter, heat‑sensitive buries required with Dyneema.
6. Splicing polyester: standard eye and backsplice
For polyester running rigging and many standing uses, a conventional eye splice or backsplice is reliable when executed to the lengths and tucks appropriate for the diameter, follow the shop‑manual tucking schedule you’ve marked. Polyester tolerates hand‑tucking and mechanical assistance; test the splice under a controlled load after splicing to confirm correct seating. Finish polyester splices with a secure whipping or sew the tail for extra abrasion resistance as part of making a serviceable termination.
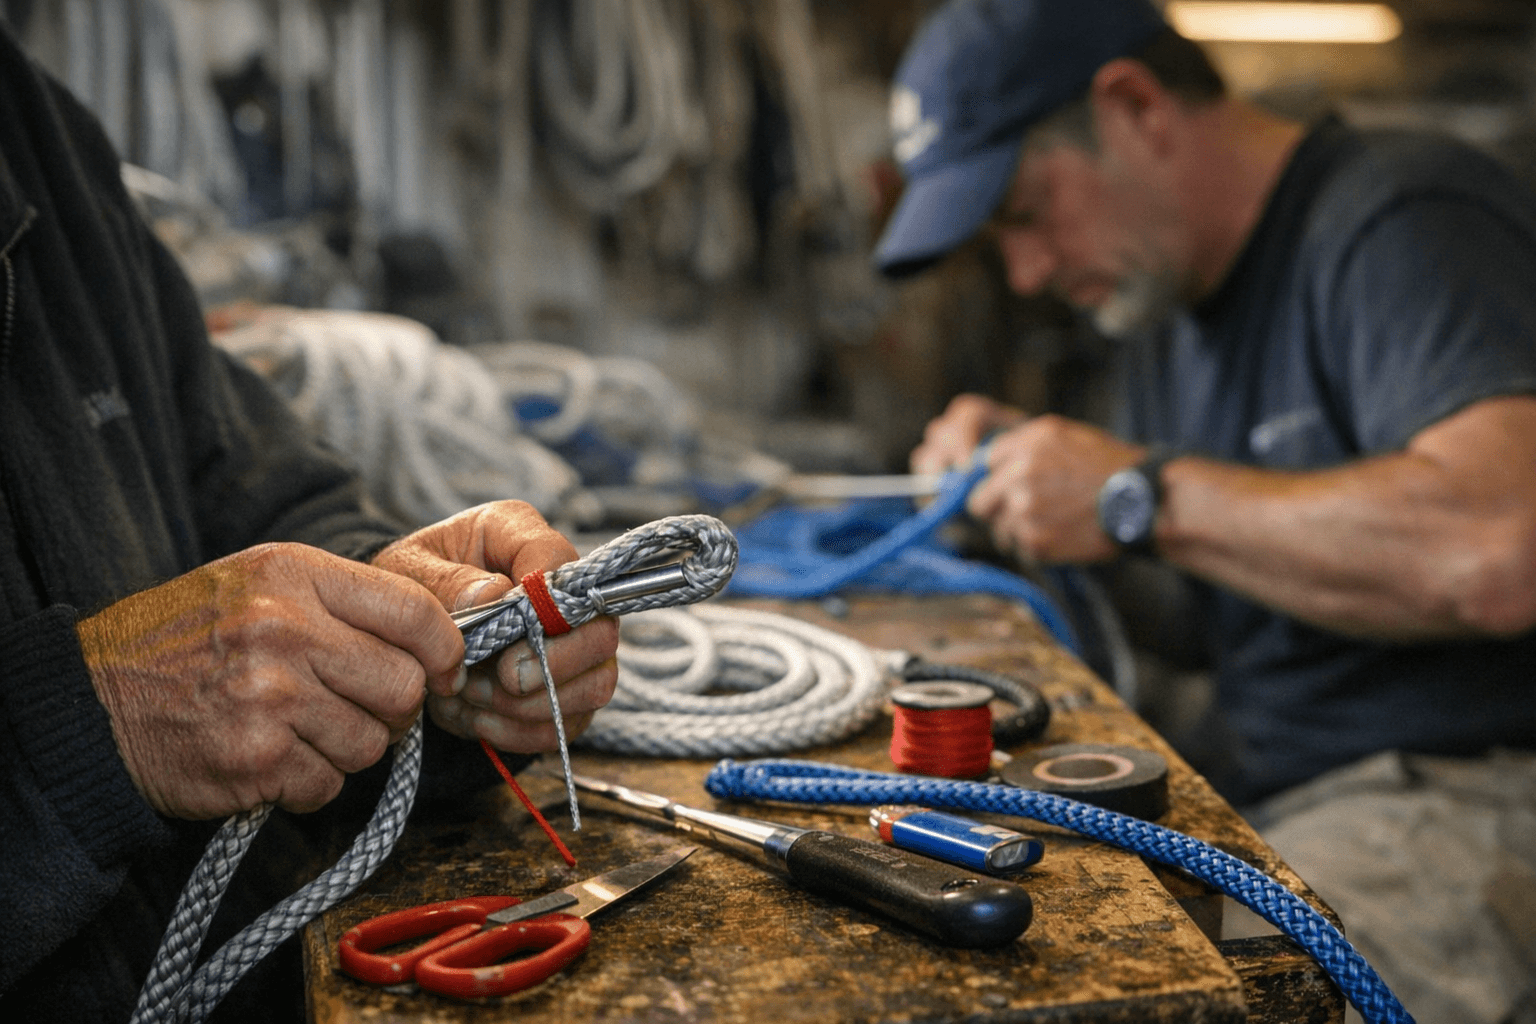
7. Splicing Dyneema: bury techniques and heat concerns
Dyneema requires different techniques because of its low melting point and slipperiness; buried splices are common but demand careful preparation, longer bury lengths, and protection from heat. Avoid excessive heat when finishing Dyneema terminations, instead rely on mechanical containment, properly sized sleeves, or sewn terminations compatible with Dyneema’s fiber properties. This primer treats the Dyneema splice as a shop task that prioritizes controlled buries and the use of sleeves or terminations rated for high‑modulus synthetic rigging.
8. Building serviceable terminations: sleeves, soft eyes, and sewn ends
Serviceable terminations for Dyneema and polyester include aluminium or textile sleeves, soft eyes, and sewn terminations, choose the method that fits the line’s role in standing or running rigging. For standing rigging, favor terminations with proven load capacity and compatibility with Dyneema or polyester; for running rigging, soft eyes and well‑dressed ends often balance performance and serviceability. Use the shop‑manual checklist to verify sleeve crimp dimensions, sew stitch counts, or bury lengths before returning the line to service.
9. Testing, proof‑loading, and inspection intervals
After any splice or termination, conduct a proof‑load test appropriate to the line’s expected service: this primer emphasizes testing splices on both Dyneema and polyester in a controlled setting before crew use. Record loading values and inspection notes in a maintenance log so you can track wear and performance over time; standing rigging terminations require stricter intervals than running rigging. Regular inspection, especially checking buries, sleeves, and whipped ends, keeps the shop‑manual maintenance loop complete.
10. Common failures and troubleshooting
Typical problems when splicing Dyneema and polyester include slippage at the bury, damage from heat finishing, and chafe at connection points; this hands‑on primer addresses each with preventive shop techniques. If a Dyneema bury slips, rework with a longer bury length or a compatible sleeve rather than relying on heat; if polyester shows localized wear, reinforce with a whipping or replace the segment. Keep a troubleshooting checklist near your bench to match symptoms to fixes specific to synthetic standing and running rigging.
11. Shop workflow and documenting repairs
Adopt a consistent shop workflow: identify the line and its role in standing or running rigging, tag it, perform the splice or termination using the manual steps, proof‑load, and update your maintenance log with measurements and notes. This primer is designed to be used like a shop manual, repeatable, recordable, and practical so you build a documented history of each Dyneema and polyester repair. Consistent records help you decide when to replace rather than repair and provide a baseline for future maintenance.
- Keep spare lengths of Dyneema and polyester in marked diameters so you can cut replacement terminations without guessing; this primer stresses preparedness for both standing and running rigging tasks.
- Use a dedicated heat source only for polyester where appropriate and avoid direct melting on Dyneema; the manual approach favors mechanical finishes for Dyneema.
- Label every finished termination with date, splice type, and who performed the work to maintain accountability in your maintenance log, a practice promoted throughout this shop‑manual style guide.
12. Practical tips from the bench
Conclusion This hands‑on rigging and splicing primer is meant to put control back in your hands: whether you’re renewing a sheet with a polyester eye or burying a Dyneema splice into a soft eye for standing rigging, follow the shop‑manual steps, test your work, and document each serviceable termination. With consistent tools, careful preparation, and routine inspection, you can keep both running and standing rigging performing reliably under sail.
Know something we missed? Have a correction or additional information?
Submit a Tip

