Step-by-step repair of holes in fiberglass parts for DIYers
Fix holes in fiberglass by cutting a proper V or taper, pre‑cutting plies (CSM +10%) and careful resin mixing to avoid air — a watertight, structurally sound patch when you follow kit cure times.

I’ve rebuilt dinghy hogs, patched tender transom penetrations and rescued a trailer‑boat’s seat locker lid — and the same sequence keeps working: inspect, dry, support, cut back to solid laminate, pre‑cut your patch, mix carefully, lay up, cure, and finish. The trick is deliberate prep: a proper V or tapered bond area, core first for sandwich parts, CSM sized about 10% oversize, and absolutely no bubbly resin in your layup.
- Resin and hardener (kit specific) and, where used, primer.
- Chopped strand mat (CSM) / glass fibre mat cut +10% to the repair area.
- Core materials for sandwich parts — note Nomex® Honeycomb has orientation.
- Fillers and small‑fix products: MagicEzy Hairline Fix, Fiberglass RepairEzy™, 9 Second Chip Fix for cosmetic chips.
- Sandpaper: 80–220 grit for shaping; wet/dry 220 → 320 → 400 → 600 for blending.
- Cutting tools: sharp utility knife, saw blade, router for cores.
- Power tools: drill with grinding disk or sanding drum/Dremel; buffer for polishing.
- Consumables and PPE: 2‑inch masking tape, putty knife, leveling tool/spatula, acetone or nail polish remover, clean rags, gloves, ventilator mask.
- Optional: moisture monitor, custom clamps or clamping structure.
Materials and tools (what to have before you start)
Preliminary assessment and drying Start by evaluating the damage in detail: look for pits, cracks, soft areas and any moisture intrusion — superficial chips often hide deeper problems. Elitervpros has a blunt reminder: “Always check other areas for possible extensions.” If moisture is present, “Allow the site to dry out: avoid all sources of moisture, from rain to water ingress. If necessary, a moisture monitor can be purchased to quantify the moisture content inside the surface.” Don’t rush this: trapped moisture ruins fiberglass repairs.
Marking and deciding how much to remove Mark the damaged area with a contrasting marker so you can see what to remove. Fibreglast lays it out: “Assuming you’ve already inspected the damaged area and marked it with a contrasting marker, you’re ready to begin removing damaged material.” When laminates are crushed or broken remember frayed fibers tend to "hang up" on one another — cut back to sound material rather than trying to jam frays together.
Support and distortion control Before you cut more, support the part so nothing distorts while you work; a warped repair won’t fit or seal. Fibreglast advises: “Sometimes this is as simple as affixing a few strips of 2—inch wide masking tape, other times it is as elaborate as a custom-made clamping structure.” High‑performance parts need tighter, more precise support.
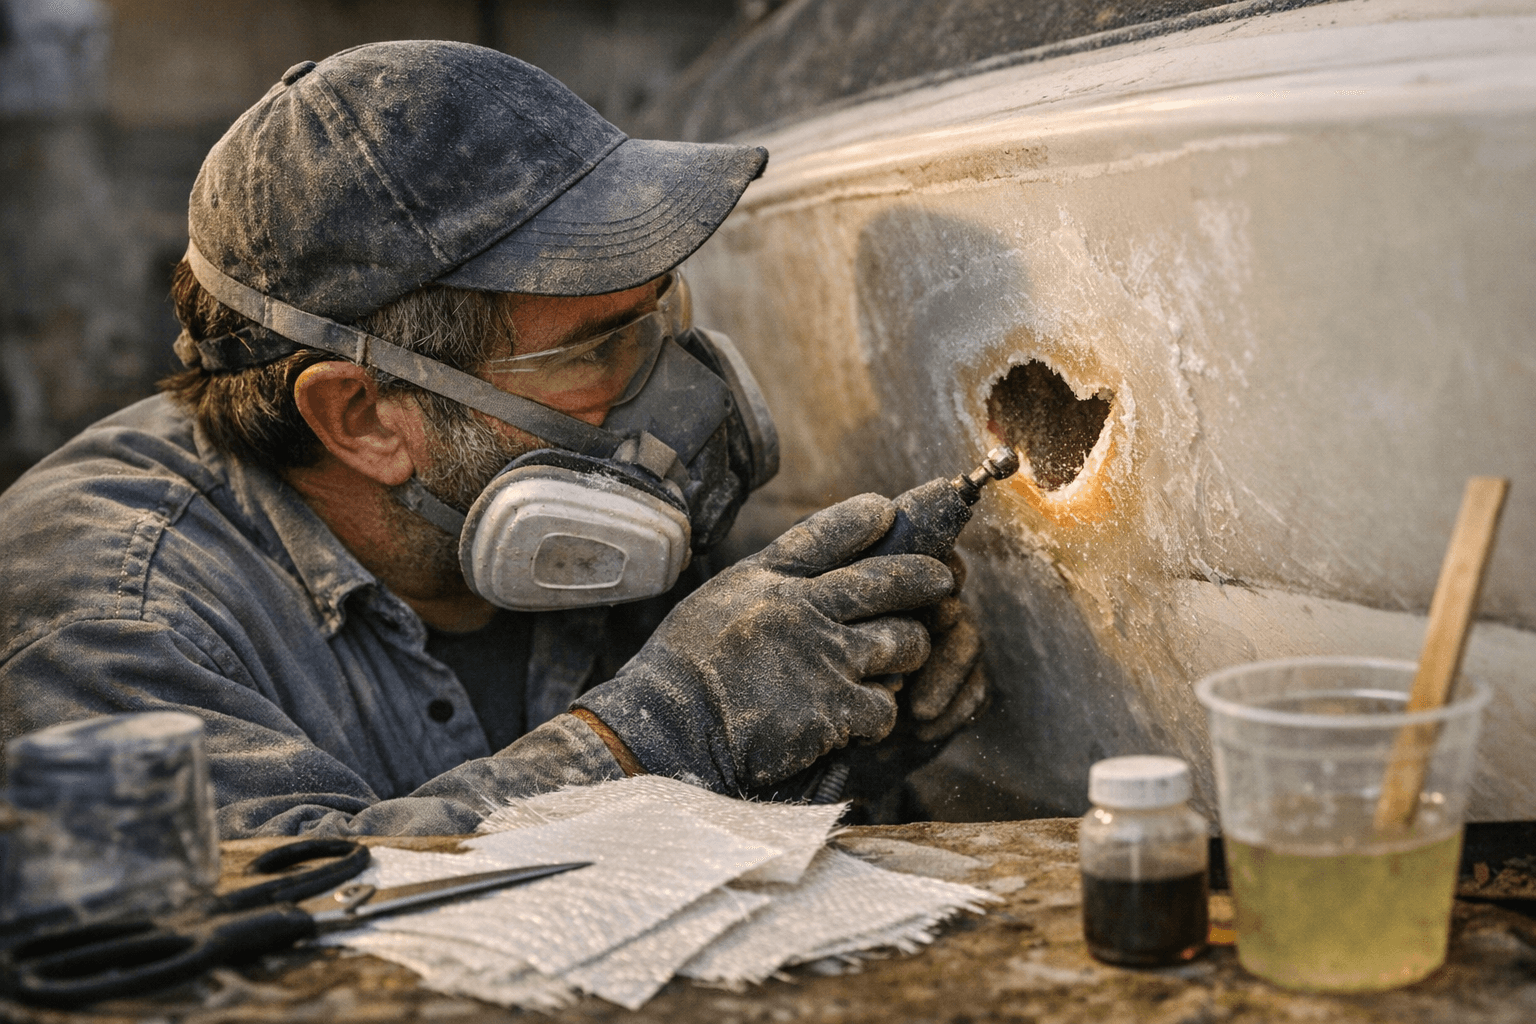
Open the crack and shape the bond area For small cracks and chips use the V‑cut technique. Toddsbathtubs instructs: “Open The Crack — Cut a V-shape around the margins of the damaged area with a sharp utility knife. Make sure you cut through the acrylic or fiberglass color layer to reach the structure below. It often involves a reduction of 1/16- to 1/4 inch.” For larger damage use a saw blade to cut along cracks to relieve stress or a router to remove crushed sandwich core. Then shape a taper or steps for bonding — Fibreglast warns, “This is the critical step for functional repairs, but it is also often overlooked or abused. Take your time and ensure your repair is performed correctly.”
Clean and abrade for adhesion Remove loose fragments and debris first; “Remove loose debris: if there is debris on the surface, particularly loose fragments, it should be removed in advance.” Clean the area using a mild detergent and soft brush, then a solvent wipe if needed — Toddsbathtubs recommends acetone or nail polish remover to remove sanding dust and oils. Roughen the bonding area: use 80–220 grit to shape and prepare, then for final blending plan the wet/dry 220→320→400→600 sequence.
Pre‑cut patches, core and ply orientation Cut your core material first for sandwich repairs; Fibreglast: “The first step to laminating the repair patch is pre-cutting your patch materials to fit the repair. This includes pre-cutting the core material and all reinforcement plies to fit within the taper you’ve prepared as you’ve readied the surface.” Note core orientation — “Note that some core materials, such as Nomex® Honeycomb, have their own orientation which needs to be aligned in the part.” Cut each ply to fit precisely into the taper; for CSM, Resinlibrary recommends it be “cut and sized to dimensions that exceed the existing area to be repaired by around 10 %.”
Mixing resin and catalyst — do this slowly and cleanly Follow the kit’s instructions for ratios and temperatures; do not guess. Resinlibrary cautions: “Careful mixing is needed to achieve: (1) correct ingredients and (2) sufficient mixing without air.” A critical warning: “take care not to introduce too many air bubbles during mixing. Whilst the catalyst-resin mixture needs to be homogeneous, air bubbles can lead to structural defects in the resultant composite.” Practice with small batches if you’re new, and account for weather and temperature — catalyst speed and resin behavior change with conditions.
Layup and applying the patch Start with the core in place (if applicable), then lay your pre‑cut reinforcement plies so each sits within the prepared taper. Wet out plies with mixed resin and work methodically so no dry patches or trapped air remain. If you’re using a filler or a putty for surface restoration, Elitervpros notes you may need multiple applications: use a putty knife, smooth each layer and let it cure between layers.
Small repairs and brand products For quick cosmetic fixes, MagicEzy provides three product options: “For Hairline Fix, simply apply the filler into the crack or scratch, ensuring it’s evenly distributed. Use a leveling tool or spatula to smooth the surface, then wipe away any excess product. For Fiberglass RepairEzy™, squeeze the product directly into the gouge or chip, filling it completely. Smooth the surface with a leveling tool, and allow it to dry for the recommended time. For 9 Second Chip Fix, clean the area, apply the product, level it off, and wipe. It’s a fast and effective way to repair minor chips, with results you can trust.” These are great for cosmetic work but do not replace structural lamination where strength is required.
Curing and environmental control Always cure per manufacturer guidance. Elitervpros simply states: “Allow Time for Curing,” and Resinlibrary reminds you to “account for the weather. Factors such as rainfall, temperature, catalyst quantity and in some cases solvent should all be accounted for.” Keep repairs dry and sheltered until fully cured.
Finishing and polishing Blend the repair into the surrounding gelcoat or paint with wet/dry sanding — Toddsbathtubs lays out the sequence: “Sand with 220‑grit paper first, then 320‑, 400-, and 600‑grit. Drop water onto the sanding area with a damp towel to lubricate it.” Remove dust, then buff with rubbing compound and a high‑speed buffer: “The best results will come from buffing at high speed!” If your kit includes a clear top coat, apply it last.
Common failure modes and cautions Failure usually comes from one of a few mistakes: repairing over damp substrate, not supporting the part so it distorts, poor bonding geometry, introducing bubbles in the mix, or skipping ply orientation on core parts. As Resinlibrary warns, bubbles can create structural defects; as Fibreglast emphasizes, take the taper/step prep seriously. If you’re uncertain or lack materials, Toddsbathtubs’ pragmatic line applies: contact a professional fiberglass repair service — better than a botched DIY that fails at sea.
Step‑by‑step repair sequence (compact checklist) 1. Inspect and mark damage. 2. Dry the site; monitor moisture if needed. 3. Support the part to prevent distortion. 4. Remove damaged material; V‑cut or saw along cracks. 5. Grind/sand a taper or step for bonding. 6. Clean thoroughly. 7. Pre‑cut core and reinforcement plies (CSM +10%). 8. Mix resin/catalyst carefully, avoiding air. 9. Lay up core then plies; wet out fully. 10. Apply fillers/top coats as needed. 11. Allow proper cure. 12. Wet sand 220→600 and buff, apply clear coat if supplied. 13. Final inspection for strength and impermeability.
Final word A decent fiberglass hole repair isn’t glamorous but it’s predictable when you stick to fundamentals: get to solid laminate, control moisture and distortion, pre‑cut everything to fit, and keep bubbles out of the resin. Follow manufacturer datasheets for ratios and cure windows, respect the safety gear, and don’t rush the sand‑and‑buff finish — it’s what makes a repair both strong and invisible.
Know something we missed? Have a correction or additional information?
Submit a Tip