How to Build a Safe At-Home Ice Bath Routine
I tested common at-home ice-bath methods and distilled practical steps to help you get started safely and effectively. The guidance covers target temperatures and timing, DIY options and tradeoffs, ice logistics, and essential safety measures so you can use cold immersion for recovery without unnecessary risk.
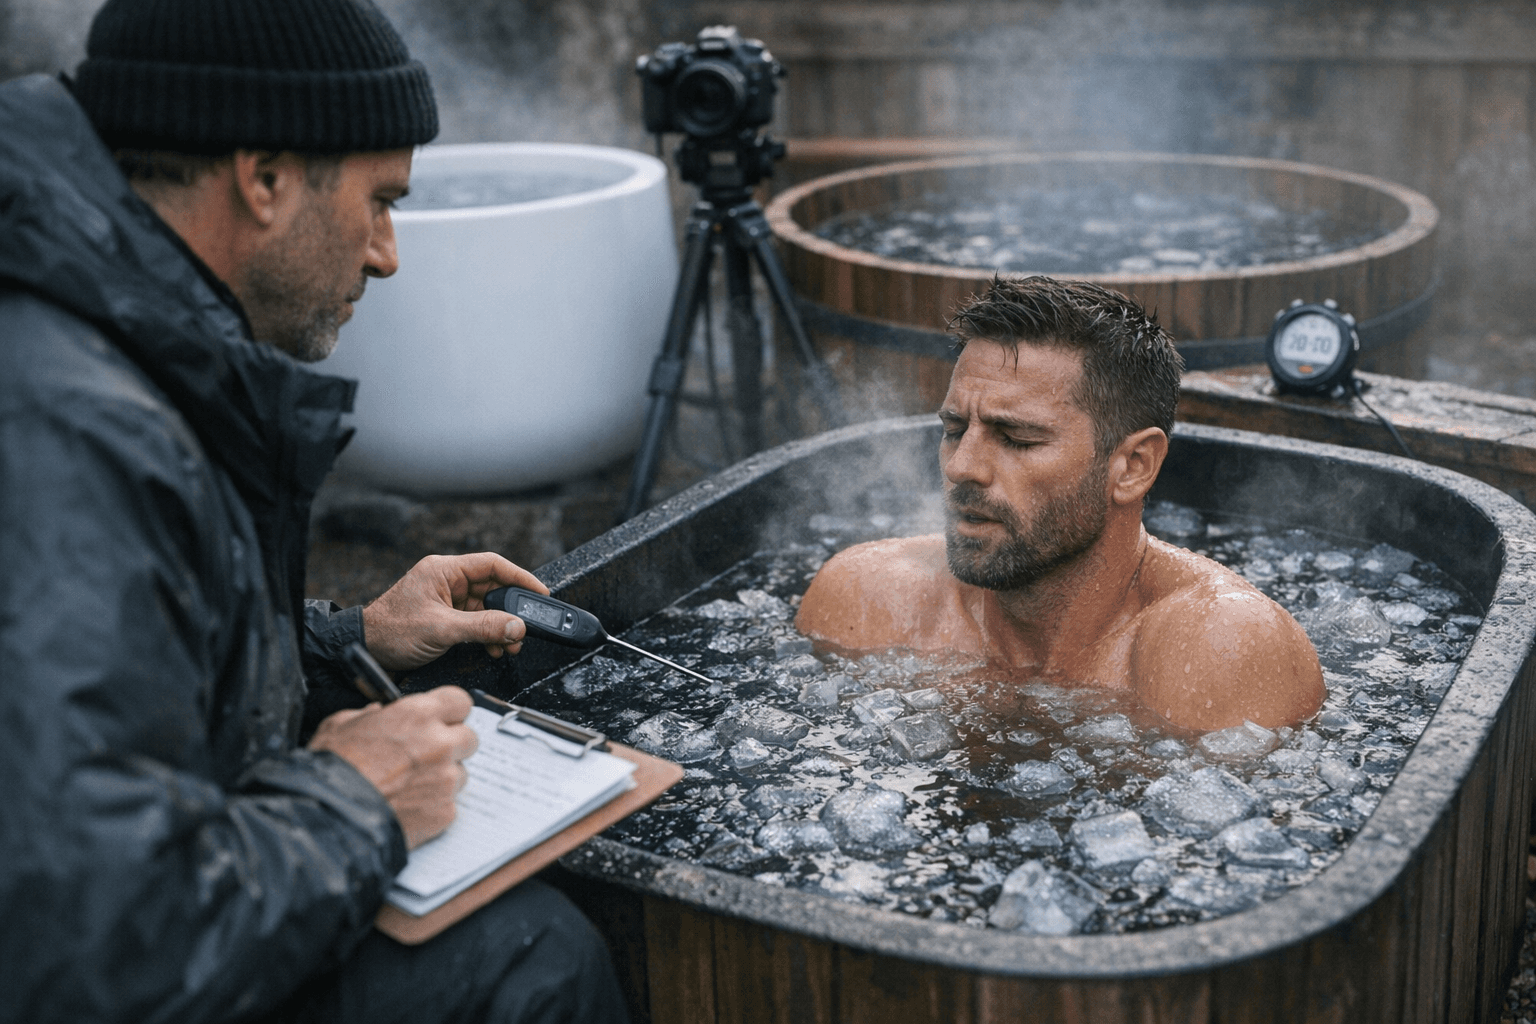
Cold immersion remains one of the most discussed recovery tools for runners and active people, but practical questions, how long, how cold, and which setup to use, still trip up many who want to try ice baths at home. My testing and comparison of three common approaches, bathroom tub with store ice, chest-freezer conversions, and portable tubs, produced clear takeaways on what works and what to avoid.
For recovery use, follow protocols that target roughly 52 to 59 degrees Fahrenheit for about 11 to 15 minutes. Those figures come from multiple coaching and research reviews and reflect what balances inflammation control with safety for most users. Beginners should start with much shorter exposures and build tolerance; colder ranges warrant extra caution. Use ice baths selectively after long runs or very intense sessions rather than as daily routine unless you have specific guidance from a coach or clinician.
Three practical at-home setups each have tradeoffs. A standard bathtub plus store-bought ice is the quickest and cheapest way to try immersion. It is convenient for one-off sessions, but frequent purchases add up and temperature stability is limited. Chest-freezer builds offer superior temperature control and lower long-term cost, but they carry significant safety caveats: electrical risks, insulation and sealing concerns, and the need for fail-safes against over-chilling or accidental immersion. Portable tubs strike a middle ground, costing more than ad hoc ice in a bath but providing better stability and easier setup than a frozen appliance conversion.
Managing ice effectively makes sessions more predictable. Block ice or large frozen bottles retain cold longer and reduce the volume of ice needed compared with loose bagged cubes. Frequently buying ice becomes expensive over weeks and months; if you plan regular baths, consider investing in a chiller system or a setup that reduces recurring costs.

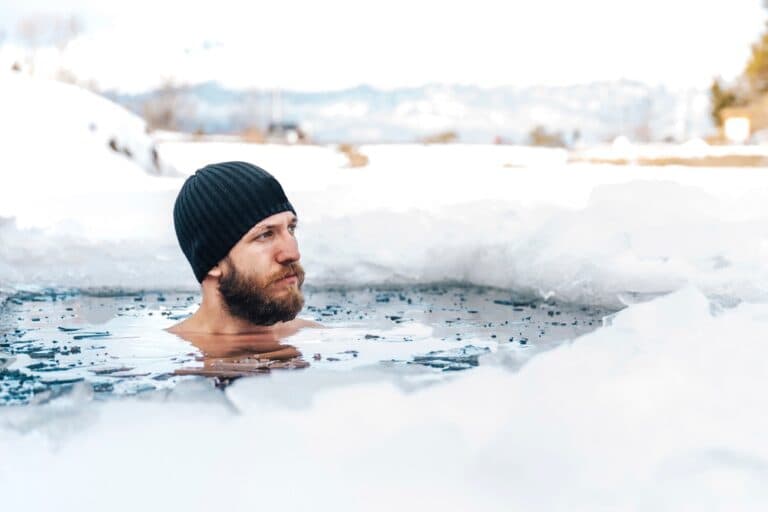
Safety matters more than novelty. Measure temperature with a reliable thermometer, never plunge alone, use a buddy system, and practice breath control to manage the initial shock. Start warm and shorten early sessions, then extend time as you acclimate. After a plunge, follow an active warm-up to restore circulation gradually. People with cardiovascular conditions should avoid unsupervised ice immersion and consult a healthcare professional first.
Make your first sessions conservative: confirm water temperature, limit duration, have someone nearby, and plan a warm-up. With those precautions, at-home ice baths can be an effective recovery tool that fits into a training routine without breaking the bank or the rules of safety.
Know something we missed? Have a correction or additional information?
Submit a Tip