How to choose the right mechanical keyboard layout and size
This guide breaks down common layouts, sizes, compatibility, and buying checkpoints to help you pick the right mechanical keyboard.

The mechanical keyboard landscape is a mix of established standards and niche experiments, and choosing the right layout and size is as much about workflow as it is about keycap compatibility and firmware support. Start by matching the layout family to how you actually use your board: ANSI gives the widest vendor support and a familiar Enter and left Shift, ISO swaps to an L-shaped Enter and narrower left Shift and requires ISO-compatible PCBs and keycaps, while HHKB, 40% and ortholinear layouts prioritize extreme compactness at the cost of learning curve and firmware tinkering.
Size is the most visible trade-off. Full-size 100% keyboards keep the numpad and are best for number-heavy tasks. 96% boards squeeze almost a full layout into less desk space by tightening key spacing. Tenkeyless or TKL (87-key) removes the numpad for more mouse room without losing the rest of the typing cluster. Compact 75%, 65% and 60% boards progressively remove filler keys: 75% typically keeps a function row and a compact nav cluster, 65% often retains dedicated arrow keys, and 60% strips arrows and navigation entirely, relying on layers. 40% and ortholinear designs pursue maximal portability and uniform key grids but depend heavily on custom layers and firmware like QMK or ZMK to access common keys.
Keycap compatibility is where many choices collide. Confirm the switch mount—classic MX-stem versus low-profile—before buying keycaps. Check whether a keycap set includes the modifier and novelty kits you need for non-standard layouts such as ISO Enter or unusual bottom row spacings. Profile matters too: Cherry, OEM, SA, DSA and others change height and hand position, and some tall profiles may clash with low-profile cases or plate mounts.

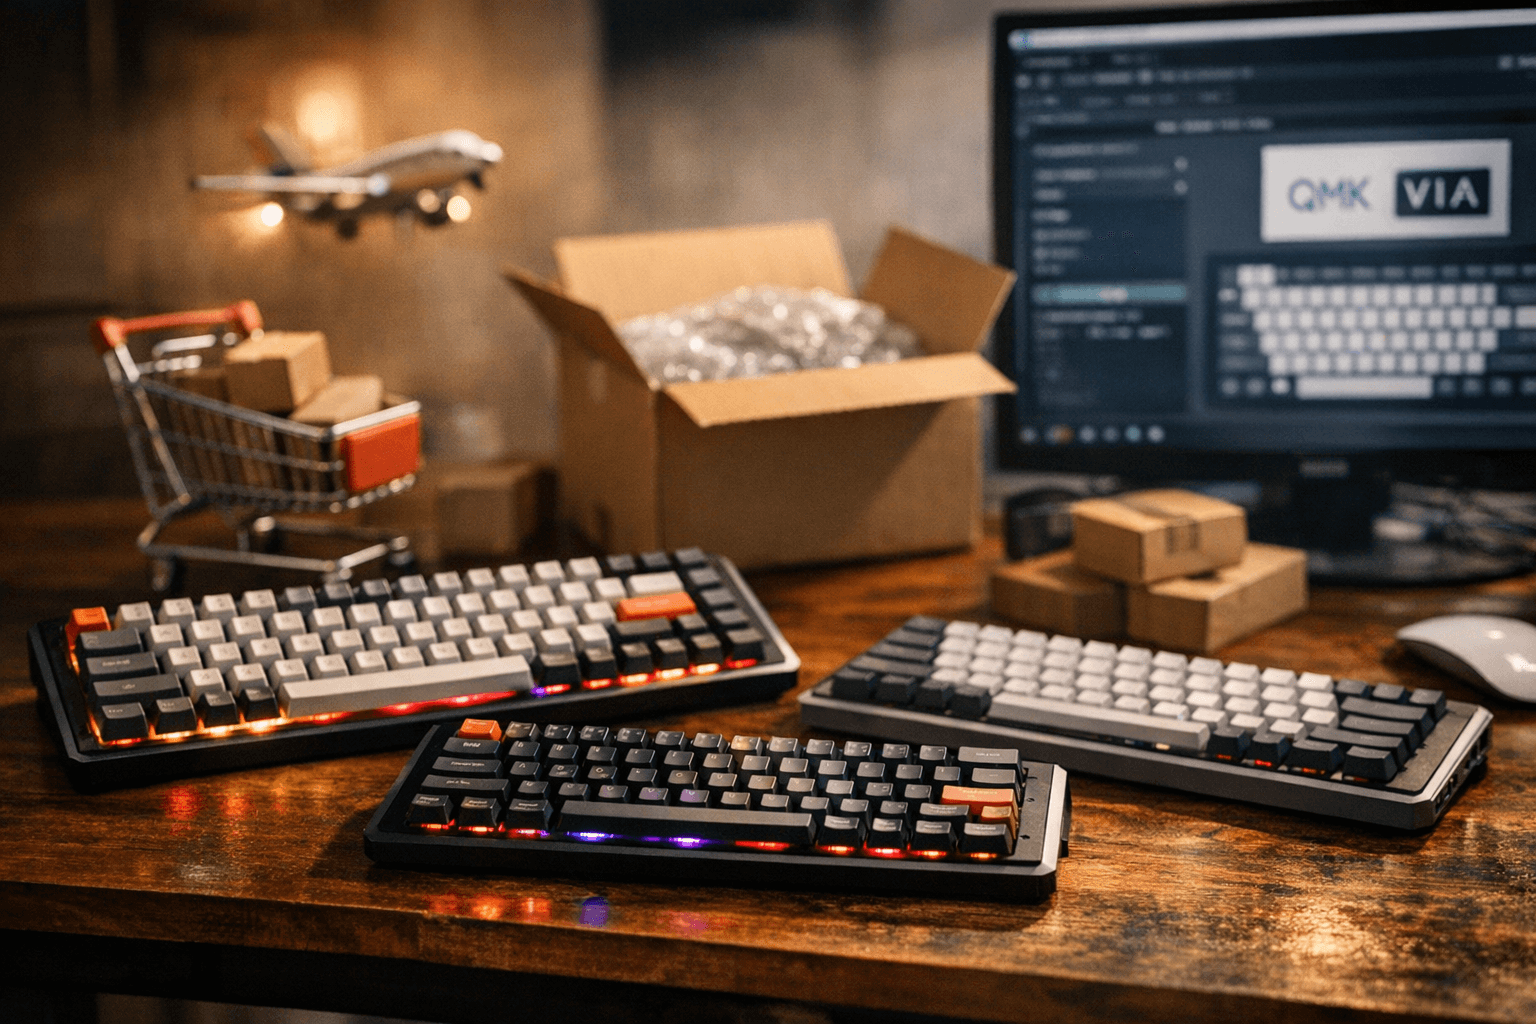
Practical checks before committing will save headaches. If unsure, start with an ANSI TKL or a 75% board for a balance of desk space and functionality. Verify whether the PCB is hot-swap or soldered, whether LED orientation is north- or south-facing (it can affect shine-through keycaps), and whether the board supports VIA, QMK or ZMK for remapping. Confirm that keycap sets cover your bottom row and ISO/ANSI differences. When buying from boutique vendors or group buys, factor in vendor return and cancellation policies and lead times.
To get hands-on, try a small 60–75% keyboard at a meetup, buy a cheap switch tester to sample feels, or borrow a friend’s board to test layout tolerance. For layout-specific questions and group buy tracking, check community hubs like relevant subreddits, Discord vendor channels, and Duckeebs-style GB trackers. Clear planning about layout, mount style, hot-swap capability and firmware support keeps your next board from being a costly case of GAS and gets you typing comfortably sooner.
Know something we missed? Have a correction or additional information?
Submit a Tip