How to install and seal sailboat deck hardware for lasting performance
Step-by-step instructions explain how to repair and install deck hardware to stop leaks, prevent core rot, and create a structurally sound attachment. Practical steps for cored decks, bolts, and bedding.
Water intrusion around deck hardware is one of the most common causes of hidden damage on cruising boats. For owners planning to replace or upgrade winches, stanchions, blocks, or cleats, the priority is simple: stop water at the surface and tie the load back into solid structure. Relying on bedding compound alone on a cored deck invites slow core degradation and costly repairs.
Start by assessing the deck under the fitting. For cored decks the only seaworthy fasteners for critical hardware are through-bolts. Do not assume the core under an existing fitting is sound. Drill an oversized access hole, remove the fitting, and vacuum out degraded core material. Once you expose the cavity, encapsulate or fill the void with epoxy or an appropriate structural filler. Thickened epoxy or resin systems that bond to the laminate will restore compressive strength and keep water out when properly mixed and cured. After the filler has cured, re-drill for the through-bolts and install hardware against a solid surface.
Spread loads with a backing plate or local laminate reinforcement. A dedicated backing plate or a job-specific local laminate pad reduces bearing stresses and limits compression of the filled core. Where space allows, a metal backing plate under the bolt head or nut gives predictable load distribution. In tight spaces, laminate a reinforcement patch into the underside of the deck before trimming and finishing.
Compare sealing strategies based on the job. Epoxy encapsulation creates a mechanically bonded core repair, but epoxy systems are sensitive to moisture during application and cure; follow manufacturer temperature and dry-time windows. Mechanical reinforcement reduces reliance on perfect epoxy conditions but still requires excellent through-bolt installation and sealed penetration points. Use bedding compounds as a secondary seal between hardware and deck, not as the primary defense against core saturation.
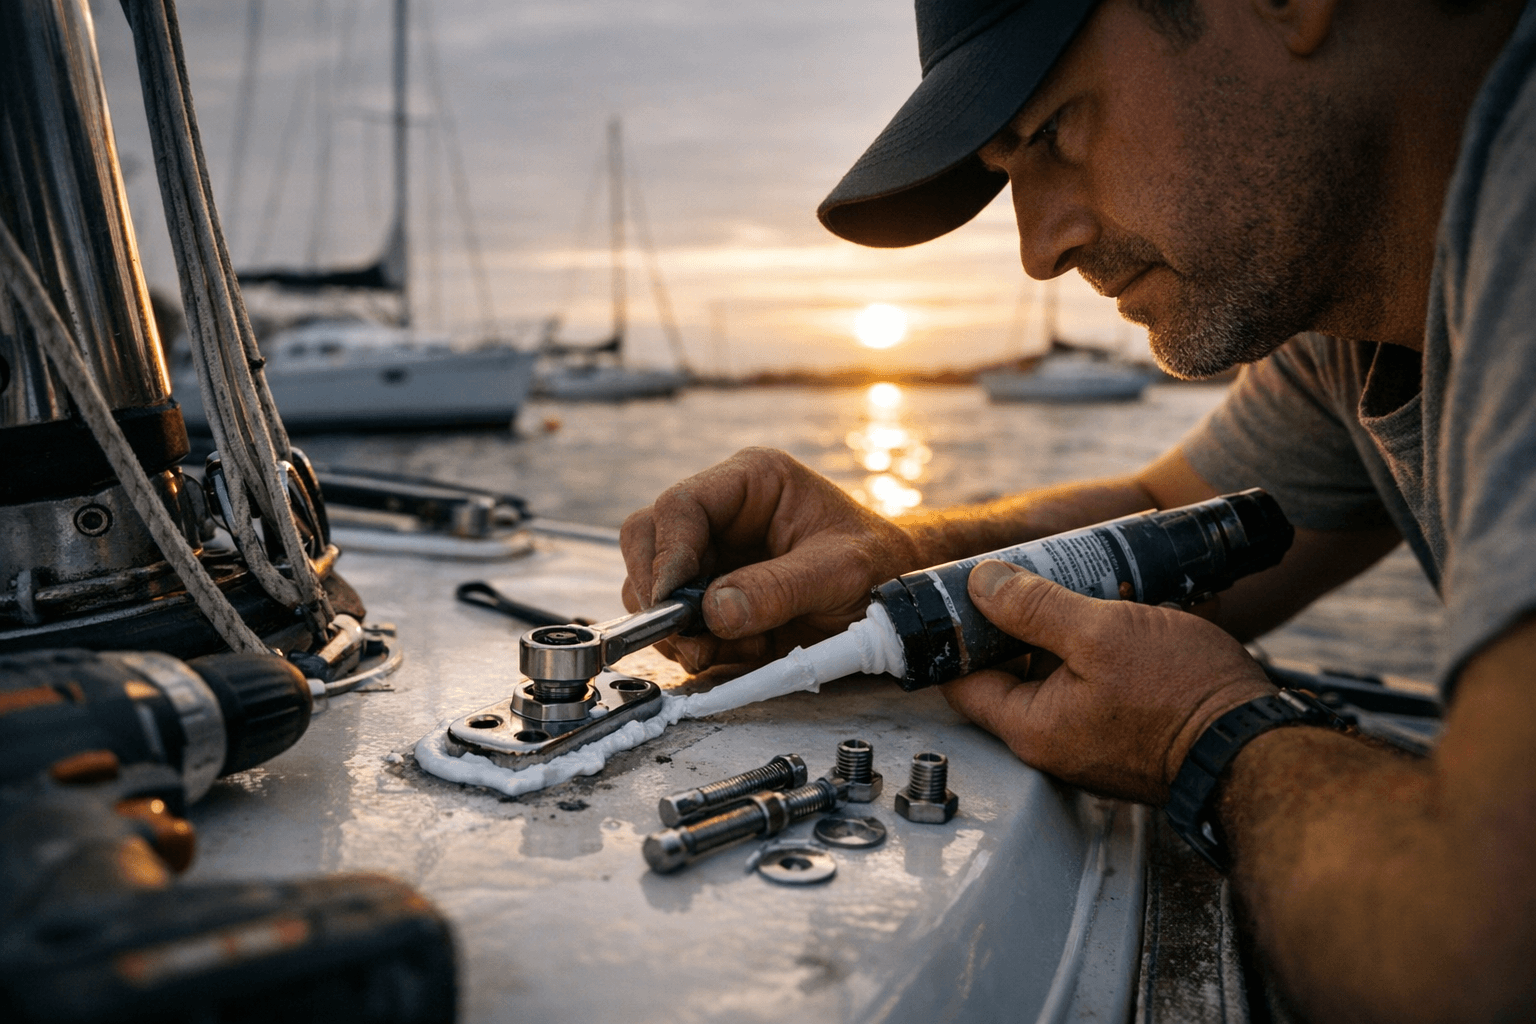
Hole preparation and bedding matter. Clean flange faces, remove old bedding and marine growth, and dimple or countersink where needed for flush hardware. Select appropriate corrosion-resistant fasteners and nuts sized to match expected loads, ensuring thread engagement and proper torque. Apply a compatible bedding compound sparingly under the hardware flange, snug bolts to the recommended torque, and then seal nut heads or hull-side fittings where water can track.
Safety and practical notes belong up front. Ventilate when working with epoxy and wear respirators and chemical-resistant gloves. Plan projects for warm, dry days and allow full cure times before loading hardware. These repairs are intended for competent DIYers comfortable with structural epoxy work; when in doubt, consult a professional rigger or marine surveyor.
For boatowners this approach transforms a recurring maintenance headache into a durable upgrade. Inspect hardware mounts annually, and treat any soft or wet spots immediately. Done right, through-bolts, proper cavity filling, and load spreading keep deck hardware functioning and your bilges dry for seasons to come.
Know something we missed? Have a correction or additional information?
Submit a Tip

