Inside Fiberglass Repair Kits: How to Use Them and When to DIY
Small gelcoat chips and laminate tears can be fixed at home with the right kit, a clean prep, and accurate mixing: follow inside/back reinforcement, layer-saturate, cure, sand, and topcoat.
Small gelcoat chips and hairline laminate cracks are the kind of repairs you can finish in a weekend if you bring the right kit, the right prep, and respect cure and mixing numbers. Boat Suppliers published a focused walkthrough titled "Fiberglass Repair Kit Complete Guide: What's Inside and How to Use Them." on March 5, 2026, and the practical advice from suppliers and practitioners lines up: clean thoroughly, reinforce from the inside when possible, and measure catalyst and hardener precisely.
- resin and hardener or catalyst
- fiberglass cloth or chopped strand mat
- mixing tray, sticks and spare containers
- spreader/applicators and disposable brushes
- sandpaper (coarse to fine) and sanding block
- gloves, safety glasses, dust mask and rags
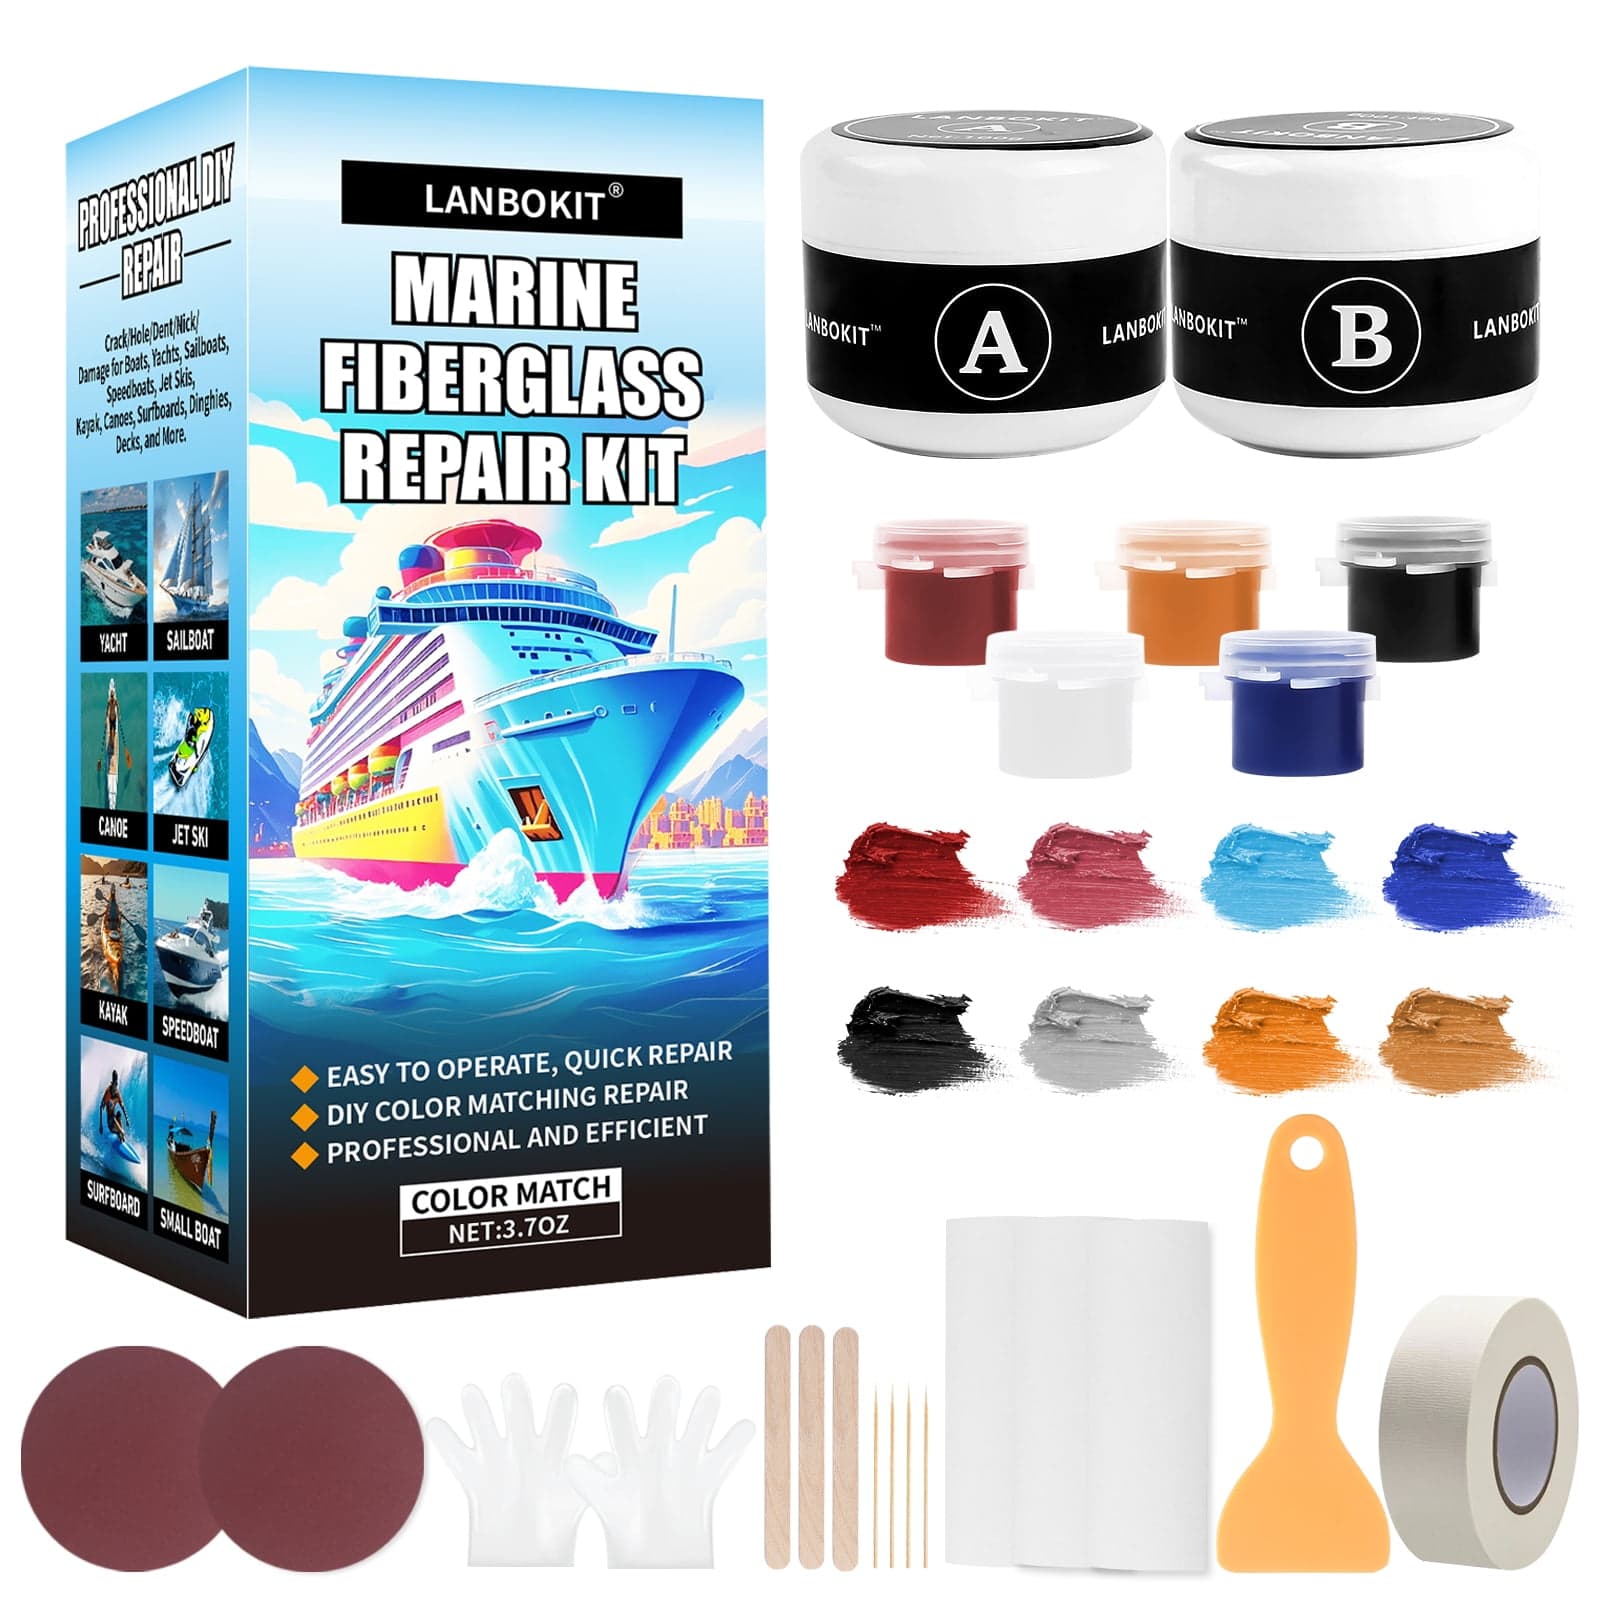
What a fiberglass repair kit contains
Kits bundle polyester or epoxy resin with the consumables you need to lay up a patch. 3M/Bondo lists the Bondo® Fiberglass Resin Repair Kit, 1 Kit, 00420, and says the kit includes cloth, resin and hardener, along with a mixing tray, mixing stick and a spreader. Cvcomposites and practitioner videos add that typical kits also include fiberglass cloth or chopped strand mat, mixing containers, applicators, and you will want sandpaper from coarse to fine, a sanding block, and clean cloths or paper towels. From those sources, a working checklist looks like:
Who uses these kits and what they fix Suppliers position kits for small, practical repairs: Norski says the pack "is designed for small repair jobs on Boats, Caravans, Cars, Fibreglass sheeting on roof areas, guttering and other places, where patching of metals or timber is required to prevent moisture/water ingress." 3M/Bondo markets theirs to auto body repair, claiming the polyester resin bonds to metals and creates a "permanent, waterproof" seal. ResinLibrary frames repairs as serving three goals: structural regeneration, impermeability and aesthetics, and even gives a water tank as a repair example. iList lists roofing kits and price bands, showing the same kit family is used on GRP flat roofs as well as boats.
Prep and safety you cannot skip Norski is explicit about surface preparation: "Important: To obtain the maximum adhesion the surfaces must be thoroughly cleaned back to remove all rust, loose paint and any other contamination that may be present. Use of recommended cleaning solvent or strong detergent and warm water is usually necessary before sanding at the surface takes place. Allow to dry thoroughly before sanding." Cvcomposites echoes this in practical steps and lists PPE: "Safety glasses, gloves, and a dust mask." A YouTube practitioner adds the shop-level tip: "protecting your hands you don't want to get this stuff all over you so go on Amazon get yourself a box of rubber gloves." Organize pumps and pots so you can work quickly: one speaker says they "hang it in the box so that the pumps are hanging over the side so I can just grab what I need and go."
Step-by-step repair workflow Follow a clear sequence to get the structural result ResinLibrary and Cvcomposites describe. Key points and timing ranges come from multiple sources.
1. Prepare and clean. Remove loose gelcoat, rust or paint and wash with solvent or warm soapy water. Allow to dry thoroughly before sanding.
2. Sand for adhesion. Gently sand the damaged area with coarse paper to remove loose glass and to create a keyed surface.
3. Mix the resin system. Follow the kit instructions exactly. Norski gives a precise polyester guideline: "To wet out 20cm x 10cm (8” x 4”) Chopped Strand Fibreglass Mat, use 250mls Resin and 75 drops of Catalyst. This is a 1.5% ratio of Catalyst to Resin (30 drops per 100mls). Measure this accurately." Epoxy systems used by boat practitioners will have different mix ratios and cure windows: one YouTube speaker references West System epoxy and the matching hardener, saying "this is 105" and "everybody uses the slow hardener when you're working on boats 206 slow hardener."
4. Lay and saturate cloth. Lay the fiberglass cloth or chopped strand mat over the area and use an applicator or brush to saturate it. Cvcomposites instructs to "Ensure that the cloth is fully wetted out and pressed firmly against the damaged surface."
5. Build layers as needed. Add additional layers before the previous layer has dried to bond them; thicker repairs use chopped strand mat to "build up thickness of fiberglass very quick" according to the YouTube speaker.
6. Cure, sand and finish. Allow the repair to cure per the kit instructions. Cvcomposites notes this "usually takes a few hours to a day," while 3M/Bondo claims their polyester resin "hardens to a sandable surface in less than two hours." Once cured, sand with progressively finer grits until smooth and, if required, apply gelcoat or paint that matches the surrounding surface.
Resin types and tradeoffs Two resin threads appear through the material: polyester and epoxy. 3M/Bondo is a polyester-based kit and markets speed: "Hardens quickly for fast repairs," and "The seal created by the polyester resin material is permanent, waterproof and will not shrink." Norski and iList materials and blog titles also sit in the polyester family. A practitioner on YouTube prefers epoxy, using West System 105 epoxy with 206 slow hardener and stating epoxy is "proven to be stronger over time" and "this stuff is good, it's very expensive." Both resin families are shown in these sources; treat compatibility and cure times as product-specific and follow the kit TDS for your choice.

Roofing and exposed fibre warnings iList highlights a common visible symptom and its causes: "Visible fibres present on a flat roof are indicative of (1) insufficient polyester resin used during laminating, (2) insufficient laminating technique to saturate matting and/or (3) insufficient topcoat." The consequence is clear: "glass fibres that are exposed to rainwater. This can lead to water ingress into the roofing structure and an eventual leak." The practical cure in those notes was to re-laminate the fibres and apply a topcoat, a workflow that maps directly onto the steps above.
Practical kit tips from the bench Small, inexpensive extras make a repair day go smoother. The YouTube speaker recommends cheap disposable 1 in chip brushes for application: "these are just dirt cheap paint brushes ... you're going to use them when you apply the epoxy and then you're going to throw them away so 1in Chip brush." They also recommend hanging pumps in a box for easy access and using chopped strand mat as a fast filler. Cvcomposites and 3M/Bondo list common kit hardware like mixing trays, spreaders and sticks that will save time.
Costs and shopping notes Kits range widely by market and intended use. iList shows price ranges from "Fibreglass Repair Kit £18.98 - £109.59" up to "Fibreglass (GRP) Flat Roof Repair Kit £47.85 - £239.98" for more comprehensive roof kits. 3M/Bondo’s kit appears with SKU Bondo® Fiberglass Repair Kit, 1 Kit, 00420. Epoxy systems like West System are described as "very expensive" by a practitioner, but are favored by many for long-term structural repairs.
When to DIY and when to call a professional The supplied guides and product pages are built for owner-level repairs: Boat Suppliers framed its March 5, 2026 piece as a step-by-step walkthrough for common gelcoat and laminate problems, and Norski markets its pack for small repair jobs on boats, caravans and roofs. For repairs that must restore tensile strength, stiffness or impermeability to a critical structure, follow ResinLibrary’s focus on "structural regeneration, impermeability (to water and chemicals) as well as aesthetics" and weigh whether an epoxy-based rebuild or professional service is warranted. If you are unsure about structural load paths, extensive delamination, or vacuum- or pressure-bag laminates, call a pro.
Supplier contact and further reading If you want a supplier that publishes instructions and local support information, Norski lists full contact details on its site, including phone 04-233 6184, E-mail enquiries@norski.co.nz, and address 10 Northpoint Street, Plimmerton, Porirua 5024, with site content marked "© 2026 Norski." Boat Suppliers' article title is "Fiberglass Repair Kit Complete Guide: What's Inside and How to Use Them." and was published March 5, 2026. Norski also lists related blog posts, including "Polyester Fiberglass Repair Instructions (Non Mould)", "How To Carry Out a Small Fiberglass Job Using a Mould" and "TIPS & TRICKS FOR POLYESTER."
Final word A successful patch is rarely about heroics; it is about cleanliness, correct mix ratios and layered technique. Measure catalyst and hardener accurately, reinforce from the inside when possible, and use the right consumables for the resin you choose. Do that and a small hull or roof repair becomes a predictable, repairable event rather than a lingering worry.
Know something we missed? Have a correction or additional information?
Submit a Tip

