Selecting Bowl Blank Species: Workability, Stability, Figuring and Finishing
Practical trade-offs for choosing bowl-blank species, how they turn, how they move as they dry, what figuring will cost you, and how they finish for food-safe or display work.
I cut this short: pick a species for what you want the bowl to do, turn easily, survive drying, show dramatic figuring, or take a high-sheen finish. Below I break those four decisions into what matters at the bench and the exact mistakes that will cost you time or blanks.
1. Workability on the lathe
Workability means how the blank behaves under gouges, scrapers, and abrasives; dense, interlocked, or brittle woods each demand different tools and techniques. Soft to medium domestic hardwoods like cherry and walnut cut predictably with HSS or carbide‑tipped bowl gouges and tolerate aggressive shaping; highly figured or interlocked woods (e.g., olive or some box elder) want lighter cuts and razor-sharp HSS because tearout is common if you try to hog material. Fast‑turning exotics with embedded silica or high oil content (certain rosewoods, teak) will blunt cutters quickly and can create a gummy surface, plan more frequent sharpening and use bevel-supported cuts to control chatter and heat buildup.
- Tool choice: use a round‑nosed bowl gouge for hollowing, a shear‑cut scraping action for tricky grain, and reserve detail scrapers for final shaping.
- Speed and support: larger blanks reduce allowable RPM; for heavily figured grain, use slower speeds and keep the tool well‑supported to avoid catches.
- Pitfall: trying to sand out tearout from interlocked grain will ruin figuring; stop, re‑cut with a shear scraping stroke, and resurface at lower speed.
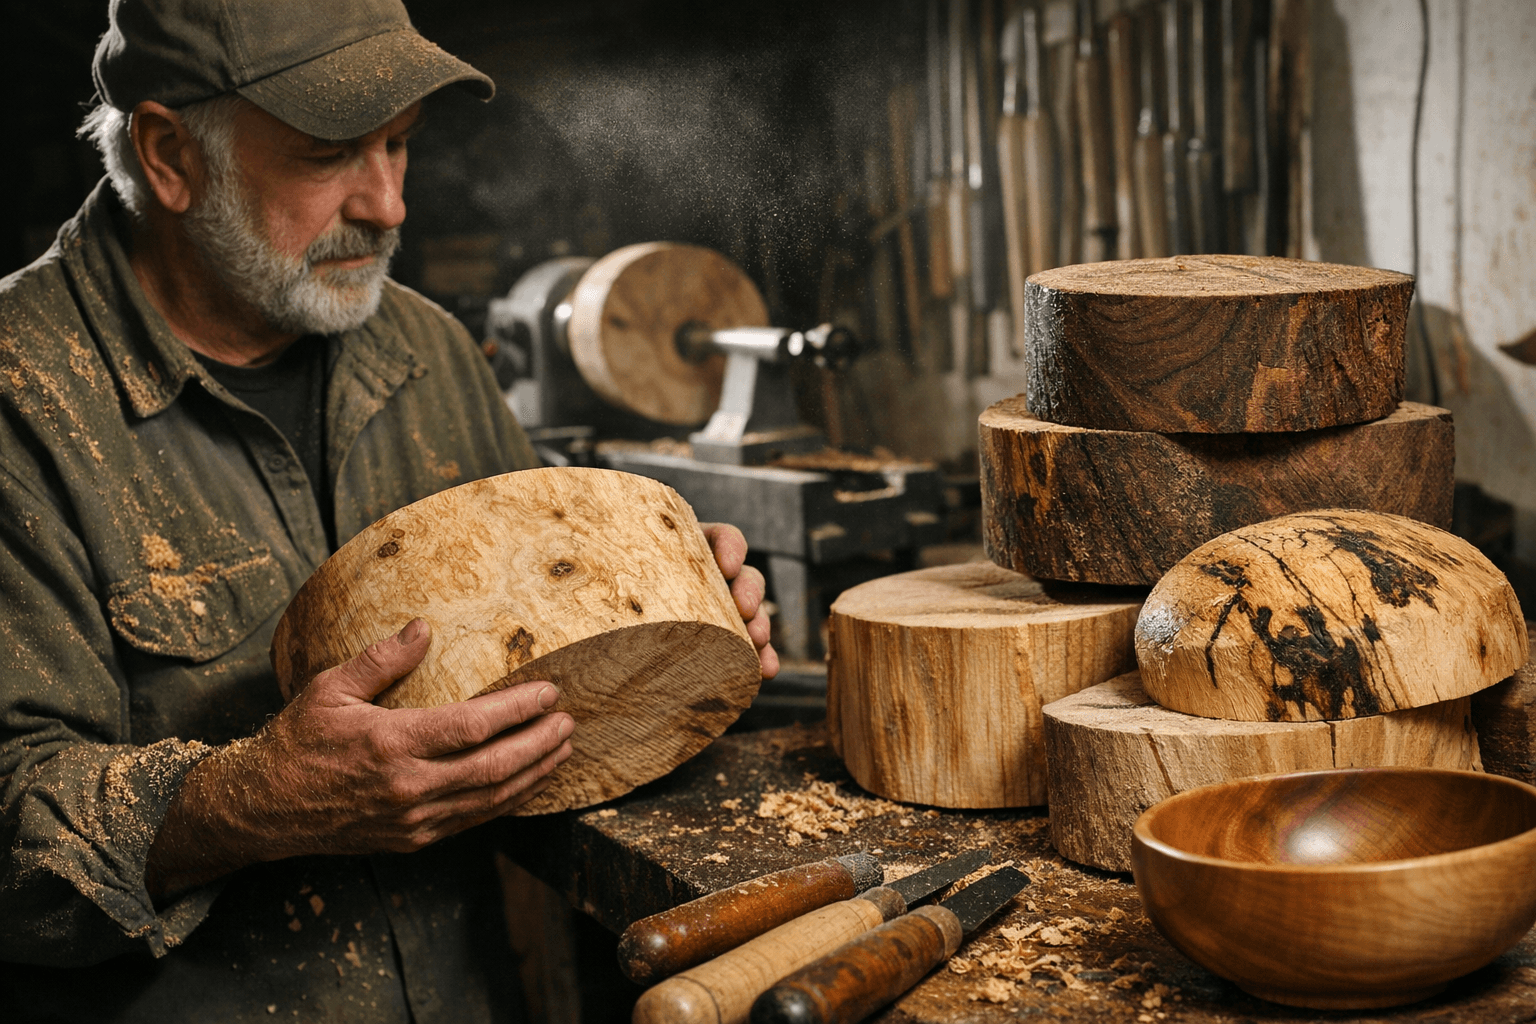
2. Stability (green vs dried blanks)
Stability is the trade-off between turning green for speed and economy versus turning seasoned/dried blanks for predictability. Turning green-to-final or roughing a green blank down to a stable profile and sealing the endgrain (Anchorseal or similar) will save wood and let you hollow multiple bowls from one log, but expect significant movement, flats can cup, rims can warp, and wet blanks can crack as they dry unless you control moisture loss. If you start with a fully dried blank, you get accuracy: you can size for lids or nested sets, fit chucks precisely, and finish without waiting months, but you pay for kiln‑dried stock or must wait while your own blanks season.
- Practical workflow: rough‑turn green blanks to an oversized bowl (leave 3–6 mm of extra wall thickness), seal endgrain immediately, and label orientation so you can remount true later; alternatively, core multiple blanks from a log and let cores dry individually.
- Time and space: expect months to a year for air drying depending on thickness and climate; storing under a covered, ventilated shed shortens warp risk.
- Pitfall: finishing a green bowl to a high sheen, it will check and craze as it dries; finish only after final sizing on a stable blank.
3. Figuring and visual impact
Figuring, burl, crotch, spalting, medullary rays, and curly grain, is what drives value and viewer reaction, but it also changes how you approach turning and finishing. Burls and heavy spalting often contain voids, punky areas, and bark inclusions that need stabilization (CA, epoxy, or resin fill) or careful hollowing to avoid collapse; crotch grain and flame figure produce dramatic chatoyance but can lead to pronounced tearout unless you use shear cuts and extra‑sharp tools. Consider whether the figuring sits on the surface or deep inside: surface figuring benefits from a thin finishing film that enhances chatoyance, while deep figure sometimes needs dye or translucent finishes to reveal patterning.
- Visual tricks: a thin dye or aniline stain accentuates flame and crotch figure; use a washcoat (shellac or thin CA) to lock in loose fiber before sanding for spalting.
- Structural tricks: fill voids with clear epoxy for bowls intended for food or heavy use; for decorative-only pieces, keep voids and back them with a stand to make the holes intentional.
- Pitfall: over‑sanding figured wood flattens the anatomy of the figure, move to finer grits with light pressure and finish sealers to keep depth.
4. Finishing considerations
Finishing ties workability, stability, and figuring together into the final look and use case. Oily species resist water‑based finishes and can interfere with adhesion, teak and some exotics often need solvent‑based sealers or multiple wipe coats to build a film. Endgrain soaks up finish and looks darker; for even color use a sanding sealer or thin shellac before applying the top finish. For food‑safe bowls intended for use, choose finishes known for safety after cure (curing oil blends marketed as food safe or shellac and hard wax topcoats); decorative bowls allow any clear coat, lacquer, or epoxy you prefer.
- Finish sequence I use: seal (thin CA or shellac) to lock grain and close endgrain, then light sanding to 320–400, then choice of oil (food‑safe) for utility bowls or high‑build lacquer/CA for display pieces.
- Mechanical consideration: high gloss highlights torn grain and sanding marks; keep final buffing light on figured woods to preserve depth.
- Pitfall: applying a thick finish to a partially dried blank traps moisture and can cause blistering; always finish after the blank is at equilibrium moisture content for your environment.
5. Putting the trade-offs together (species decision matrix)
Pick a species by answering three bench questions: will I turn now or wait, is the bowl for daily use or display, and how much figuring do I want to show? If you want quick turnaround and predictable results, choose kiln‑dried domestic hardwoods; if you want spectacular figuring and are willing to stabilize and slow‑turn, target burls, crotch wood, and spalted sections. If you plan to rough‑turn from green logs to maximize yield, pick species that dry with minimal checking in your climate and commit to endgrain sealing and staged re‑turning.
- Quick examples from the bench: choose walnut or cherry for steady workability and good finishing; choose box elder or catalpa for dramatic spalting and color but plan for void stabilization; choose burls for one‑off showpieces where epoxy fills are acceptable.
- Judging cost vs. reward: figured exotics cost more but can command a premium; rough‑turning green saves money but costs time and space for drying.
- Pitfall: buying a spectacular slab without a plan for drying, stabilization, or finishing often turns a bargain into a disaster.
Conclusion Decide first what you want the bowl to do, then pick the species and process to match: workability and tool choice determine how it turns; drying practice dictates whether you can finish now or later; figuring controls technique and filler needs; finishing nails down use and look. I still reach for kiln‑dried domestic blanks for demo pieces, green cores for production practice, and burls or spalted sections when I want a showstopper, each choice carries a predictable set of trade‑offs you can plan for at the bandsaw.
Know something we missed? Have a correction or additional information?
Submit a Tip