Step By Step Scenery Guide for Realistic Model Train Layouts
A practical how to guide lays out the core steps most modelers use to build convincing, long lasting scenery for HO, N and larger scales. It covers planning and reference gathering, benchwork and terrain shaping, surface textures, rockwork, vegetation, track finishing, lighting and maintenance so hobbyists can adapt techniques to their prototype and scale.

Model railroaders seeking durable, realistic scenery can follow a clear sequence of techniques that puts planning and reference first, and finishes with wiring and upkeep. Begin by choosing an era and region, gather six to twelve reference photos including prototype shots, satellite images or historic pictures, and sketch crew sight lines and camera positions you want to impress. Good planning keeps scenes consistent and helps prioritize focal points.
Next establish a rigid benchwork base using plywood or L girder construction and fasten a subroadbed of quarter inch plywood, foamboard or Homasote. Add cork or foam roadbed under track to achieve realistic rail height and reduce noise. Terrain shaping is straightforward with extruded foam cut or stacked from pink or blue foam, glued with construction adhesive or hot glue and sanded to shape. For lightweight hills use torn newspaper and white glue over a mesh armature.
Prime the whole terrain with thinned latex house paint in earth tones to seal and apply an earth brown base color. For fine texture sprinkle scenic ground foam, sifted dirt or ballast onto a fifty fifty mix of white glue and water with a drop of dish soap to improve wetting. Rockwork can be formed by pressing and carving foam or using plaster bandage and rub molds, then painted in layered washes with a dark base, mid highlights and drybrush of lighter tones, finishing with chalks or washes for streaking.
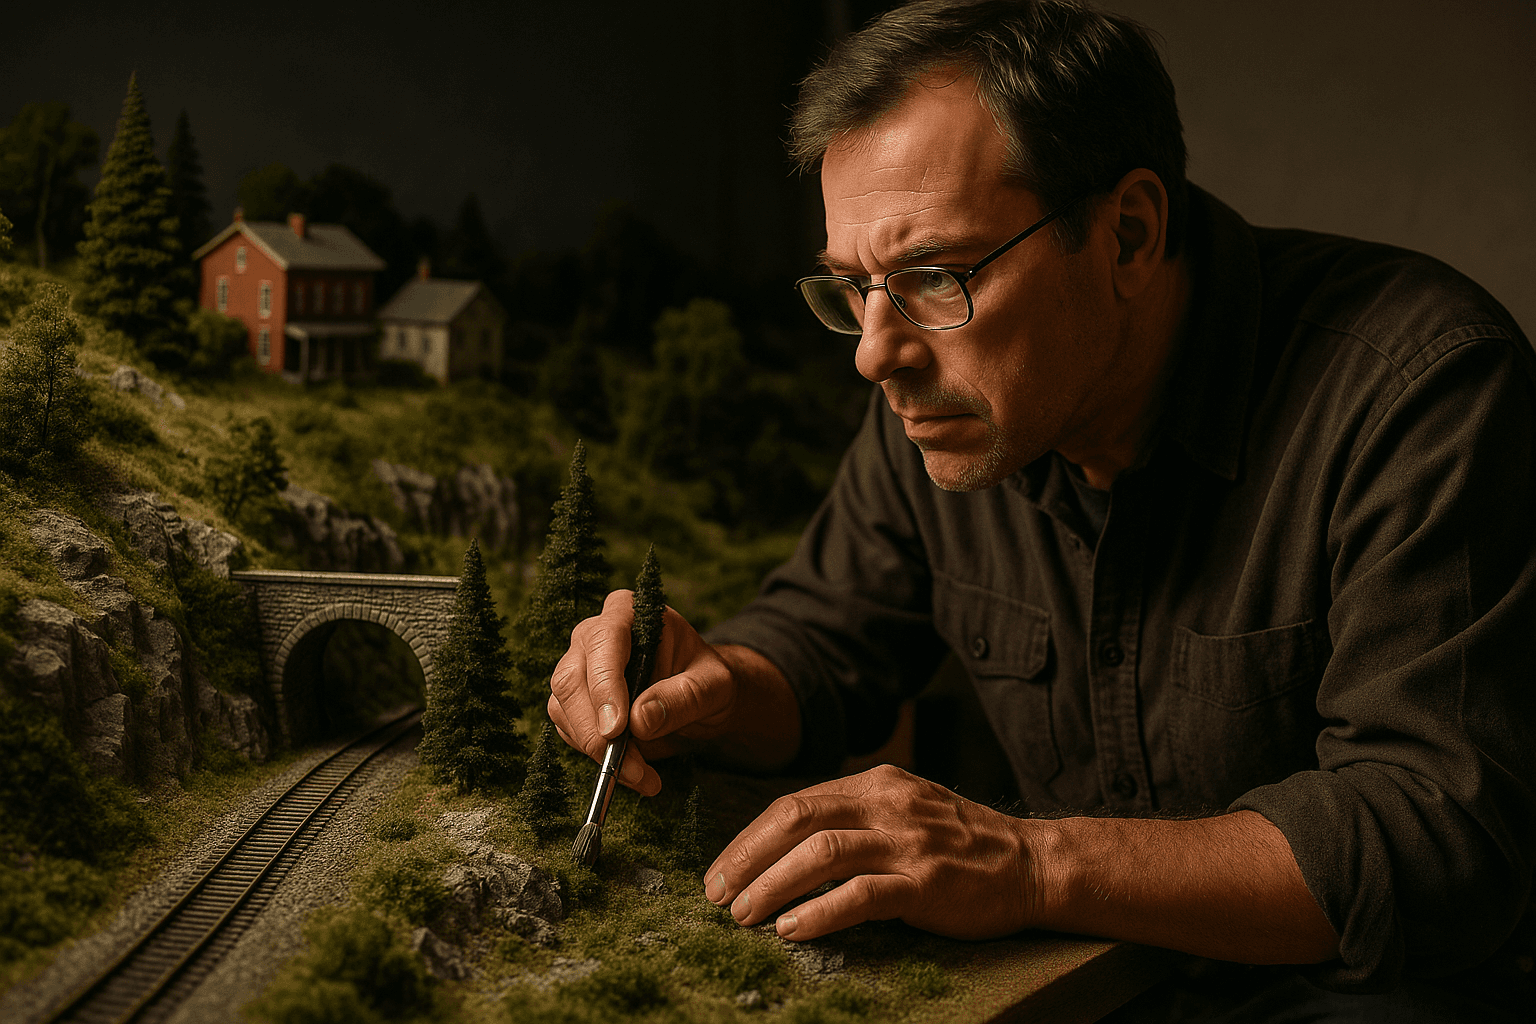
Vegetation benefits from static grass applicators and multiple pile heights and color mixes for early season and late season effects. Use twig traffic for trunks, polyfiber or foam foliage clusters for bushes, and tree armatures fitted with foliage clumps for full trees. Ballast the track with fine grade material glued with a diluted alcohol and matte medium mix to bond without dissolving paint. Weather rails with rust paints applied by airbrush or hand brush and dull ties and rail joiners for realism.
Finish with oil stains at industry spots, rust streaks on rolling stock, faded signs and carefully placed figures. Install LED lighting for buildings and streetlamps, add accessible wiring points and test for interference. Seal scenic areas with a final matte spray or thinned PVA and follow regular maintenance by cleaning track, touching up high traffic areas and storing spare materials for repairs. A compact toolkit including a hobby knife, foam cutter, static grass applicator, a basic airbrush, scenic ground foams, plaster cloth, white glue, matte medium and fine ballast will cover most needs and allow modelers to adapt techniques to their chosen prototype and scale.
Know something we missed? Have a correction or additional information?
Submit a Tip

