Vintage toy teardown offers clear roadmap for tiny synth repairs
Manitou Productions released a hands-on teardown and repair of a Talk ’N Learn Alphabet toy, showing diagnostics and mods that matter to anyone fixing small electronic instruments.
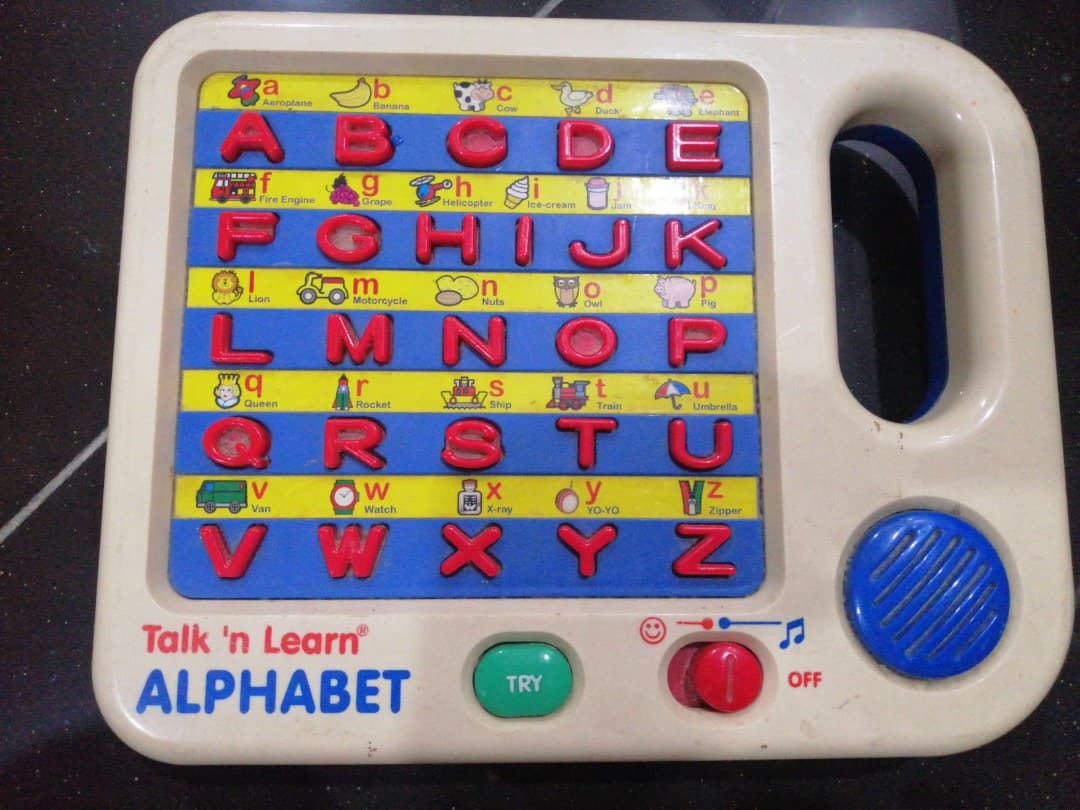
A new play-through, teardown and repair video of a Talk ’N Learn Alphabet toy from the early 1990s lays out a compact lesson in how kids’ electronics behave and how to fix them. The piece walks through common symptoms such as pitch instability and noisy switches, then moves into basic diagnostics, pitch‑modification experiments and a simple repair/mod, all shown with close-up shots of the innards.
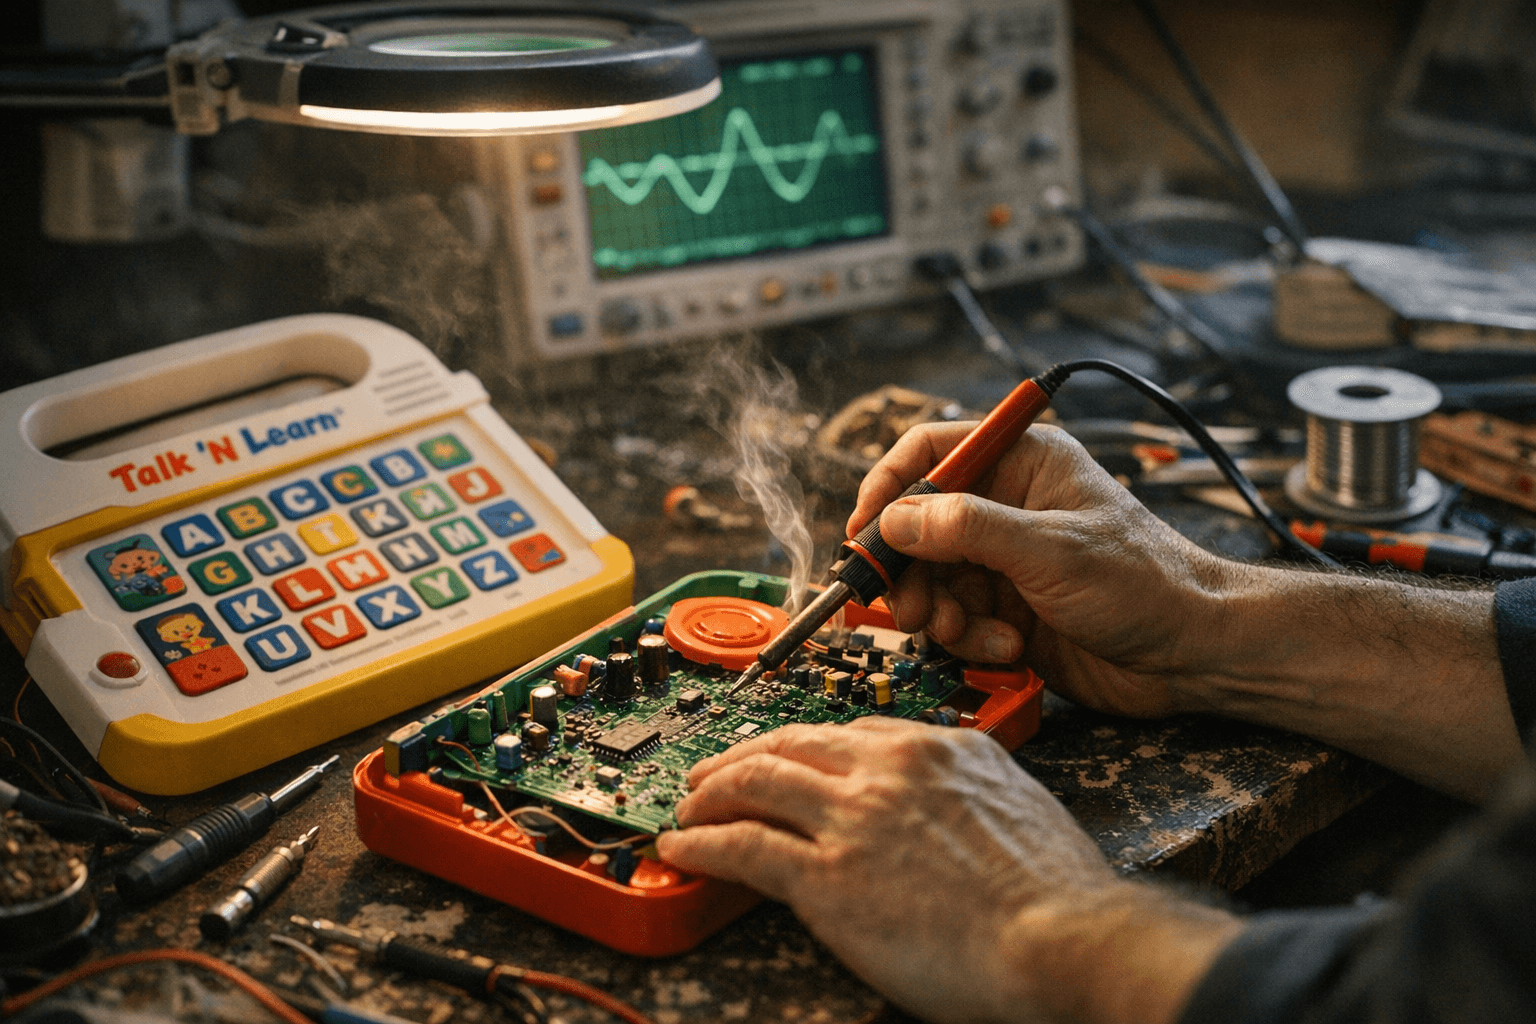
The video begins with a demonstration of the toy’s sound behavior and highlights the flaky, wobbly pitch that many old toddler electronics develop. That symptom, paired with scratchy switch contacts and intermittent operation, is familiar to anyone who has dug into battery-powered keyboards, drum machines and toy synths. From there the presenter methodically opens the case, photographs solder joints and traces the small board-level oscillator responsible for the toy’s voice.
Practical value comes next: the teardown shows straightforward tests and observations that hobbyists can copy. The presenter checks connections, inspects switch contacts for corrosion, and uses simple probes to watch how the oscillator responds to component changes. Rather than a deep-dive into advanced mods, the work focuses on accessible experiments to alter pitch and stability safely, the sort of circuit-bending playground that offers creative payoff without requiring industrial gear.
Close-up footage is a highlight. Clear views of the PCB, connectors and parts layout make the process repeatable for people who learn visually. For community repair nights, swap meets and bench sessions, that kind of imagery answers the basic question: what does the board look like and where do I start? It also reinforces good habits: document your wiring, photograph before you unplug, and test incrementally.
This material is directly useful for anyone treating vintage play-toy electronics as miniature synths. Techniques shown translate to repairing noisy switches on cheap keyboards, stabilizing oscillators on handheld units, and experimenting with pitch tweaks for creative sound design. It’s a low-cost, low-risk way to practice soldering, measurement and patch-thinking before moving on to pricier collector gear.
The takeaway? Treat these toys like learning modules. Use basic diagnostics, keep the scope small, and don’t be afraid to experiment with pitch mods when you’ve documented the stock state. Our two cents? Bring a multimeter, a contact cleaner, and a patient attitude to the bench, those tiny boards teach big lessons in signal flow and circuit behavior.
Know something we missed? Have a correction or additional information?
Submit a Tip