Yoga Clinician Shares Step-by-Step Shoulder and Upper-Back Stretch to Improve Mobility
A practicing yoga clinician shares a clear, clinic-tested shoulder and upper‑back stretch she uses with students to reduce stiffness and improve range of motion.

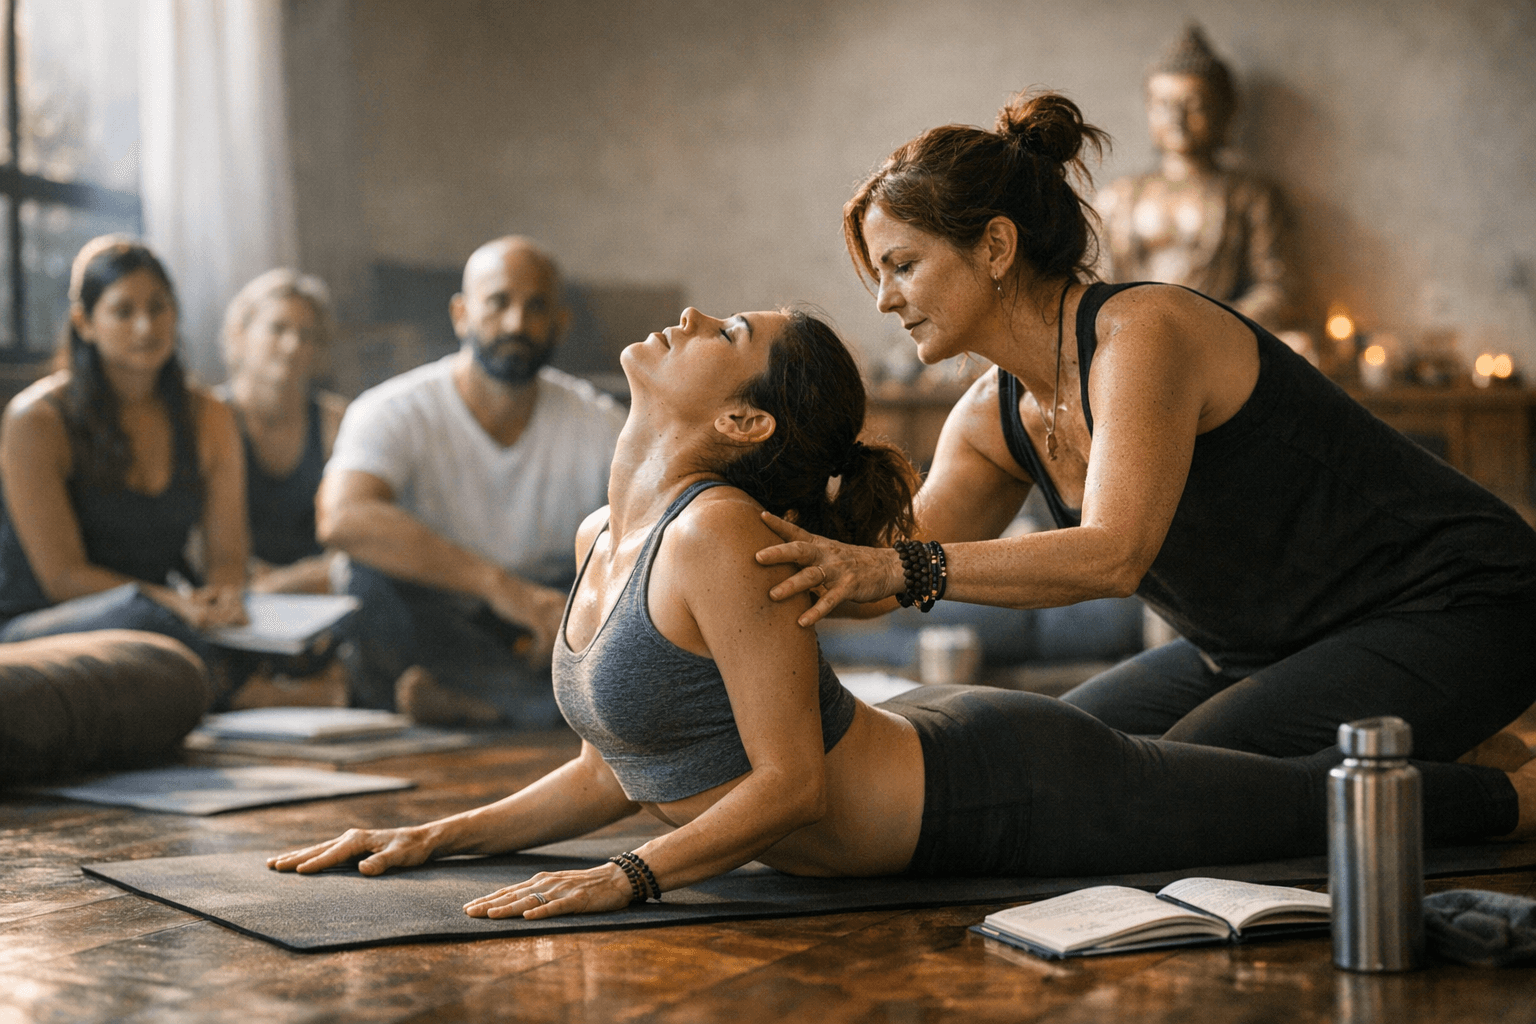
A practicing yoga teacher and clinician laid out a step‑by‑step shoulder and upper‑back stretch in a Psych Insight Clinic piece published February 13, 2026, describing the exact sequence she uses with students to reduce stiffness and improve range of motion. Below I break the sequence into clear steps, offer clinical context and accessible modifications, and flag practical tips she recommends when teaching or practicing this at home.
1. Prepare your space and props
Find a quiet, stable spot where you can sit or stand without twisting, and gather a strap or towel and a chair if you use supports; the clinician uses these props with students in clinic settings to make the stretch accessible. She recommends a straight-backed chair for beginners and a yoga strap or towel to help students who lack shoulder reach, which reduces compensatory upper‑back tension and supports safer movement.
2. Establish posture and breathing
Start with a tall spine: sit on the front edge of a chair or stand with feet hip‑width apart and ribs stacked over pelvis; the clinician emphasizes this baseline when introducing the stretch to students to protect the neck and lower back. Breathe slowly and evenly for three to five breaths to quiet the nervous system, the clinician reports that steady breath helps participants feel the difference between tightness and safe movement during the stretch.
3. Anchor the scapula and lengthen the thoracic spine
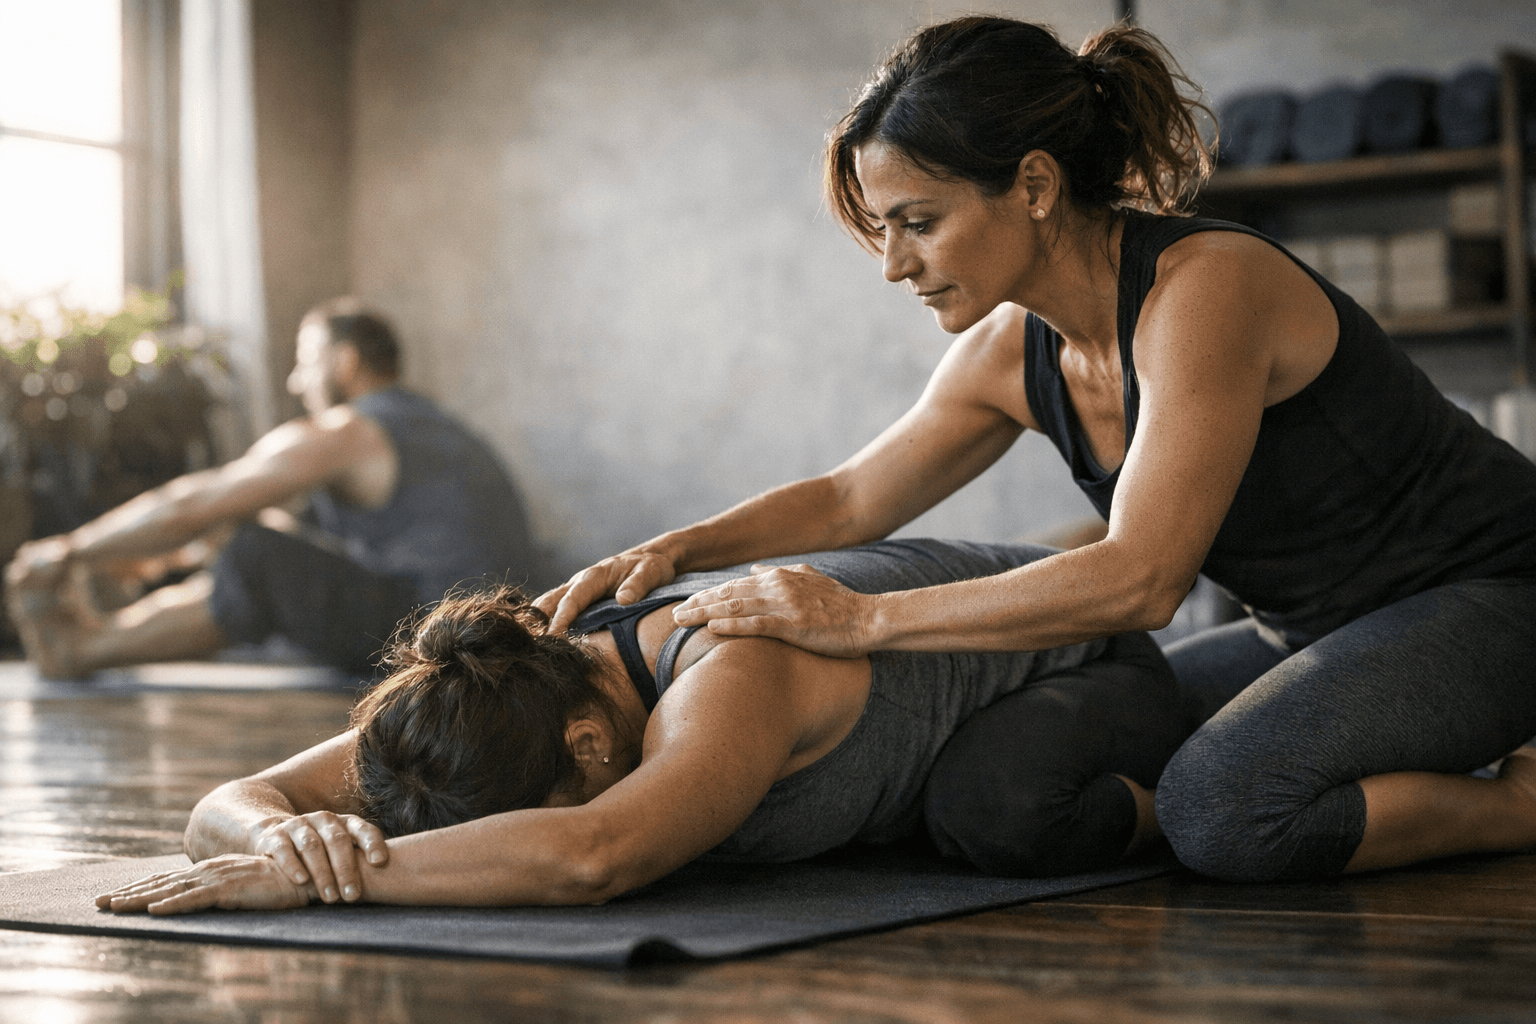
Gently draw the shoulder blades down and together rather than shrugging, and imagine lengthening up through the crown; the clinician teaches this cue to students so the movement comes from the thoracic spine and shoulders rather than neck compensation. She uses this step clinically to reduce the stiffness of the upper back by improving scapular positioning before any arm work begins.
4. Reach the working arm across or overhead (choice of two entry options)
Option A, across-chest: bring the right arm across the front of the chest toward the left shoulder and support the elbow with the left hand; the clinician frequently uses this cross‑body entry with students who present with tight posterior shoulder tissues to improve external rotation and upper‑back mobility. Option B, overhead thread: if mobility allows, reach the right arm overhead and thread it behind the left shoulder blade, using a strap if needed; the clinician uses this overhead thread for students who need a gentle thoracic rotation and deeper posterior capsule stretch.
5. Add controlled rotation and scapular glide
From the chosen entry, rotate gently through the thoracic spine toward the opposite side while maintaining the anchored scapula cue; the clinician blends this rotation with scapular glide when teaching students to increase range of motion without stressing the shoulder joint. She notes clinically that small, controlled rotations, rather than forced twisting, produce measurable improvements in upper‑back mobility over repeated sessions.
6. Hold with mindful breath and progressive timing
Hold the position for a comfortable 30–60 seconds while breathing into the upper back; the clinician recommends this duration when she works with students to reduce stiffness and promote connective‑tissue remodeling. If 30–60 seconds is too much, start with 15–20 seconds and build up; clinically she tracks progress by how the student tolerates progressively longer holds across sessions.
7. Release, reset, and repeat on the other side
Slowly release the arm, retake neutral posture for two full breaths, then repeat the full sequence on the opposite side; the clinician uses a mirrored approach with students to ensure bilateral balance in mobility gains. Clinically, she observes that alternating sides and allowing a brief reset reduces asymmetrical compensation patterns that can perpetuate upper‑back stiffness.
8. Progression: add dynamic movement and range testing
After static holds, add slow active reaches, e.g., lift the arm overhead, circle the shoulder, or perform gentle thread‑throughs, while maintaining the anchored scapula and tall spine; the clinician integrates these dynamic progressions with students once static mobility improves to translate gains into functional movement. She reports in clinical practice that combining static and dynamic work accelerates improvements in range of motion and reduces the sense of stiffness in daily activities.
9. Modifications for pain, recent injury, or limited mobility
Use a strap to bridge the gap if the hand can’t reach, reduce hold time, and avoid end‑range movements if there’s sharp pain; the clinician advises these modifications when she adapts the stretch for students with past shoulder injuries. In clinic, she prioritizes pain‑free movement, if a student reports sharp or radiating pain, she stops the progression and returns to gentle breathing and posture re‑education.
10. Frequency, measurable goals, and simple monitoring
Practice the sequence once daily on tight days or 3–4 times per week for maintenance; the clinician suggests this frequency when prescribing the stretch to students to reduce stiffness and improve range of motion over weeks. She encourages tracking small objective signs, like improved ability to reach overhead, reduced morning stiffness by a score of 1–2 points on a simple 10‑point scale, or increased hold time without discomfort, to measure progress clinically.
- Cue: “lengthen first, then move”, the clinician uses this phrase with students to prioritize spinal length before shoulder motion.
- Props: Use a towel or strap looped in the hand if you can’t reach across the chest; the clinician reports this makes the stretch accessible to most students.
- Classroom scaling: In group classes she starts with the across‑chest entry for safety, then offers the overhead thread as a progression for students who report openness and no pain.
Practical cues and community tips
Safety notes from a clinician’s perspective Every paragraph above reflects the clinician’s approach used with students to reduce stiffness and improve range of motion as described in the Psych Insight Clinic piece published February 13, 2026. If you have acute shoulder pain, recent dislocation, or post‑operative restrictions, consult your treating clinician before attempting these movements; the yoga clinician behind this technique routinely screens students and adapts the stretch to clinical histories.
Closing take This step‑by‑step sequence is a practical blend of simple posture setup, targeted arm positioning, mindful holds, and safe progressions that the practicing yoga teacher and clinician prescribes to students to reduce stiffness and improve range of motion. Use the modifications and monitoring notes above, and you’ll have a clinic‑tested protocol you can drop into your warm‑ups, class sequences, or home practice with confidence.
Know something we missed? Have a correction or additional information?
Submit a Tip