Fix Common 3D Print Failures With This Prioritized Troubleshooting Checklist
Most FDM and resin print failures trace back to just a handful of root causes — nail the first layer, dial in your exposure or temperature, and check your hardware before blaming your slicer.
Print failures are one of the most frustrating parts of this hobby, but most of them aren't random. The reality is that most failures follow patterns — the problem is that those patterns aren't always obvious at first. Whether you're running an FDM machine or an MSLA/LCD resin printer, working through issues from simple to complex is the fastest path back to clean prints. This checklist is organized by priority: start at the top, skip to the section that matches your symptom, and only escalate once you've ruled out the basics.
Start Here: Rule Out the Obvious
Before changing any settings, confirm your fundamentals. In many cases, print failures aren't caused by complex technical problems — they're caused by small, easy-to-miss details. For FDM, that means checking that your filament isn't tangled on the spool, that the bed surface is clean and free of grease or leftover adhesive, and that you're using the right slicer profile for your material. For resin, before every print, check if the build plate is level, mix the resin well, inspect the FEP film, and make sure supports and orientation are spot-on.
A contaminated print surface is a surprisingly common culprit on both platforms. Residues like glue marks, filament remnants, and skin oils on the print bed can affect the first layer's adhesion — it's crucial to keep the bed clean at all times before printing. On the resin side, clean the build surface with fresh isopropyl alcohol and avoid touching it with bare fingers before each print.
FDM: First Layer and Bed Adhesion
A poor first layer leads to every subsequent problem — poor adhesion, warping, and failed prints. Getting this right is arguably the most important step in successful 3D printing. The three variables to check in order are: bed leveling, Z-offset, and surface temperature.
Bed leveling issues cause the filament to either squish too much or fail to stick. The filament may not adhere well due to surface texture or lack of preparation, and a poorly calibrated distance between the nozzle and the bed results in either gaps or excessive squishing. Use the paper method or your printer's ABL system, and set your first layer height to around 0.28–0.32 mm for a 0.4 mm nozzle. Slowing your first layer speed also helps: decreasing first layer speed to about 30–50% of normal speed ensures the print head moves slowly enough to achieve solid adhesion.
For bed temperatures, the numbers matter: optimize bed temperature at 60–70°C for PLA and 90–110°C for ABS/PETG. If adhesion is still marginal, clean the build plate with isopropyl alcohol and apply adhesion aids like glue stick, painter's tape, or PEI sheets for materials prone to shrinkage.
FDM: Warping and Corner Lift
Warping is a common FDM issue that causes parts to deform at the base, where corners curl upward and detach from the print bed. Uneven or rapid cooling causes filament to shrink and pull on surrounding layers, and if the first layer doesn't stick firmly, the corners lift as the material cools.
Proper thermal management can eliminate up to 80% of warping-related failures. Practical fixes include adding a brim in your slicer to increase surface contact, using an enclosure for ABS and similar high-temp materials, and reducing cooling fan speed for the first several layers. Switching to low-warp filaments like PETG or adding fillers such as carbon fiber reduces shrinkage significantly. If you're printing ABS or ASA, keeping the enclosure chamber between 60°C and 80°C dramatically reduces warping and improves layer adhesion.
FDM: Stringing
Stringing, or "hairy prints," results from filament oozing during non-extrusion travel moves, leaving thin wisps between features. The two main causes are excessive nozzle temperature and insufficient retraction.
The fix is methodical: calibrate retraction settings by increasing distance to 4–8 mm for Bowden setups and speed to 40–60 mm/s, enable Z-hop on retraction to lift the nozzle during travel moves, and reduce printing temperature in 5–10°C increments while monitoring flow. For direct-drive extruders, retraction distances of 1–2 mm are typically sufficient. Filament absorbs moisture, which causes absorbed water to vaporize inside the nozzle, producing bubbles, stringing, poor flow, or rough surfaces — so if stringing persists despite correct retraction, dry your filament before suspecting anything else.
FDM: Under-Extrusion and Nozzle Clogs
Under-extrusion occurs where the printer extrudes less filament than needed, making prints weak, incomplete, or gappy — resulting in layerless models or those with thin walls. Start your diagnosis visually: heat the nozzle and extrude some plastic into the air. If it flows straight down, the nozzle is likely clear; if it curls up and sticks to the nozzle immediately, you likely have a partial clog.
For clearing clogs, the cold pull is your primary tool. Cold pull cleaning removes debris and reduces extrusion resistance by softening filament inside the nozzle, cooling it until partially solid, then pulling it out along with burnt residue or dust. Routine cold pulls extend nozzle life and ensure consistent flow. If a clog won't clear that way, inspect the extruder tension: the gear may not be gripping the filament tightly enough. Also check for heat creep, particularly if you're printing PLA in an enclosed printer — printing low-temp materials in a fully enclosed chamber can cause ambient heat to rise too high; leaving the door or top panel open when printing PLA resolves this.
Moist filament forms steam bubbles inside the hotend, which disrupts flow and causes under-extrusion. Always dry filament before printing if it has been exposed to humidity. Store spools in sealed containers with desiccant when not in use.
FDM: Layer Adhesion and Delamination
Layer separation means layers don't bond properly, creating weak points or visible gaps — this severely compromises structural integrity. Insufficient nozzle temperature or excessive cooling prevents proper layer-to-layer adhesion.
The fix starts at the hotend: tune your nozzle temperature up toward the high end of your material's range while watching for stringing or quality issues. For large prints, invest in an enclosure or at least shield your printer from drafts, and reduce part cooling when strength matters more than surface finish. Drafts are particularly damaging: air currents cause uneven cooling, which is one of the nastiest causes of delamination on tall parts.
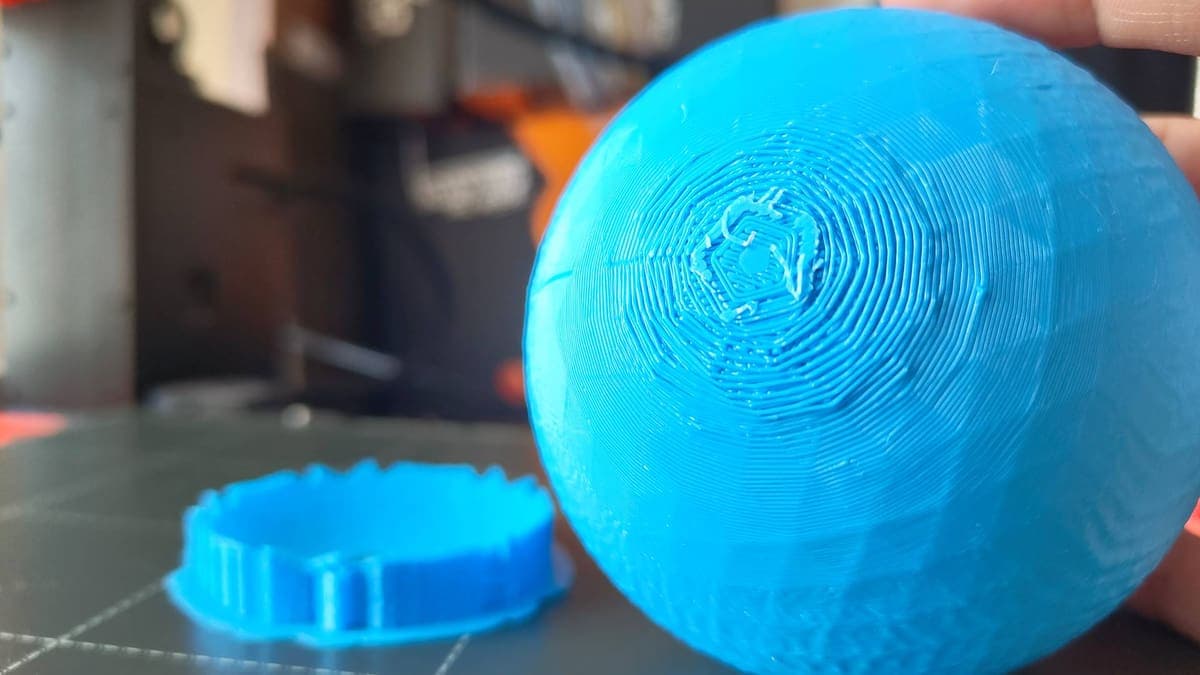
FDM: Surface Defects (Ghosting, Ringing, Blobs)
Ghosting, ringing, and layer lines appear as subtle waves on vertical surfaces, especially after sharp corners or direction changes. Unlike stringing or adhesion problems, these defects stem from mechanical vibrations in your printer's motion system. Check belt tension first — loose belts on the X and Y axes are the single most common cause. Over- and under-extrusion can also produce rough walls; calibrate extrusion, tighten belts, and replace a worn nozzle if needed. Reducing print speed is effective: lowering perimeter speed to 35–50 mm/s improves surface smoothness without significantly impacting overall print time.
Resin: Build Plate Adhesion
In adhesion failures, first-layer and raft issues are the most common: under-adhesion, only a raft silhouette or "pancake," enlarged bases, and compressed rafts from too much bottom exposure or wrong Z-offset. Resolve these in a specific order.
First, re-level the build plate. Level the build plate with paper or feeler gauges so resistance is even at all corners. Then check your exposure: set bottom exposure to 6–10× your normal layer exposure and use multiple bottom layers for stronger adhesion. Slow your initial lift: reduce bottom lift speed to about 40 mm/min and use 8–10 mm lift height to ease peel forces. Finally, check your resin temperature — resin below about 68°F thickens and reduces adhesion, so printing within a 68–82°F range improves consistency.
Resin: Supports, Orientation, and Hollow Models
Poorly placed or oriented supports are one of the leading causes of failed resin prints. When supports are inadequate, prints can partially cure but end up detaching, warping, or collapsing into a deformed mess. No matter how well calibrated your resin and exposure is, lack of supports where needed can easily ruin your print.
Orientation is as important as support density. Model orientation strongly affects peel forces. Large flat areas printed nearly parallel to the build plate create heavy suction and torque that rip supports away — balancing orientation between surface quality and peel forces often gives more reliable results. The general rule: make sure unsupported overhang angles are no more than 30 degrees for resin prints; anything over 30 degrees should be supported.
For hollow models, drain holes are non-negotiable. If a cup-shaped feature prints open to the vat, resin will be pulled up by vacuum when the Z-axis lifts to separate, and will pressurize when it returns. Hollow parts with improperly placed drain holes create a suction cup effect that stresses the touch points to failure — it is always recommended to include a drain hole at the extremity of the part. A wall thickness of 1–1.5 mm is a reliable starting point for most hollowed resin models.
Resin: Structural Failures and Surface Defects
Structural failures include inter-layer delamination, mid-print splits, random support column breaks, incomplete supports, and hollow models that crack as trapped resin cures. Most of these trace back to under-exposure or excessive lift speed. Increase your normal layer exposure in small increments, and reduce lift speed — the causes of support separation typically include a fast Z-lift speed, low exposure time, and a weak support structure.
Surface issues include thin cured flaps (ragging), orange-peel textures, blooming or gel-like sludge, white residues, sticky finishes, and cracked "desert" patterns after aggressive ultrasonic cleaning. Sticky surfaces after washing and curing usually mean under-exposure or insufficient UV time in post-cure. Ragging — thin layers of semi-cured resin on the surface — typically means layers aren't sticking to each other; increase regular layer exposure and reduce lift speed to give each layer time to fully bond before it's peeled. Limit total time in cleaning baths to well under 40 minutes and never leave parts soaking overnight, as prolonged soaking in IPA softens the material and causes warping.
Resin: Hardware Checks and Dry Runs
When slicer and settings adjustments aren't fixing the problem, shift your focus to the machine itself. Typical hardware symptoms include the build plate failing to move, severe layer shifts, grinding or squealing along the Z axis, loud pops combined with failures, random thin strings or towers from dead pixels, and vertical holes repeating in the same position.
Diagnosis starts with a dry run: remove the resin vat and build plate, place paper on the screen, then run a job and watch for bright, flicker-free images that match the sliced layers. Also check that the build platform moves correctly with no binding or stuttering. For Z-axis inconsistency, if the Z-axis isn't properly lubricated, the movement of the build plate can become inconsistent — you might see slight pauses or stuttering during vertical movement, and even subtle inconsistency can lead to layer misalignment or gaps between layers. Check and lubricate the lead screw regularly. All FEP, NFEP, PFA, and ACF films wear out over time — if the sheet is stretched, scratched, or cloudy, it can cause a wide range of failures and should be replaced as part of routine maintenance.
Maintaining Good Print Habits
The best troubleshooting is the kind you rarely need. Regular maintenance — cleaning the hotend, lubricating rods, and updating firmware — pays long-term dividends. Store filaments in dry boxes to prevent moisture absorption, and use slicer profiles tailored to your specific printer and filament. For resin, the top repeat offenders are poor exposure calibration, bad support placement, printing hollow models with no drain holes, and reusing resin without filtering after a failure. Keep a simple print log: documenting what worked on a given material or geometry means you can reproduce successes and isolate new variables when something goes wrong.
This article was produced by Prism’s automated news system from verified source data, official records, and press releases, then run through automated quality and moderation checks before publishing. The system is built and supervised by the people who set the standards it runs under. Read our full AI policy.
Did this article answer your question?