Hobbyist Guide to Printing Flexible, Abrasive, and Specialty Filaments Successfully
Stop wasting spools on failed prints: mastering flexible TPU, abrasive composites, and specialty filaments comes down to hardware prep, drying, and methodical test prints.
Flexible TPU, carbon-fiber composites, glow-in-the-dark PLA, recycled PET, glass-filled nylon. The filament market has exploded past the days when you only had to choose between a handful of PLA colors. Small producers and research groups are now shipping functional materials that promise conductivity, flame resistance, embedded luminescence, and near-industrial tensile strength. The catch: each of those properties comes bundled with a printing quirk that will eat your time and your filament if you don't know what you're walking into. Here's how to approach the whole category systematically.
Know Your Printer Before You Load Anything New
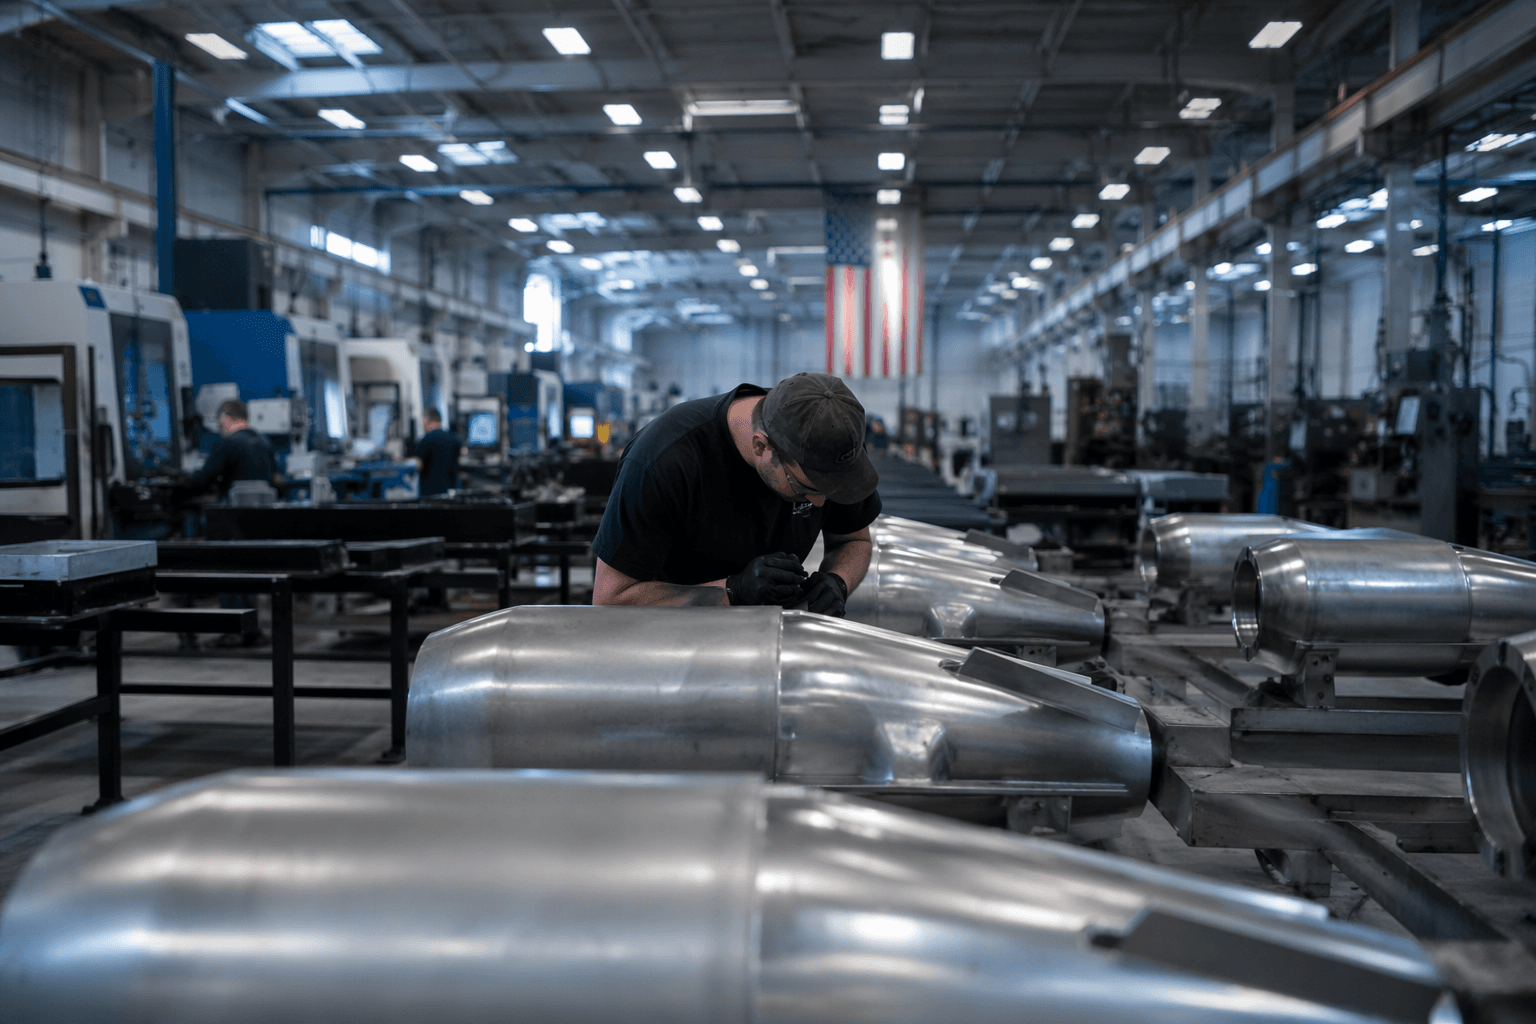
The single biggest mistake people make with specialty materials is reaching for an exotic spool before they actually understand their hardware's limits. Start by confirming three things: your hotend's maximum rated temperature, whether your bed can hold sustained heat, and whether you're running an enclosure. An all-metal hotend is non-negotiable for abrasive composites or any high-temperature fiber-filled material. PTFE-lined hotends degrade and off-gas above roughly 240°C, which rules them out for nylon composites, high-temp PETG variants, and anything abrasive running at elevated temps. If your printer shipped with a PTFE-lined setup, that's your first hardware upgrade.
Enclosures matter too. ABS notoriously warps under drafts, and many fiber-filled composites behave similarly. A basic enclosure, even a cardboard box in a pinch, stabilizes the ambient temperature around the print and dramatically reduces delamination. For certain resins and high-temperature materials, enclosures also become a ventilation concern: always print in a well-ventilated space or add active filtration when the manufacturer flags emissions.
Nozzles: Match the Hardware to the Material
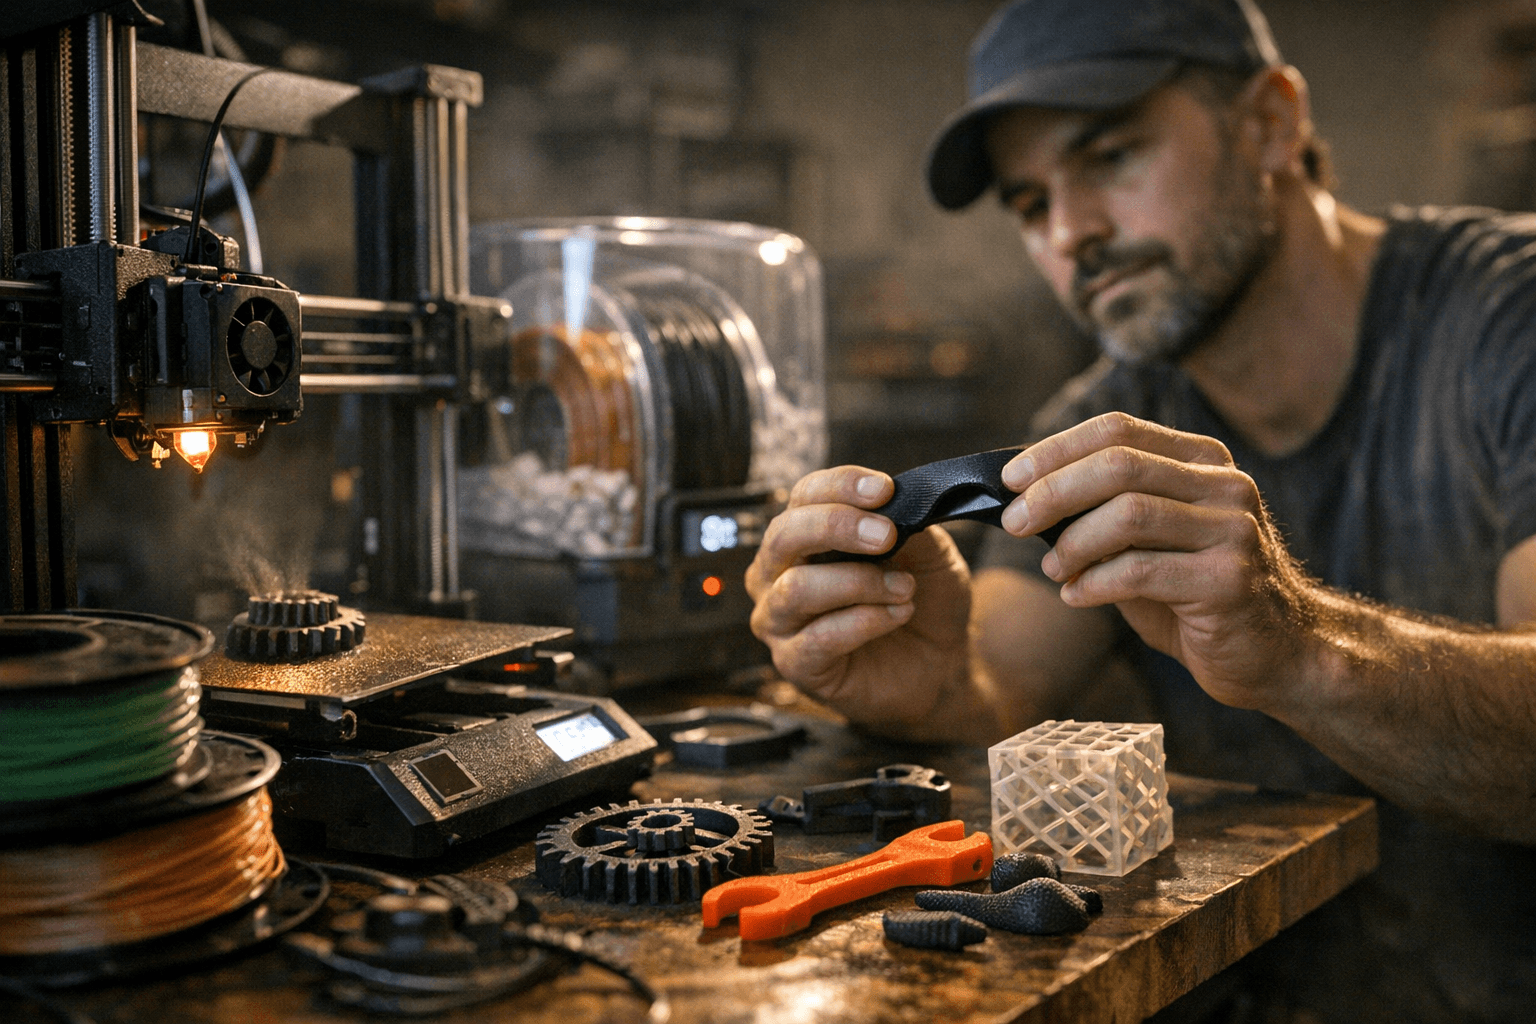
A standard brass nozzle, which comes with most 3D printers, is too soft for abrasive materials. The constant flow of hard particles grinds the inner bore wider over time, which progressively ruins your extrusion accuracy. Glow-in-the-dark PLA, for instance, contains strontium aluminate particles that chew through brass nozzles. The same applies to carbon-fiber fill, glass-fiber fill, and metal-infused composites.
Hardened steel is the practical answer: it costs a few dollars more, lasts 25-100 times longer, and handles every abrasive filament you'll encounter. Ruby or tungsten carbide nozzles are premium options offering extreme durability if you're printing composite materials constantly, but hardened steel covers the vast majority of hobbyist use cases. E3D has documented that printing with as little as 250g of carbon-fiber filled filament can damage a standard nozzle, so don't wait until you see quality degrade. Swap the nozzle before you start on any abrasive spool.
Dry Your Filament. Then Dry It Again.
Almost all 3D printing filaments are hygroscopic, meaning they actively draw in moisture from the surrounding air. Some absorb it quickly enough that leaving a spool out overnight in a humid room will affect print quality. The internal moisture turns to steam inside the hotend, creating micro-bubbles that disrupt melt flow, weaken layer adhesion, and push extra material out during travel moves, causing stringing.
The materials most sensitive to this are nylon, TPU, and PVA. Drying TPU at 40-45°C for at least 5 hours before each print is recommended, and proper drying is essential to prevent issues during printing. Nylon requires 95°C for the full 7 hours without interruption for complete moisture removal, which is beyond most consumer dehydrators and usually means a dedicated filament dryer or a well-calibrated oven. After drying, store sensitive spools in sealed bags or airtight containers with fresh desiccant packs. Prioritize airtight storage for the materials that are most hygroscopic: nylon, TPU, PVA, and any composite where the base polymer absorbs moisture readily.
Flexible Filaments: Slow Down and Constrain the Path
TPU and other thermoplastic elastomers are in a category of their own when it comes to print mechanics. Their elasticity is exactly what makes them useful and exactly what makes them difficult to feed reliably. A print speed of 20-30 mm/s is generally ideal for TPU; slower speeds allow for better control over the filament and reduce the likelihood of stringing or layer misalignment.
For stable printing, TPU with a hardness of 85A or higher is recommended. Softer TPU such as 83A or 80A bends easily during feeding and may cause filament buckling, tangling, or unstable extrusion on standard printers. A direct-drive extruder is the strongest setup for any flexible filament because it minimizes the unsupported gap between the drive gear and the hotend where soft filament can buckle. The question of how much retraction is enough is entirely dependent on the style of extruder your 3D printer has, but for flexible materials, most users dial retraction back significantly to avoid compressing and bunching the filament rather than retracting it cleanly. Start conservative and tune from there.
Cooling and Bed Adhesion Strategies
Cooling is not a one-size-fits-all setting, and getting it wrong wastes prints fast. Running 100% cooling fan on PETG causes the layers to cool too fast, resulting in poor interlayer bonding and brittle prints. PETG needs moderate airflow to control stringing without sacrificing layer strength. ABS runs at the opposite end: minimal or zero part cooling keeps the print environment stable and prevents layer splitting. Know which camp your material falls into before you start.
For bed adhesion, the surface you print on matters as much as the temperature. PEI spring-steel sheets are excellent for a wide range of materials, but there's a caveat with PETG: if PETG is bonding too aggressively to a new PEI sheet, a very light application of glue stick acts as a release agent without affecting adhesion. Glass beds with hairspray or a glue stick layer are a reliable fallback for materials that won't cooperate with bare PEI. Blue painter's tape still earns its place for PLA variants and some flexible filaments that need a bit more texture to grip the first layer. For nylon composites specifically, garolite (FR4) sheets have become a community favorite for reliable adhesion without the warping grief.
The Test Coupon Method: Don't Skip It
No manufacturer-recommended setting is going to be a perfect match for your specific printer, ambient temperature, and filament batch. The way you close that gap efficiently is with small test coupons: simple 20mm cubes, thin wall towers, or retraction test prints that use minimal material and print in under ten minutes. Run your first print at the manufacturer's mid-range temperature, note what goes wrong, adjust one variable at a time, and document the result. A printed or digital settings log per filament, something as simple as material name, print temp, bed temp, speed, retraction distance, and any notes on adhesion or stringing, builds into a library you'll reference constantly.
This methodical approach is especially valuable with specialty materials like recycled PET composites or experimental conductives, where community data is sparse and you're often the one generating the reference. The cost of a few failed test coupons is trivial compared to a ruined full print, and the settings profile you build in the process makes every subsequent spool predictable.
Getting comfortable with flexible, abrasive, and specialty filaments isn't about memorizing a single settings table. It's about building a disciplined, hardware-aware workflow that adapts to whatever chemistry lands on your desk next, and that skill compounds the more materials you run through it.
This article was produced by Prism’s automated news system from verified source data, official records, and press releases, then run through automated quality and moderation checks before publishing. The system is built and supervised by the people who set the standards it runs under. Read our full AI policy.
Did this article answer your question?