Hobbyist’s Practical FDM Guide: Bed Prep, Temperatures, Retraction, Cooling, Storage
Practical FDM checklist for bed prep, temperatures, retraction, cooling, and filament storage to cut failed prints and improve part quality.
Consistent first layers, tuned temperatures, and dry filament make more successful prints than horsepower alone. This guide lays out straightforward, testable steps to reduce warping, stringing, and delamination across PLA, PETG, ABS, Nylon, and TPU so you spend less time troubleshooting and more time printing.
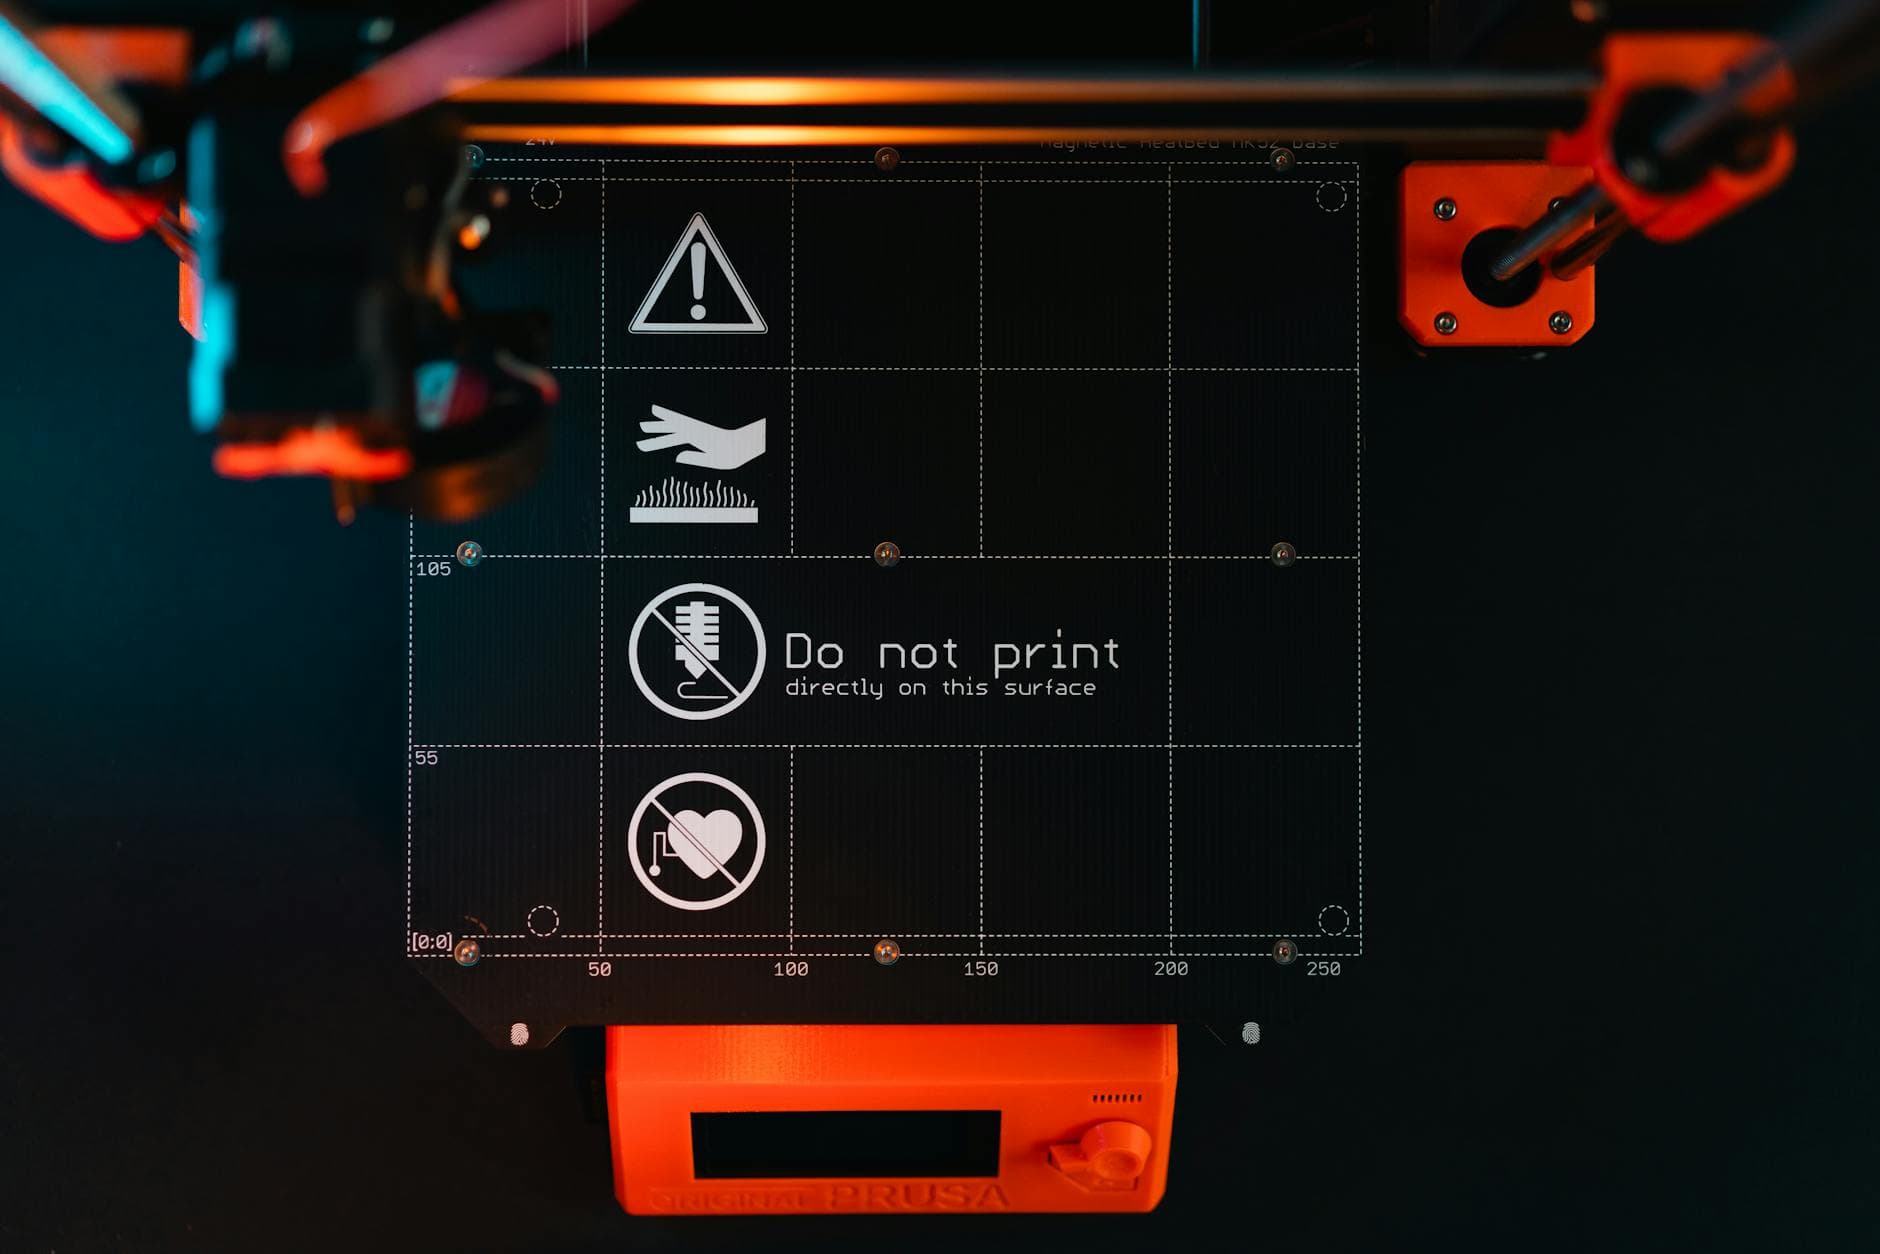
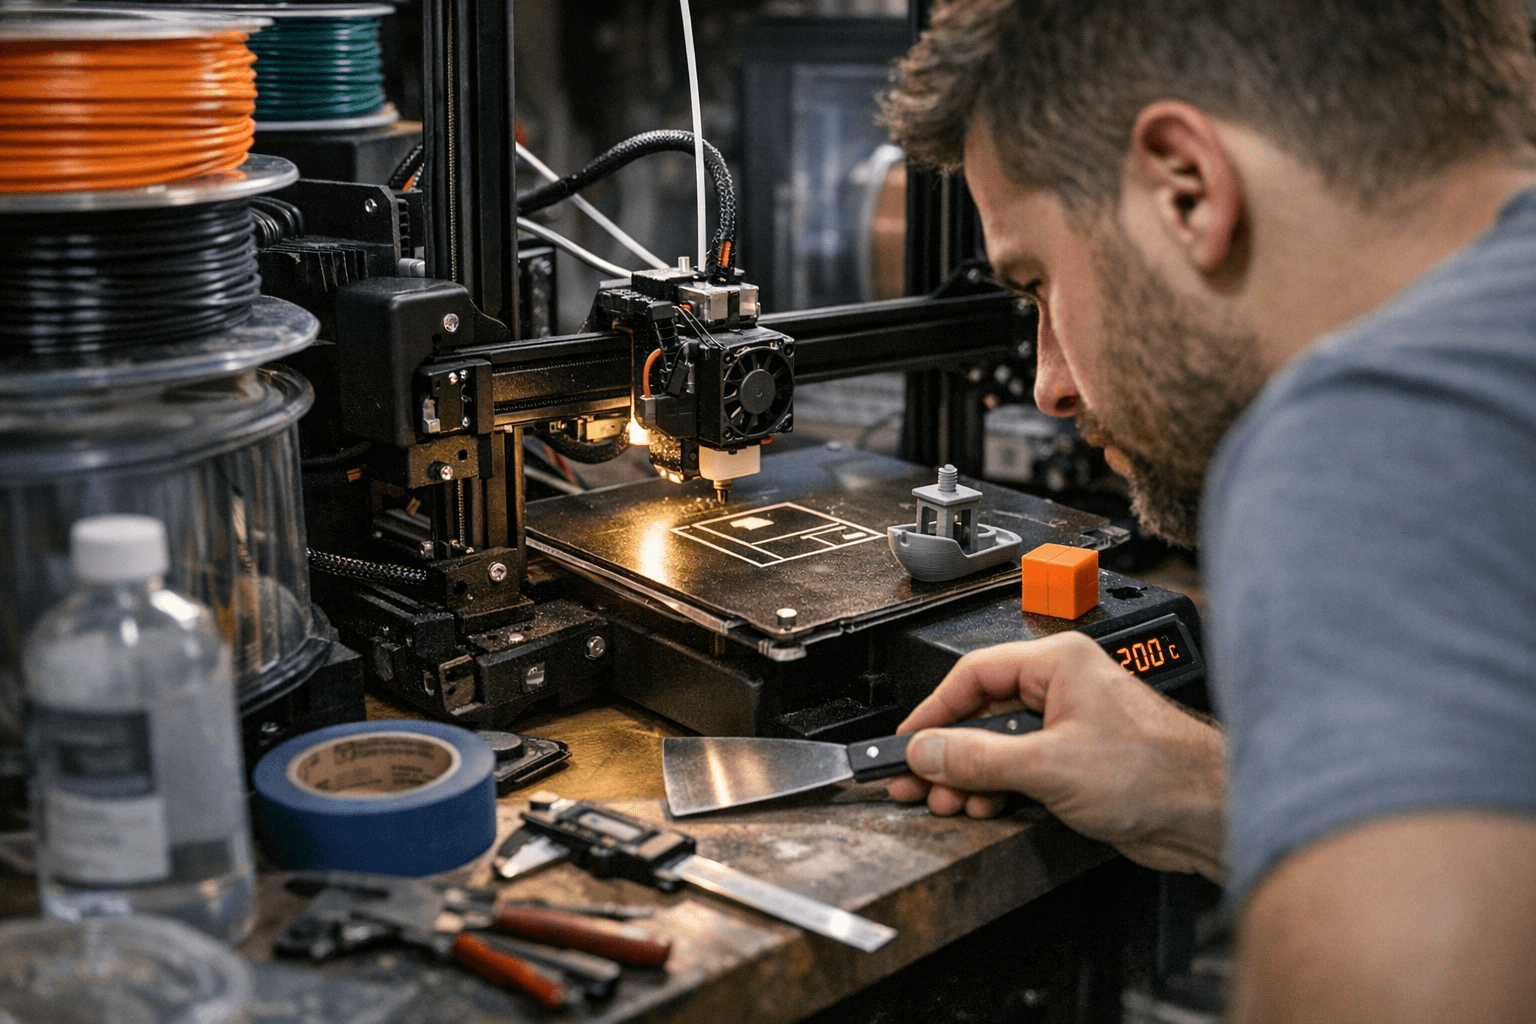
Start with the bed. Use a clean PEI sheet or glass surface and add a light adhesive only when needed - glue stick or blue painter’s tape work well for finicky parts. Aim for a slightly warm bed for PLA - 40 to 60°C - and set first layer height with a consistent paper or washer method or use auto-mesh leveling if the printer supports it. For large parts, add a brim or raft, increase skirt outlines, or switch to a flexible build surface to help adhesion; consider an enclosure for ABS and HIPS to control ambient temperature.
Temperatures matter. Begin with the filament manufacturer’s recommended range: PLA typically 190–220°C, PETG 230–250°C. Tune in small steps of ±5°C to address under-extrusion, over-extrusion, and layer bonding. If you see bubbles or weak interlayer adhesion, dry the filament before chasing settings. For stringing, reduce nozzle temperature or increase retraction distance and speed; for PETG, paradoxically lower retraction and slow the print if the filament feels soft.
Cooling and speeds affect surface finish and bonding. PLA benefits from active part cooling - run the fan at 50–100% after the first few layers. PETG usually needs much less cooling; too much induces layer delamination. Slow the first layer and consider a slightly higher extrusion multiplier (+2–5%) to improve squish and adhesion. Maintain a flat bed and slow initial speeds when fighting warping.
Store hygroscopic filaments dry. Nylon, PETG, and TPU absorb moisture that shows up as bubbling and poor layer bonding. Use filament dryers or an oven at low temperatures - 35–45°C for several hours - to reclaim damp spools. When in doubt, dry and reprint.
Tweak slicer features: enable linear advance or pressure advance if supported, tune acceleration and jerk, and use adaptive layer heights for models mixing fine detail and bulk. For troubleshooting, isolate one variable at a time, print small calibration objects such as a benchy, temp tower, or retraction test, and log your results to track what works.
Keep safety and maintenance routine. Keep firmware current, check belts and screws, keep the hotend and nozzle clean, and ventilate when printing specialty filaments. Follow these steps and your failed-print rate should drop, saving filament, time, and patience - then iterate with a few calibration prints and log the gains so each spool lasts longer and prints look better.
Know something we missed? Have a correction or additional information?
Submit a Tip