Laser tests show how to mark 3D prints cleanly
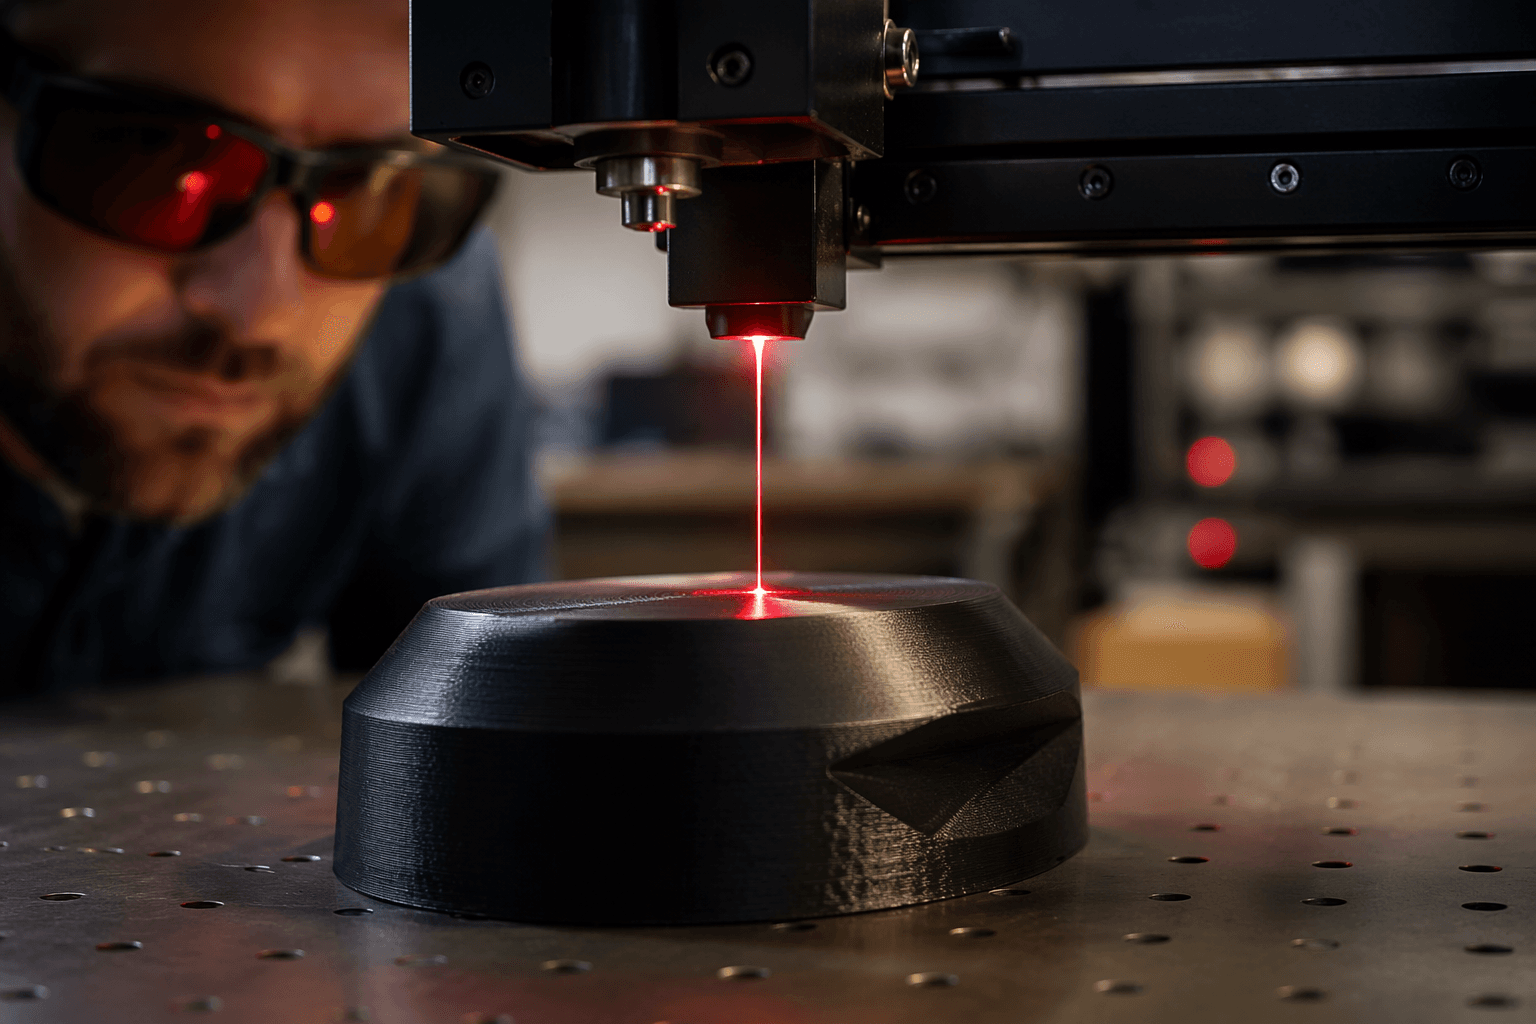
Clean marks on printed plastics are possible, but only when wavelength, material, and settings line up. The wrong laser turns labels into scorched test pieces.

A QR code that still scans after the first wipe-down is a better test of laser marking than a logo on a scrap print. Stefan’s CNC Kitchen experiment asks the practical print-shop question: if you already make parts at home, can you mark them cleanly enough to look intentional, stay readable, and still keep the surface finish intact?
What this test is really trying to solve
The experiment compares tool types and wavelengths, which is what you need before you buy into a workflow that depends on crisp text, serial numbers, or a scannable QR code. It also sits in the middle of Stefan’s usual maker-tool lane across 3D printing, CNC, CAD, lasers, Arduino, and more.
The practical answer is that laser marking on printed plastics is a tuning problem, not a one-button feature. Surface type, material choice, power level, focus, and pass strategy all shape whether the result looks like a factory mark or a melted accident.
The four laser families that matter
The test covers four common laser paths: UV at 355 nm, blue diode at 450 nm, MOPA fiber at 1,064 nm, and CO2 at 10,600 nm. These are not just different power levels; they interact differently with the plastic itself.
If you are choosing a marking tool for printed parts, wavelength is the first filter. A setup that behaves well on one plastic can fall apart on another, and the test underscores why laser marking is not one category so much as a stack of different tools with different strengths. The cleanest result comes from matching the machine to the material, then dialing the mark instead of assuming the laser will rescue a bad first pass.
Where the workflow pays off in a print shop
Protolabs markets laser engraving as a permanent surface-marking method for part marking, serialization, ID and QR codes, and logos. Javelin points to serial numbers, barcodes, and inventory features on printed parts.
That means the appeal is not limited to cosmetics. A laser mark can turn a plain enclosure into a labeled assembly, a box of inserts into a tracked hardware kit, or a replacement bracket into a part with a visible revision ID. If you build fixtures, jigs, tool organizers, or customer-facing enclosures, the mark stays on the part instead of on a sticker.
Where it succeeds, and where it fails fast
The big mistake is treating every laser the same. Clean, readable marks depend on more than raw beam power, so wavelength and settings need testing before you commit to a production routine. A plastic that accepts a nice dark mark under one setup can turn glossy, hazy, or visibly damaged under another.
If you want labels on printed plastics, the real question is whether you want a machine that can make a shallow, precise surface mark, or one that can go deeper and risk the finish. The right answer changes depending on whether you are marking faceplates, enclosure lids, tool handles, or small functional parts that need to stay dimensionally clean.
Why workshops need to treat lasers like a real process
Adding a laser to a printer setup is less like buying a gadget and more like adding a second fabrication process. You need test coupons, material notes, and a repeatable marking recipe, because the difference between a sharp label and a ruined shell is usually the settings sheet.
Laserax frames the same technology around direct part marking and traceability. In a home shop, the same workflow is to identify the part, keep the mark legible, and make the process repeatable.
Safety is part of the buying decision
The minute you start marking plastics with laser energy, safety stops being a footnote. Plastics exposed to lasers can create flammability and toxic-fume concerns; OSHA warns about both. MIT and Stanford laser-cutter guidance also emphasize ventilation, flare-up and fire control, and avoiding hazardous materials.
If the process fills a room with fumes or sets a corner of the part on fire, the mark is unusable. In a home workshop, the practical standard is simple: exhaust first, material second, beam third.
This article was produced by Prism’s automated news system from verified source data, official records, and press releases, then run through automated quality and moderation checks before publishing. The system is built and supervised by the people who set the standards it runs under. Read our full AI policy.
Did this article answer your question?