Layer height and nozzle size reshape FDM print quality and speed
The fastest FDM gains usually come from pairing layer height with nozzle size, not tweaking them alone. The right combo can cut print time, improve finish, or unlock real strength.
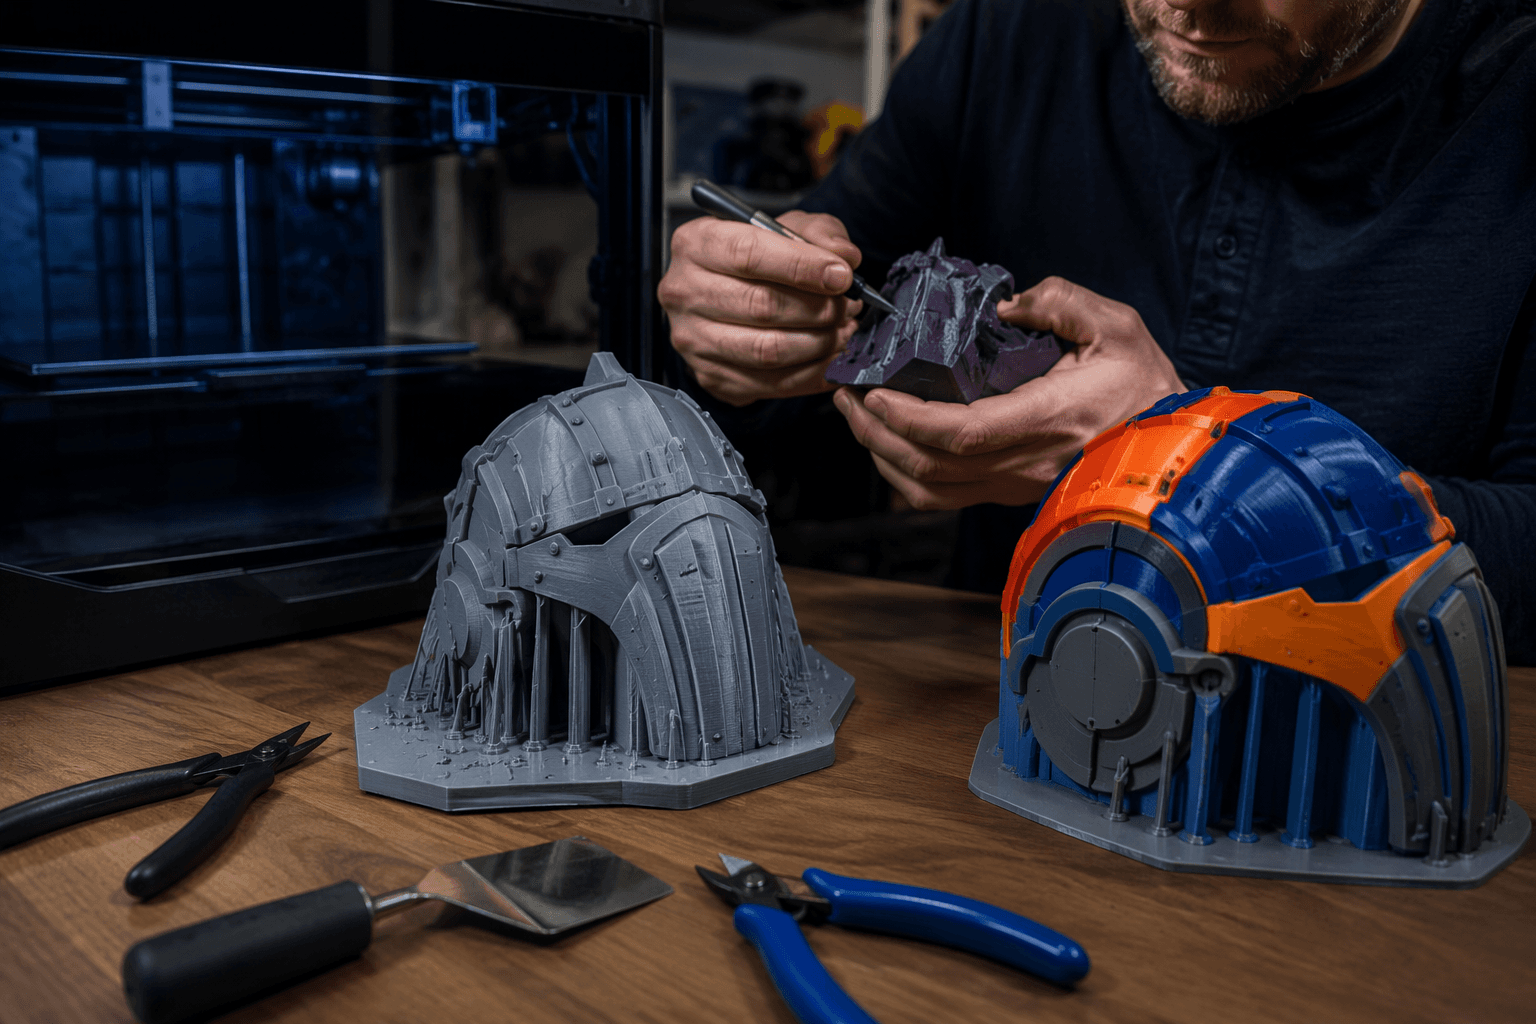
A hemispherical test part in OrcaSlicer drops from 250 layers to 167 when layer height rises from 0.2 mm to 0.3 mm, trimming the print from nearly two hours to about one hour and 45 minutes in a 3Druck example.
Treat layer height as a trade-off, not a finish setting
Lower layers mean more moves, more time on the bed, and more chances for small flaws to show up; taller layers shorten the job, but they also change how the printer builds curves, slopes, and overhangs.
In OrcaSlicer, the useful zone is roughly 20% to 80% of nozzle diameter. Go below 20%, and you risk flow inconsistencies and the "fish scale" look on the surface. Push above 80%, and adhesion problems and reduced print quality become more likely.
Know what layer height changes, and what it does not
Prusa Research identifies layer height as the main factor behind print time and vertical resolution. That means it controls how finely the printer steps up the Z axis, which is why smaller layers improve surface finish, layer-line visibility, curve detail, and overhang performance.
It does not do the same job in the XY plane. In Prusa’s documentation, layer height governs vertical detail and nozzle diameter does more of the work on horizontal detail. If you are trying to capture narrow text, tight wall features, or fine planar edges, nozzle size matters far more than shaving a few hundredths off layer height.
There is also a point where going thinner stops paying off. Prusa generally does not suggest dropping below 0.10 mm, because the jump from 0.07 mm or 0.05 mm layers brings relatively minor quality gains compared with the extra print time.
Why the standard 0.4 mm nozzle remains the default
In Prusa’s nozzle guide, 0.4 mm is still the standard nozzle diameter for most printers, and Prusa’s 2018 survey found only about 20% of users had ever tried swapping the nozzle on their machine. A lot of people spend hours dialing profiles and almost no time thinking about the physical hole the plastic actually exits.
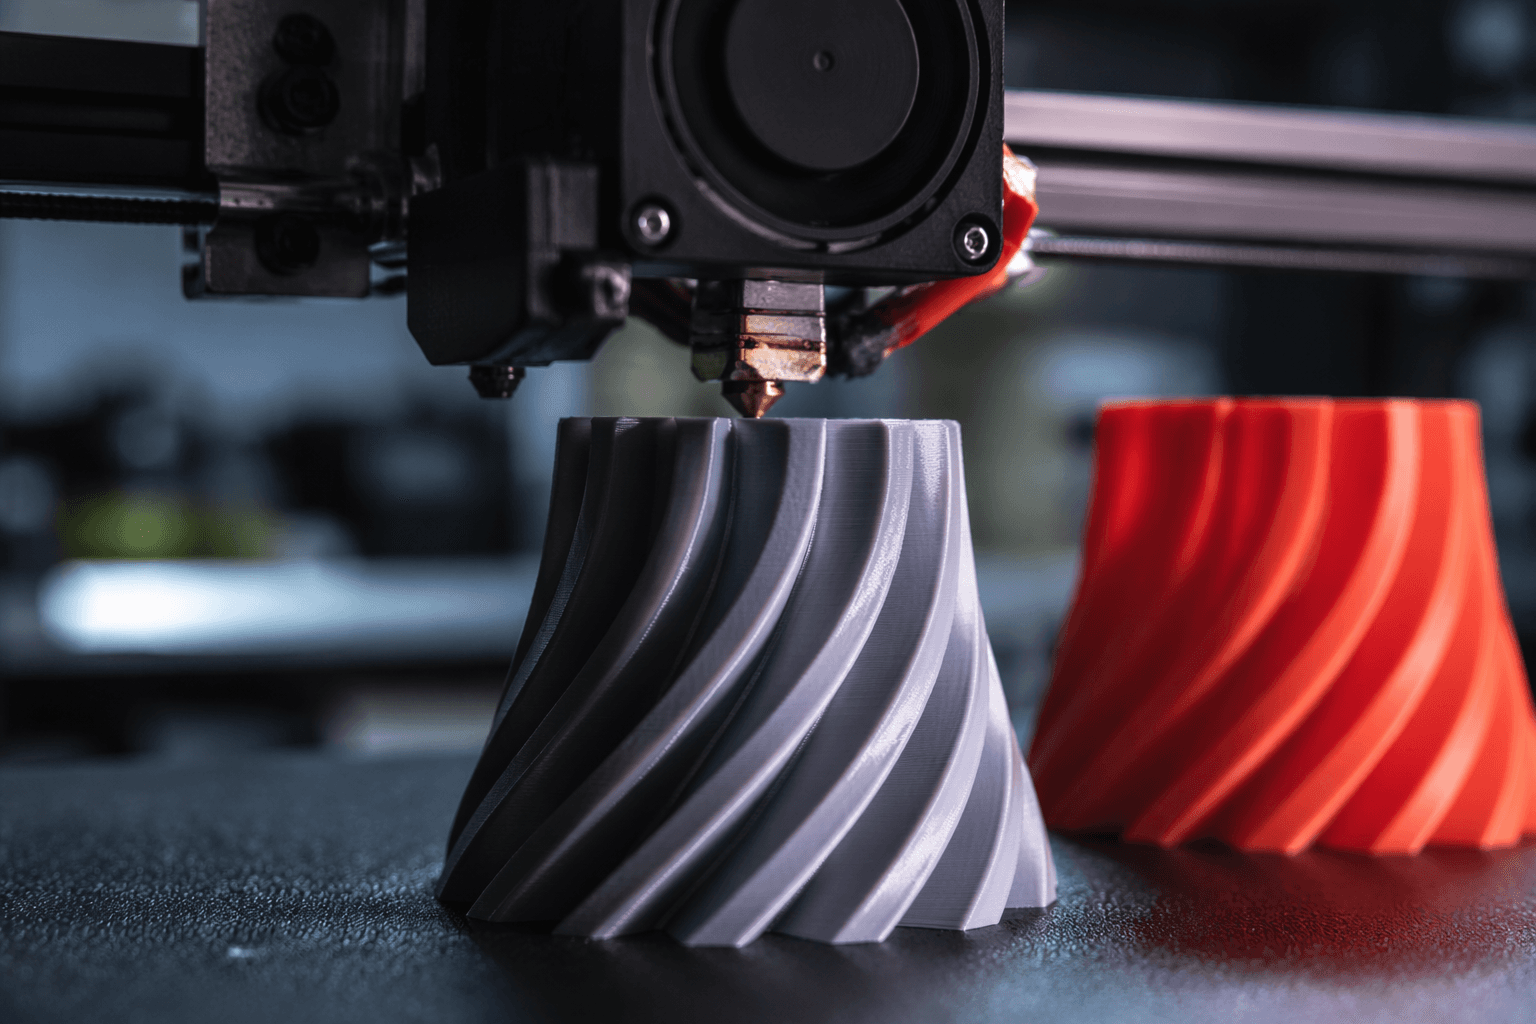
But nozzle diameter changes the game faster than many slicer-only adjustments. Larger nozzles can print much faster because they lay down wider perimeters and can use greater layer heights. That means fewer passes around the part, fewer total layers, and a much quicker path from sliced model to finished object. If the job is a big functional print, a rough prototype, or anything that values speed over tiny surface detail, a larger nozzle can be the smarter move than endlessly trimming acceleration or infill percentages.
The hidden limit is not the slicer, it is the hotend
Once you start pairing bigger nozzles with taller layers, another constraint shows up: melt rate. Prusa’s max volumetric speed documentation sets the real ceiling at how much plastic the hotend can reliably melt per second, measured in mm³/s.
PrusaSlicer handles this by using the lowest of the relevant speed limits, so wider and taller extrusions get slowed down more when volumetric limits apply. In plain terms, a nozzle upgrade does not automatically mean a proportional speed boost. If the hotend cannot melt the plastic fast enough, the slicer will back off the motion speed to keep the extrusion stable.
A simple way to choose the right setup
If you want a practical rule set, start with the part itself:
- Stay near the default 0.4 mm nozzle when you want the broadest compatibility and a balanced result.
- Use smaller layers when vertical finish, curve definition, and overhangs matter more than speed.
- Move to a larger nozzle when the job rewards fewer perimeters, faster coverage, and stronger throughput.
- Keep layer height inside OrcaSlicer’s 20% to 80% nozzle-diameter window so you do not wander into flow or adhesion problems.
- Do not chase ultra-thin layers below 0.10 mm unless you are willing to pay for the time and accept that the gains are modest.
This article was produced by Prism’s automated news system from verified source data, official records, and press releases, then run through automated quality and moderation checks before publishing. The system is built and supervised by the people who set the standards it runs under. Read our full AI policy.
Did this article answer your question?