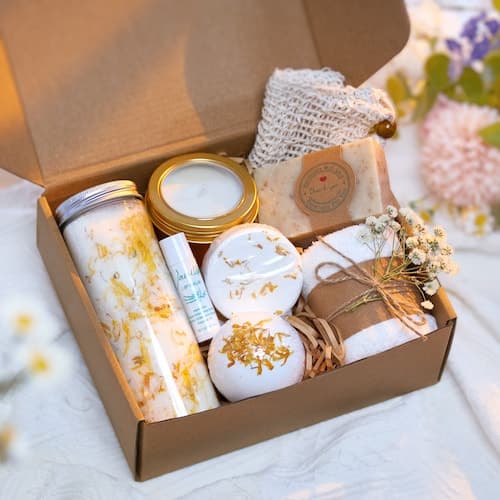
Bathing Solutions Updates Beginner Bath Bomb Guide With Recipes, Mold Tips
A small humidity spike can double your drying time and wreck an entire batch; here's the fix, plus the mold and ratio mistakes most beginners never connect to their crumbling bombs.

Getting the ratio right is the easy part. Mix two parts baking soda to one part citric acid by weight, add a measured splash of carrier oil, and the chemistry largely handles itself. What kills most beginner batches isn't the recipe — it's everything that happens around it: the humidity in the room when you're packing molds, how hard you press the mix, and whether your colorant belongs anywhere near skin. Nail those variables and the margin for error becomes genuinely forgiving, batch after batch.
The Baseline Recipe
The core formula for a medium-sized bath bomb starts with that 2:1 ratio of baking soda to citric acid, measured by weight on a digital kitchen scale. Weight matters here; volume measurements introduce inconsistency that compounds across batches. Cornstarch is the third dry ingredient, typically added at around half the volume of the citric acid. Its job is to slow the fizz reaction in the tub, giving you that long, satisfying dissolve rather than a quick five-second burst. Carrier oil, whether sweet almond, coconut, or jojoba, goes in last among the wet ingredients and gives the finished bomb its skin-softening payoff. For binding the mix without triggering premature fizz, a spray bottle filled with witch hazel or distilled water is the right tool; it delivers fine, controlled moisture rather than a wet splash that starts the citric acid reacting before you've even touched a mold.
The Humidity Problem (And the Number That Should Change How You Work)
Here's the metric most guides bury in a footnote: a jump of just 10 to 15 percent in relative humidity can push your drying window from 24 hours to 48 hours or more, and bombs dried slowly in damp air come out measurably softer and more prone to crumbling when handled. That's not a minor inconvenience — it's the difference between a batch you can package and sell and one you bin entirely. Humidity is the single biggest invisible variable in bath bomb production, and it acts before, during, and after you touch the mold.
Too much moisture can lead to premature activation, while too little makes bath bombs crumbly. The fix is environmental first: work in the driest room available, and if your space regularly sits above 50 percent relative humidity, a small dehumidifier or a box fan directed across the workspace makes a concrete difference. Utilizing a dehumidifier or producing bath bombs in a less humid setting directly addresses excessive moisture issues. This is especially relevant in the UK, where ambient indoor humidity swings significantly by season.
Diagnosing Your Failed Batch
The three failure modes beginners hit most often each have a distinct cause, and once you can read the symptom, the fix is straightforward.
*Crumbling bombs* almost always mean the mix was too dry when packed, or the mold was filled without adequate compression. If you don't press the mixture into the molds firmly, you will get crumbly bath bombs once dry; advanced crafters recommend always ensuring the mixture is packed firmly. The fix: add a few extra spritzes of witch hazel before packing, and press the halves together with real pressure. Tweaking the recipe by adding a bit more oil or butter, or spritzing with a bit more witch hazel before packing molds, can resolve crumbliness.
*Cracked spheres* are the opposite problem. If the mixture is too wet before packing into the mold, it may crack and expand as it dries. Over-packing a mold — pressing in far more mixture than the cavity needs — compounds this: the bomb has nowhere to expand and fractures along the seam. The precise fix is to fill each mold half until it mounds just slightly above the rim, press the halves together cleanly, and resist the urge to pack in extra material.
*Pre-fizz in the bowl* (that unwanted hiss while you're still mixing) signals that liquid hit the citric acid too early or that ambient humidity triggered the reaction. Slowly incorporating liquids prevents over-activation of the citric acid. Drizzle carrier oil into the dry ingredients in a thin stream while stirring continuously, and keep the witch hazel bottle set to the finest mist setting.
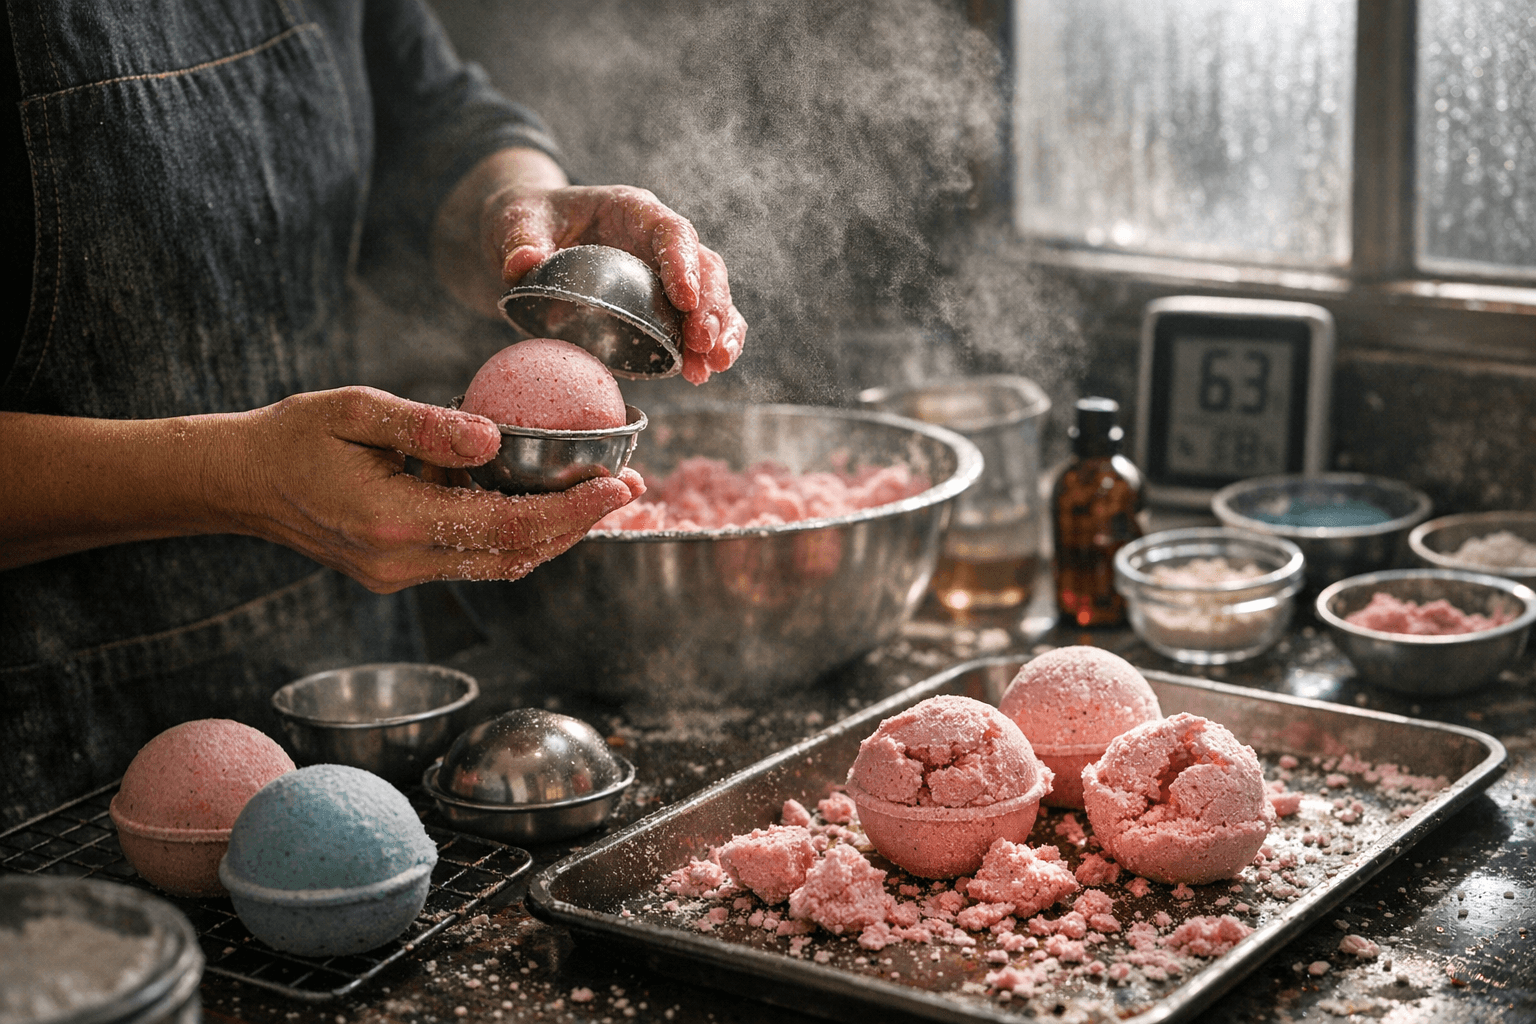
Mold Selection: Silicone Over Everything
Silicone molds are the practical choice for beginners and should stay the standard choice even once you've got a few hundred bombs behind you. They release cleanly without the cracking risk that rigid plastic creates when you try to pop out a slightly-too-wet bomb, and they're available in sphere, oval, and novelty shapes that directly replicate the retail finish you see in bath boutiques. Leaving bath bombs in the molds for at least 4 to 5 hours, and preferably overnight, ensures they come out perfectly formed and not crumbly. Patience here pays off; pulling a bomb from the mold after two hours because it looks set is one of the most common reasons otherwise-good batches fall apart on the drying rack.
Coloring With Purpose
Color is where DIY bath bombs most visibly signal whether they're craft-fair quality or boutique-quality, and it's also where the safety stakes are highest. Cosmetic-grade mica and FD&C-approved dyes are the correct choices — not craft store food coloring, not candle dye. Micas, pigments, and specific colorants each behave differently in bath bombs and need to be matched to the application. Cosmetic-grade mica disperses evenly through the dry powder mix, produces vivid color in water, and doesn't stain the tub at typical usage rates. If you're selling or gifting your bombs, using anything outside cosmetic-grade approval introduces real skin irritation risk and, in a retail context, potential complaints and returns.
For anyone working with clays as a natural colorant option: clays naturally absorb moisture, so you may need to add extra oil or witch hazel to get the right molding consistency. Factor that into your liquid ratios before you pack the molds, not after.
From Batch to Shelf: The Retail-Ready Checklist
If your goal is moving beyond personal batches toward craft fairs or an online shop, the production habits you build now determine how consistent your product looks at scale. Document every recipe by weight, not cups or spoons — a gram-accurate record means your tenth batch matches your first. Control workspace humidity during production. And choose packaging that communicates ingredients and usage guidance accurately; this isn't just good practice, it's what separates a product that builds repeat customers from one that generates confusion.
A few specific habits worth locking in early:
- Record exact gram weights for every ingredient, every batch
- Note the date, ambient humidity, and drying time in a simple log
- Use fragrance oils labeled for cosmetic use, not unspecified craft-store oils
- Allow a full 24-hour cure minimum before packaging, 48 hours in humid conditions
- Wrap finished bombs in shrink wrap or sealed bags to protect against post-cure moisture absorption
The baking soda and citric acid ratio isn't the hard part. The crafters who consistently produce clean, shelf-ready bath bombs are the ones who've internalized that humidity is a real ingredient, mold packing is a technique worth practicing deliberately, and colorant choice is a safety decision as much as an aesthetic one. Get those three right, and the recipe almost takes care of itself.
This article was produced by Prism’s automated news system from verified source data, official records, and press releases, then run through automated quality and moderation checks before publishing. The system is built and supervised by the people who set the standards it runs under. Read our full AI policy.
Did this article answer your question?