How to Dial In Espresso Using a Simple Step-by-Step Workflow
Three fixable mistakes are behind almost every bad shot at home. A single-variable workflow and one screenshot-able checklist are all that stand between frustration and consistently great espresso.
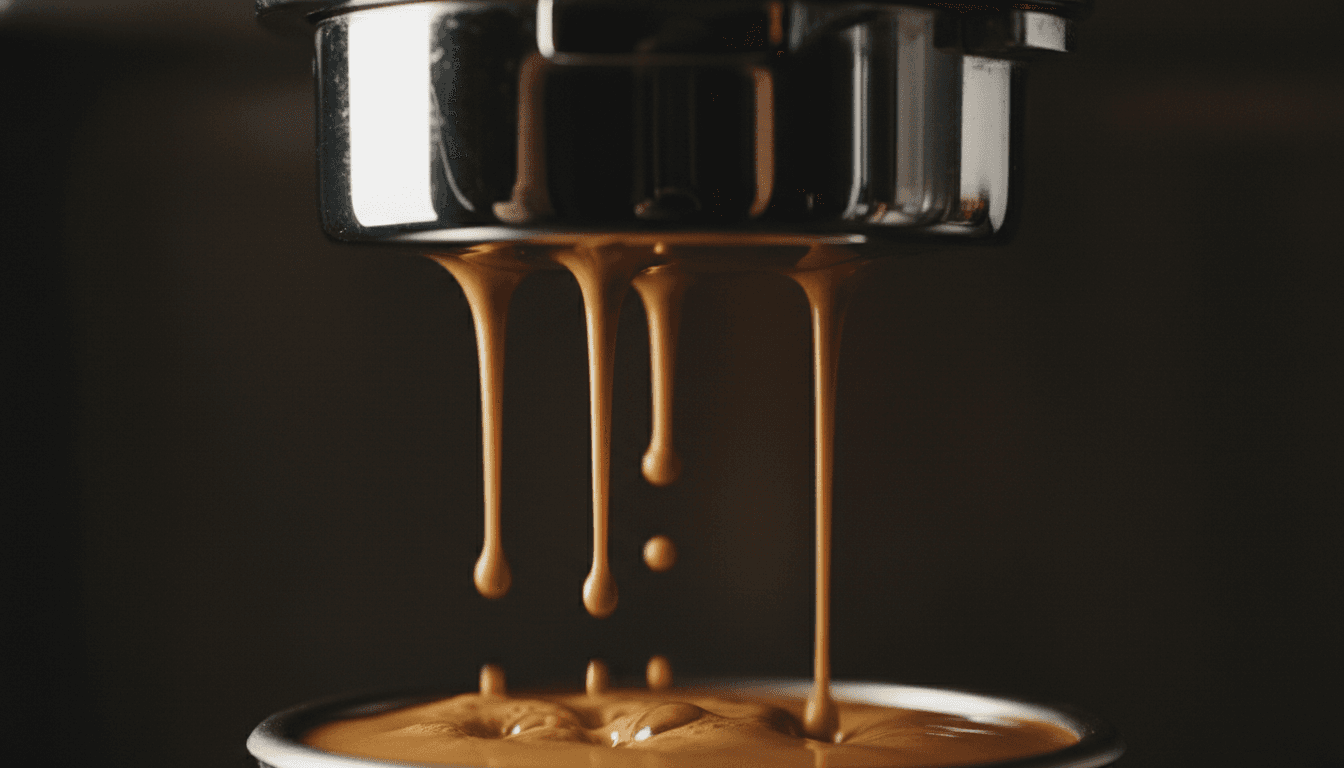
There is a specific recipe that professional baristas return to every time they encounter a new bag of coffee: 18 grams of ground coffee, a target yield of 36 grams of liquid espresso, flowing in roughly 25 to 30 seconds at approximately 9 bars of pressure. It is not magic. It is a starting point, grounded in Specialty Coffee Association research and field-tested across thousands of shots. The reason most home setups never reach it is not the equipment; it is the absence of a structured, one-change-at-a-time process for getting there.
Espresso is a multi-variable system. Dose, grind size, yield, extraction time and brew temperature all interact, and pulling on any one of them shifts the others. The good news is that almost every bad shot you will ever pull traces back to one of three recognizable problems: the shot is sour and underdeveloped, the shot is bitter and harsh, or the shots are inconsistent from one pull to the next. Each has a clear diagnosis and a clear fix. The trick is resisting the urge to adjust three things at once.
The First Failure: Sour and Under-Extracted
A shot that tastes sharply acidic, thin, and almost puckering is a textbook under-extraction. Water passed through the puck too quickly to dissolve the full range of compounds the coffee has to offer, leaving behind the bright organic acids while the sweetness and body never developed. The culprit is almost always a grind that is too coarse, though a dose that is too low or a brew temperature that is too cold can contribute as well.
The fix is deliberate and singular: make the grind one step finer. Nothing else. Pull the next shot, weigh the yield, time the flow, and taste it before touching anything else. SCA standards frame the target extraction yield for most espressos at roughly 18 to 22 percent; a sour shot is almost certainly sitting below that floor. Finer grounds slow the flow of water through the puck, extending contact time and pulling out more of the compounds responsible for sweetness and body.
The Second Failure: Bitter, Harsh, and Over-Extracted
The opposite problem has an equally distinct fingerprint: a dry, coating bitterness that lingers unpleasantly and a finish that can feel almost astringent. Over-extraction means water spent too long in the puck, stripping out the harsher, higher-molecular-weight compounds after the desirable ones were already exhausted. The grind is too fine, the dose is too low, or the shot ran far too long.
One change: go one step coarser on the grind. A coarser grind increases the flow rate, shortens contact time, and stops extraction before it overshoots the target window. If your shot is consistently running past 35 seconds on its way to your 36-gram yield, that is the signal. Coarsen, re-pull, re-taste.
The Third Failure: Shot-to-Shot Inconsistency
This is the most frustrating failure because it does not have a single sensory fingerprint. One shot is fine, the next is sour, the one after that is bitter. The issue is almost never the recipe; it is the process around it. Channeling (water finding a path of least resistance through the puck), an inconsistent tamp, an uneven grind distribution, or a dirty grouphead can all produce wildly different results from an identical set of numbers on paper.
The solution here is about building a repeatable ritual: weigh every dose on a scale rather than eyeballing, use a consistent distribution technique before tamping, tamp with level and even pressure, and keep the grouphead and filter basket clean. Residual coffee oils change flow and flavor in ways that are easy to mistake for a dial-in problem. A quick backflush or basket scrub eliminates a major source of phantom inconsistency. The Complete Home Barista extraction time guide includes grinder-specific visual charts that help identify whether channeling is visible in your shot's pour pattern.
The One-Change-at-a-Time Workflow
The single most important habit in dialing in espresso is also the most difficult to maintain when a shot tastes terrible and the temptation is to fix everything simultaneously. Changing two variables between shots means you will never know which change mattered. The workflow, stripped to its essentials:
1. Set a baseline recipe: 18 g dose, 36 g yield target, 25 to 30 second window.
2. Pull a shot. Weigh the yield. Time the flow. Taste it.
3. Identify the problem: sour (under-extracted) or bitter (over-extracted).
4. Make exactly one adjustment. Sour: grind finer. Bitter: grind coarser.
5. Pull again. Re-weigh. Re-time. Re-taste.
6. Once grind is in the ballpark, use dose to shape body and balance. Increasing dose typically thickens body and slows flow; decreasing it opens up the shot.
7. Document every change: a phone note with dose, grind step, time, yield and a one-line tasting note will compress weeks of learning into days.
That last point matters more than most beginners expect. Memory is unreliable across a dozen shots. A written log makes patterns visible.
Freshness and Maintenance: The Variables People Skip
Even a perfectly dialed recipe will produce mediocre results if the beans are stale or the grinder burrs are dirty. SCA guidelines and professional barista practice both point to a practical roast window of roughly 3 to 21 days post-roast depending on roast style; very fresh beans off-gas CO2 aggressively and can produce irregular flow, while beans past their prime flatten out and lose the complexity that makes dialing in worthwhile in the first place.
Grinder maintenance is equally non-negotiable. Burrs clogged with old coffee fines produce an inconsistent grind distribution that mimics dial-in problems, sending you chasing a grind adjustment that will not actually solve the issue. Clean burrs, a calibrated tamp, and fresh beans are not optional accessories to the workflow; they are prerequisites for it.
The Screenshot Checklist
Before every session, run through these six variables:
- Dose: Weighed on a scale, not scooped. Target: 18 g (adjust from there).
- Yield: Weighed output in the cup. Target: 36 g (1:2 ratio as starting point).
- Time: Shot flow from first drip to target yield. Target: 25 to 30 seconds.
- Temp: Brew temperature stable, typically around 93 to 96°C depending on roast.
- Grind: Single step finer for sour; single step coarser for bitter. One change per shot.
- Puck prep: Even distribution, level tamp, clean basket, no channeling.
If a shot fails, identify which of these six is most likely off before touching anything. The point is not to chase a single number but to build an evidence-based routine that extracts the best flavor from each specific bag, whether that is a light Ethiopian natural or a dark-roasted espresso blend. Those two coffees will dial in differently, and once the workflow is internalized, navigating that difference becomes instinct rather than guesswork.
This article was produced by Prism’s automated news system from verified source data, official records, and press releases, then run through automated quality and moderation checks before publishing. The system is built and supervised by the people who set the standards it runs under. Read our full AI policy.
Did this article answer your question?