Free Scrap-Yarn Basket Pattern Creates Sturdy, Stylish Crochet Storage
Scrap yarn finally meets its match: round crochet baskets worked in the round turn leftover worsted into sturdy, stylish storage in just a few hours.
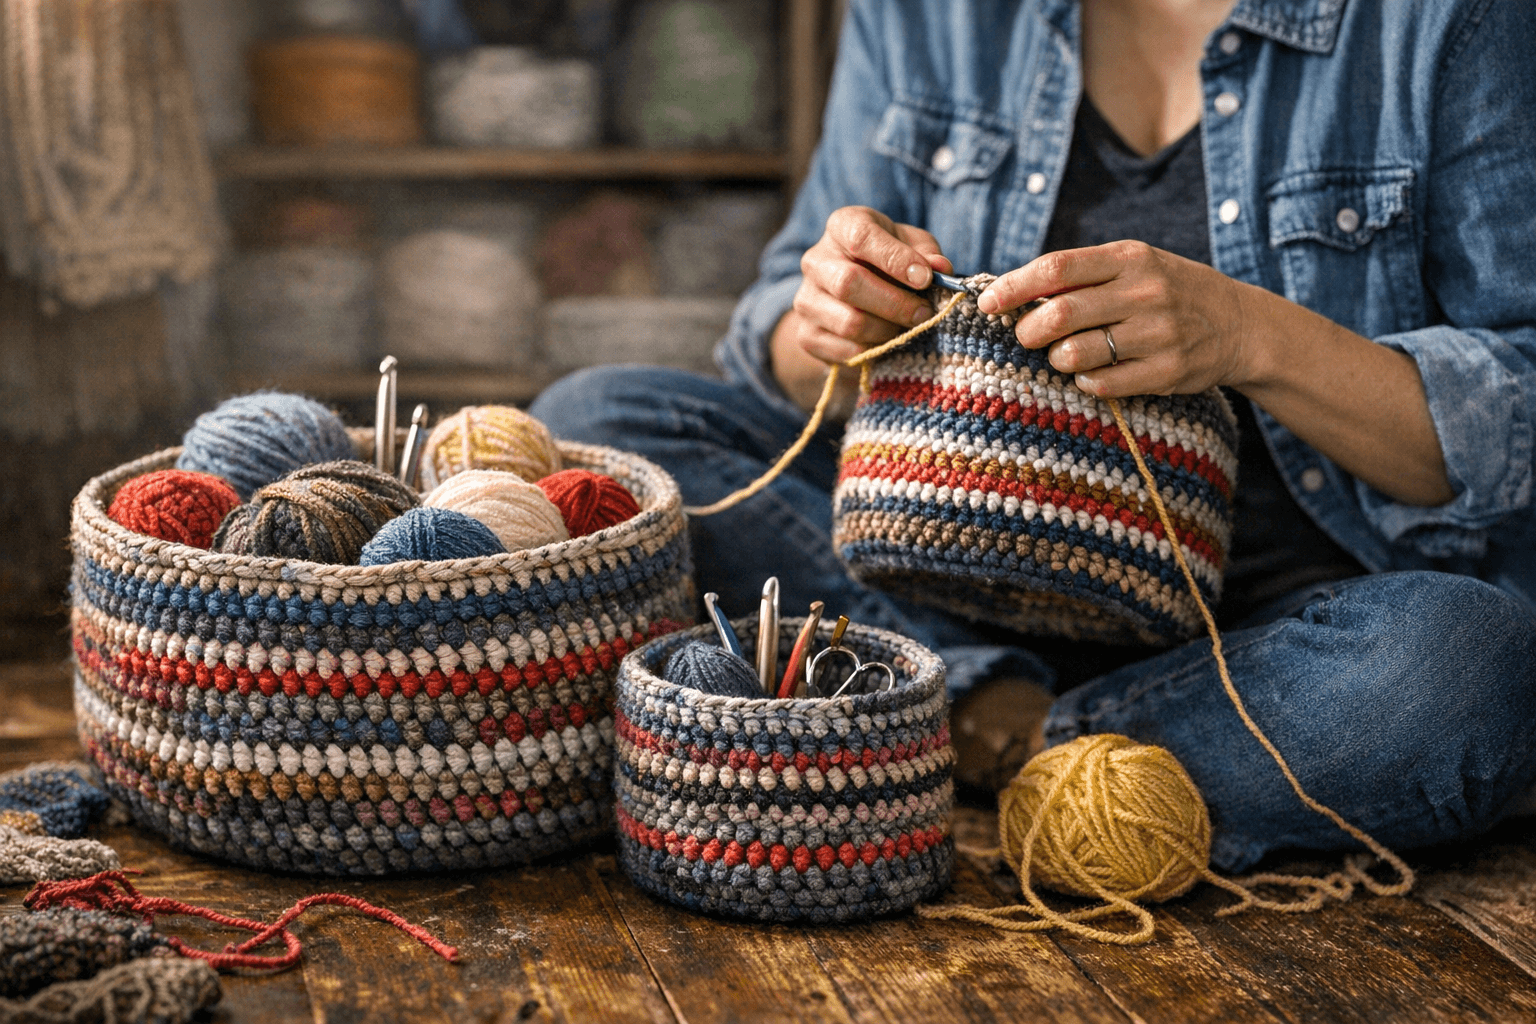
That bin of yarn scraps you've been meaning to deal with? It's about to become the most useful thing in your craft room. The Round About Basket and its close cousin the Roundabout Basket have been quietly circulating in the crochet community as the perfect answer to two problems at once: what to do with leftover yarn, and where to put all the other clutter in your life.
The concept is simple and deeply satisfying. You work from the bottom up, in the round, holding multiple strands of yarn together to build up a fabric dense enough to hold its shape without any armature. The result is a small, sturdy basket that looks intentional whether you're storing notions, charging cables, or yes, more yarn.
Two Designers, Two Takes on the Same Great Idea
The pattern landscape here splits into two main branches worth knowing. Sarah of Rich Textures Crochet offers the Round About Basket as a free pattern on her site, and she's explicit that it will always be free there, though a printable PDF is available for purchase on her Etsy and Ravelry shops. Her version is rated Easy, finishes at 15 cm (6 inches) in diameter and 3.5 inches tall, and is specifically designed around a pre-made wooden base with predrilled holes. As Sarah puts it: "These little baskets are easy to work and can be made in less than a few hours. Using a wooden (or other medium) base really helps to cut down on the time it takes to make and makes it extra sturdy!"
The second branch is Theresa Denham's Roundabout Basket from Teagan and Lu, copyright 2018. Theresa describes the inspiration plainly: "Inspired by the endless amounts of clutter in my life, I created the Roundabout Basket." Her version is pitched at intermediate crocheters who are comfortable working in the round, with particular attention to a slightly different join and a method for building up from the base. The free simplified version lives on the Teagan and Lu site; a paid PDF with tutorial photos and an ad-free layout is available on Ravelry for a small fee.
Materials: What You'll Actually Need
The two patterns take meaningfully different approaches to yarn, which is worth understanding before you dive in.
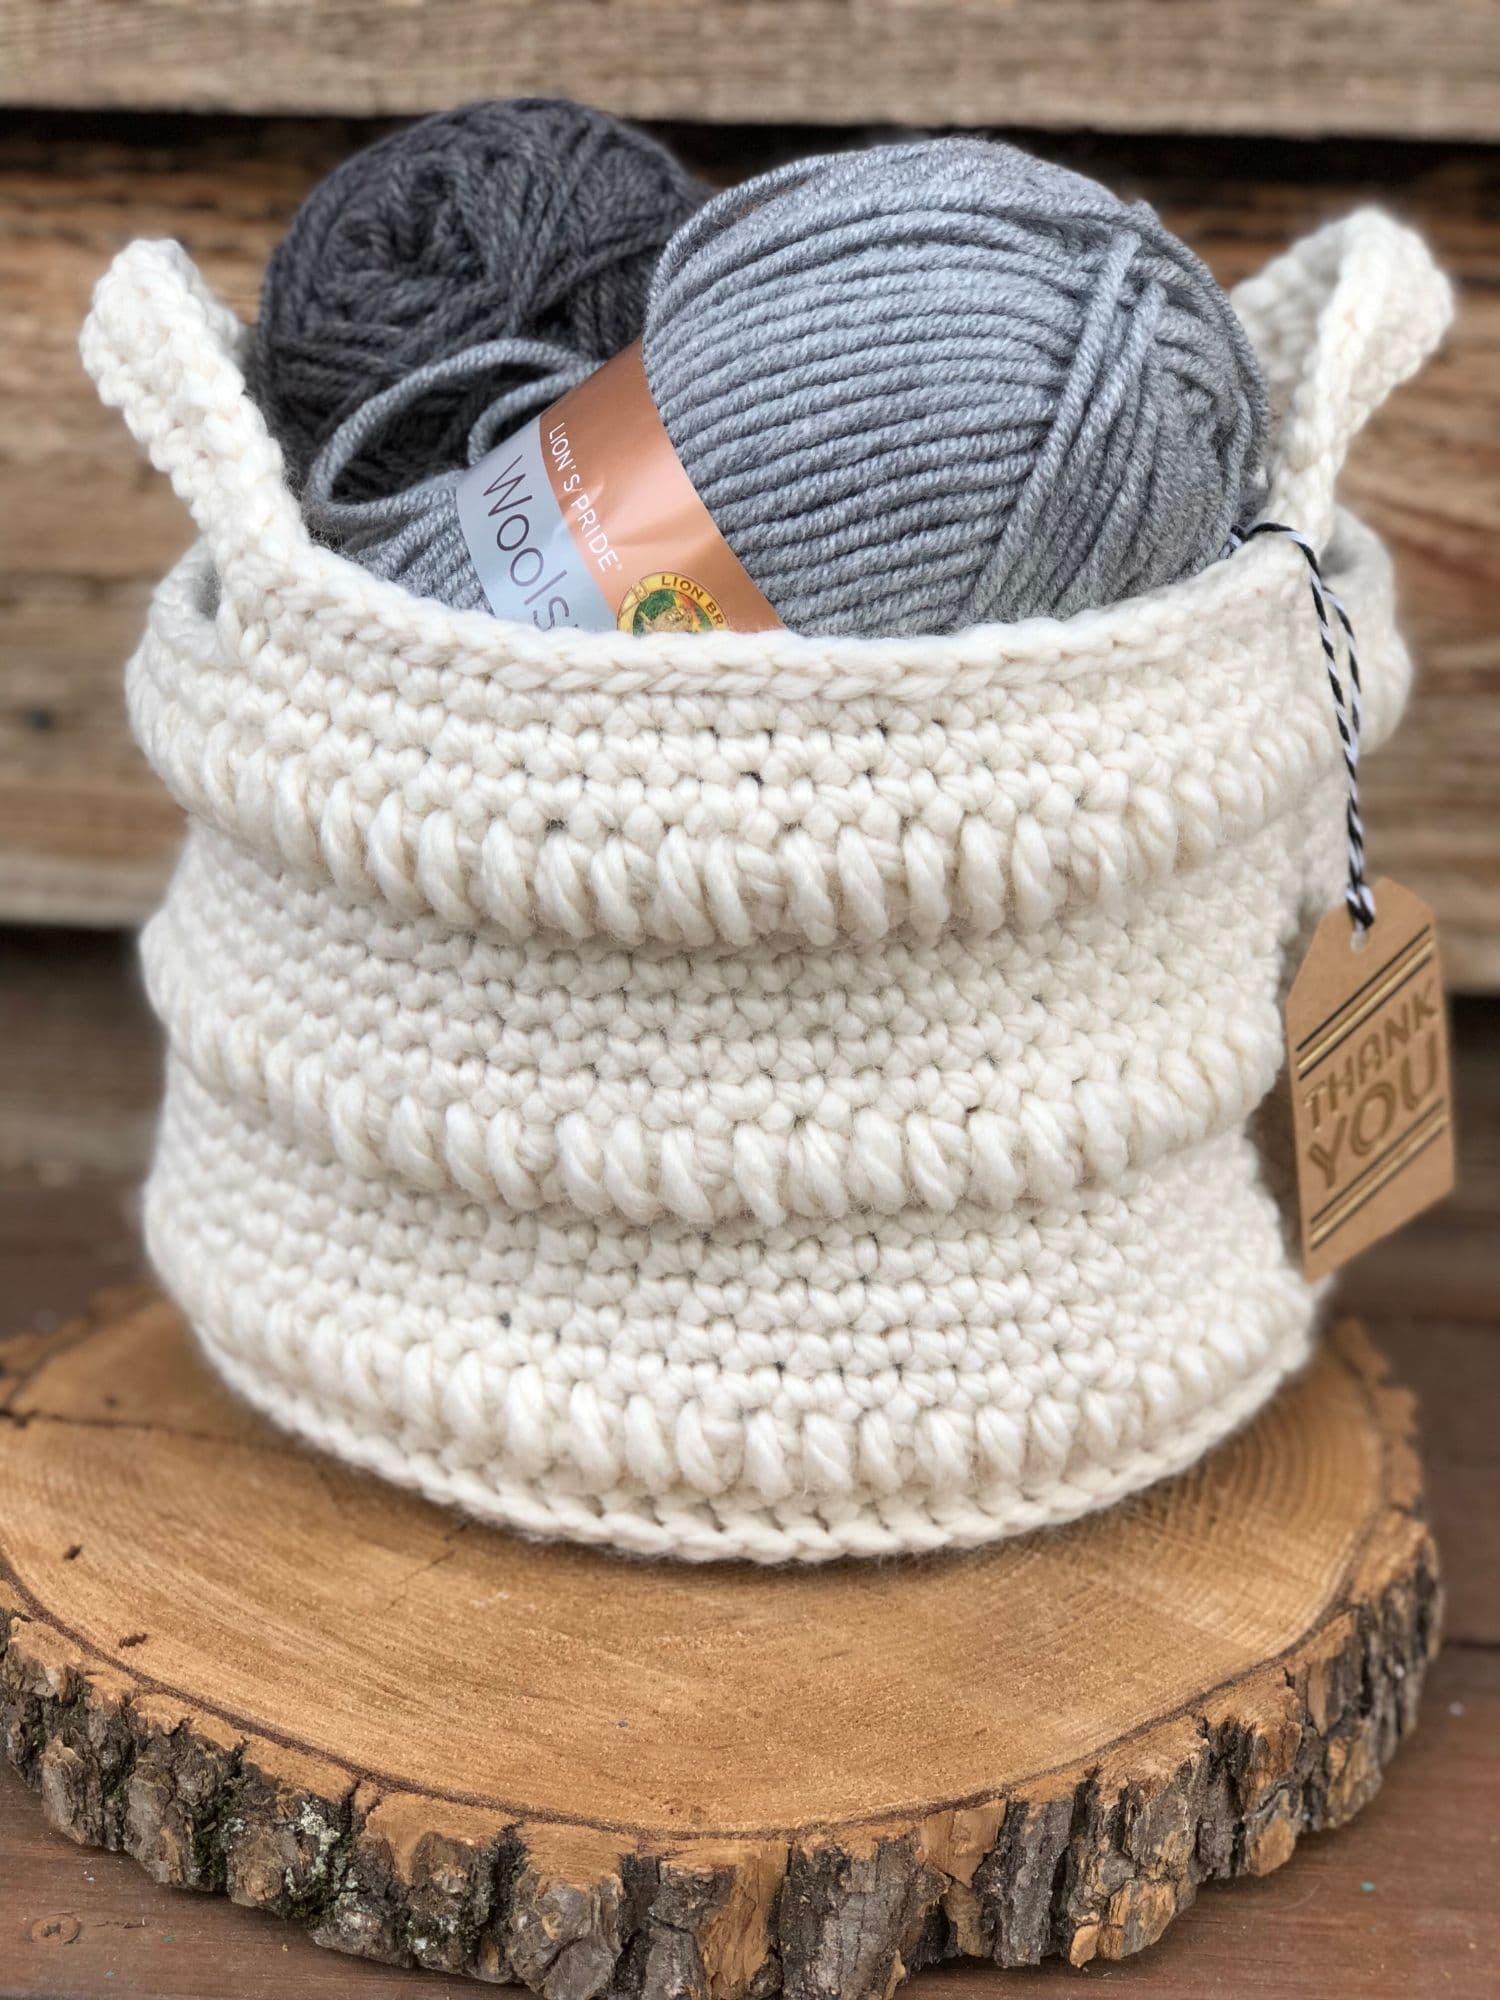
Sarah's Round About Basket calls for 100% cotton yarn, approximately 150 to 200 yards per basket, worked with a 5 mm (US H/8) hook. The crucial technique here is holding three strands of worsted weight yarn together throughout. This is where the scrap-busting magic lives: "This is a great project for using up those yarn scraps! You will work holding three strands of a worsted weight yarn together. As you come to the end of one strand, you will simply add in the next as you go." Her gauge is 12 sts x 12 rounds of HDC in the third loop equals 4 inches. Beyond yarn and hook, you'll need a yarn needle, a stitch marker, and that 6-inch wooden base with predrilled holes, which Sarah sourced from Amazon.
Theresa Denham's version works with approximately 200 yards of Lion Brand Wool Ease Thick and Quick or a similar super bulky weight yarn. She uses both a 5.0 mm (US H) and 6.0 mm (US J) hook, with the base rounds worked on the 6 mm hook. Her materials list also includes a tapestry needle and an optional stitch marker. On yarn choice she notes: "I loved using Lion Brand's Wool Ease Thick and Quick for this project. As written, one Bonus Bundle of this yarn is the perfect amount for this basket. If you want to make the basket even more sturdy, hold two strands of this soft yarn together."
A third variation from Dedri Uys recommends an 8 mm hook with super bulky weight yarn, while a larger basket variant produced a finished size of 30 cm (12 inches) tall by 35 cm (13.5 inches) wide using assorted scrap yarns held together to achieve a super bulky weight equivalent, worked on a 9 mm hook.
Building the Base: Rounds and Stitch Counts
Both pattern families use a magic circle foundation and increase methodically outward, though their stitch architectures differ slightly.
Theresa Denham's base begins: Round 1 uses the 6 mm hook, with 8 HDC into the magic circle, joined with a slip stitch through the back loop (SLST BL). Round 2 chains 2, HDC into the same stitch, then 2 HDC into each stitch around, joined SLST BL, for a count of 16. Round 3 adds one plain HDC between each increase pair for a count of 24; Round 4 adds two plain HDCs between increases for a count of 32. The SLST BL join is the slightly different technique Theresa flags as worth paying close attention to.
The Craftsy version attributed to Dedri Uys uses a 9-increase architecture starting with 9 HDC into a magic ring, then doubling to 18, then adding to 27, 36, 45, and finally 54 stitches in Round 6. The sides then work even in HDC for rounds 1 through 7 at 54 stitches, with Round 8 tapering to a slip stitch for a clean finish before a scallop edging of 9 scallops across 54 stitches.
For the sc-based scrappy version, the base guide works R1 as 6 sc into a magic loop, R2 as 2 sc into every stitch, R3 alternating 1 sc and 2 sc around, and R4 with 2 plain sc between each increase. From there the general rule holds: each round adds one more plain stitch between increases.
Troubleshooting the Base Before It Causes Problems
A buckled base is the most common frustration with in-the-round baskets, and Dedri Uys offers the most direct fix in the crochet community's shared knowledge base. If the base starts to buckle, switch to double crochet stitches for a few rounds while keeping the same 9 increases per round until it lies flat again. If it's going bowl-shaped instead, switch to single crochet for a few rounds with the same increase count. The underlying logic is that changing the stitch height adjusts the rate at which the fabric grows across its diameter without changing the stitch count.
Making It Sturdier: Tips That Actually Work
Every source in this space circles back to the same core principle: density is everything for a basket that holds its shape. The Make and Do Crew's compilation of basket-making advice, including work from designer Sigoni Macaroni on a spike stitch variant, captures the best practical guidance clearly: "Use a smaller hook size to create a tighter stitch. I personally like to use a hook with a pointed tip rather than rounded, as this makes it easier to insert the hook between stitches. Crocheting with multiple strands of yarn held together will help to make the basket thicker and sturdier. Stiffening products like fabric stiffener and diluted glue strengthen crocheted baskets brilliantly."
Beyond that core advice, stick to single crochet and half double crochet rather than open or lacy stitches. Consistent tension throughout matters as much as hook size. If you want something that will survive being knocked off a shelf, a round or two with fabric stiffener after blocking goes a long way.
Adding Handles
For a basket that actually travels, the MyPoppet handle method is straightforward. Mark two stitches directly opposite each other on the top edge. Single crochet up to and into the first marked stitch, chain 9, then single crochet into the second marked stitch. Continue single crochet around and repeat the chain-9 handle on the opposite side. On the next round, when you reach each chain, single crochet 9 stitches over the chain into the gap. Work 2 more rounds to complete the handles, then slip stitch the last few stitches, break off the yarn, and weave in ends.
On the subject of those ends: "The knots will be out of sight, inside the basket, so don't waste your time joining ends too perfectly." That piece of advice, simple as it sounds, makes the whole scrap-yarn approach genuinely relaxing rather than fiddly.
Sizing to Fit What You Have
If you want a basket sized to a specific object, there's actual math for it. Measure the circumference of whatever you want to store or contain. Divide that number by Pi (3.14) to get the diameter your base needs to reach. Increase each round until the base hits that measurement, then stop increasing and work the sides straight. This approach scales across all the pattern variants and lets you use any base diameter with confidence.
A note on copyright before you start selling: Theresa Denham's pattern carries an explicit statement that it is her property and should not be altered, resold, or claimed by others. If you sell finished items made from her pattern, she asks that you credit Theresa Denham and Teagan and Lu as designer. That's a reasonable ask and worth respecting.
Between Sarah's easy-rated cotton version with its wooden base shortcut and Theresa's intermediate HDC construction, there's a round basket in here for every skill level and every scrap bin. The math is forgiving, the making is fast, and the result is something you'll actually use.
This article was produced by Prism’s automated news system from verified source data, official records, and press releases, then run through automated quality and moderation checks before publishing. The system is built and supervised by the people who set the standards it runs under. Read our full AI policy.
Did this article answer your question?


