How tattoo stencil printers improve geometric linework and accuracy
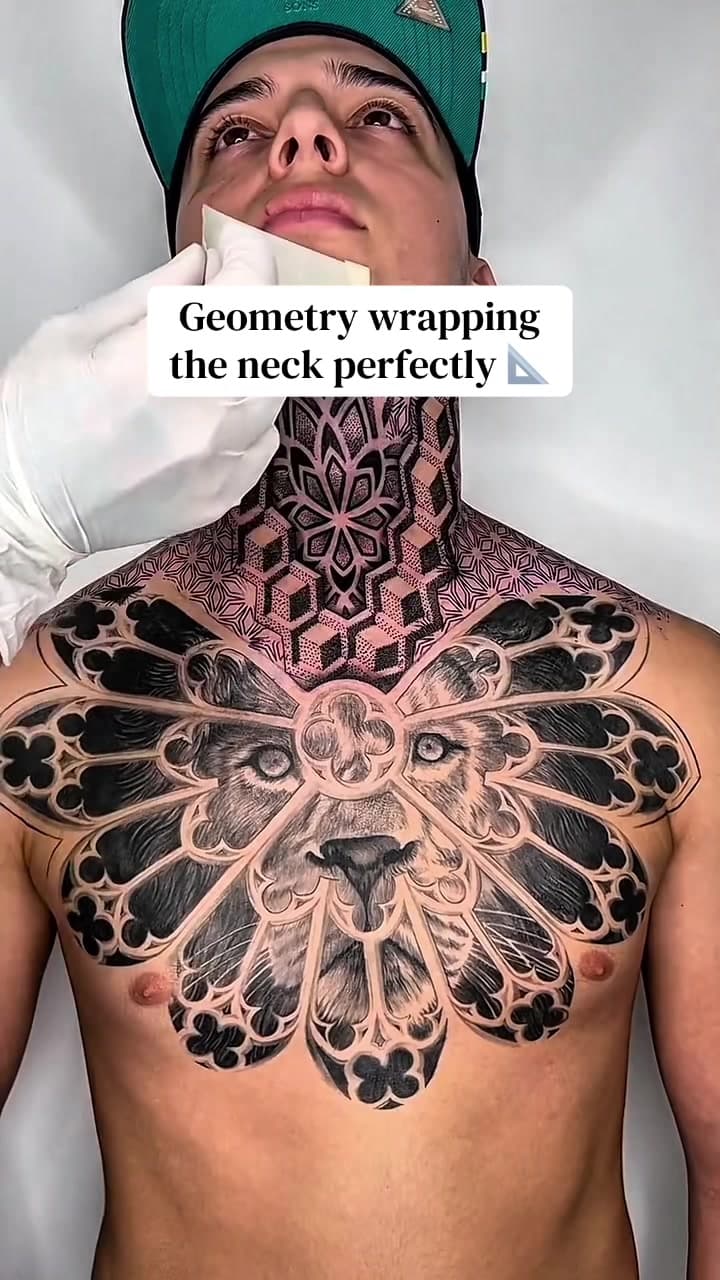
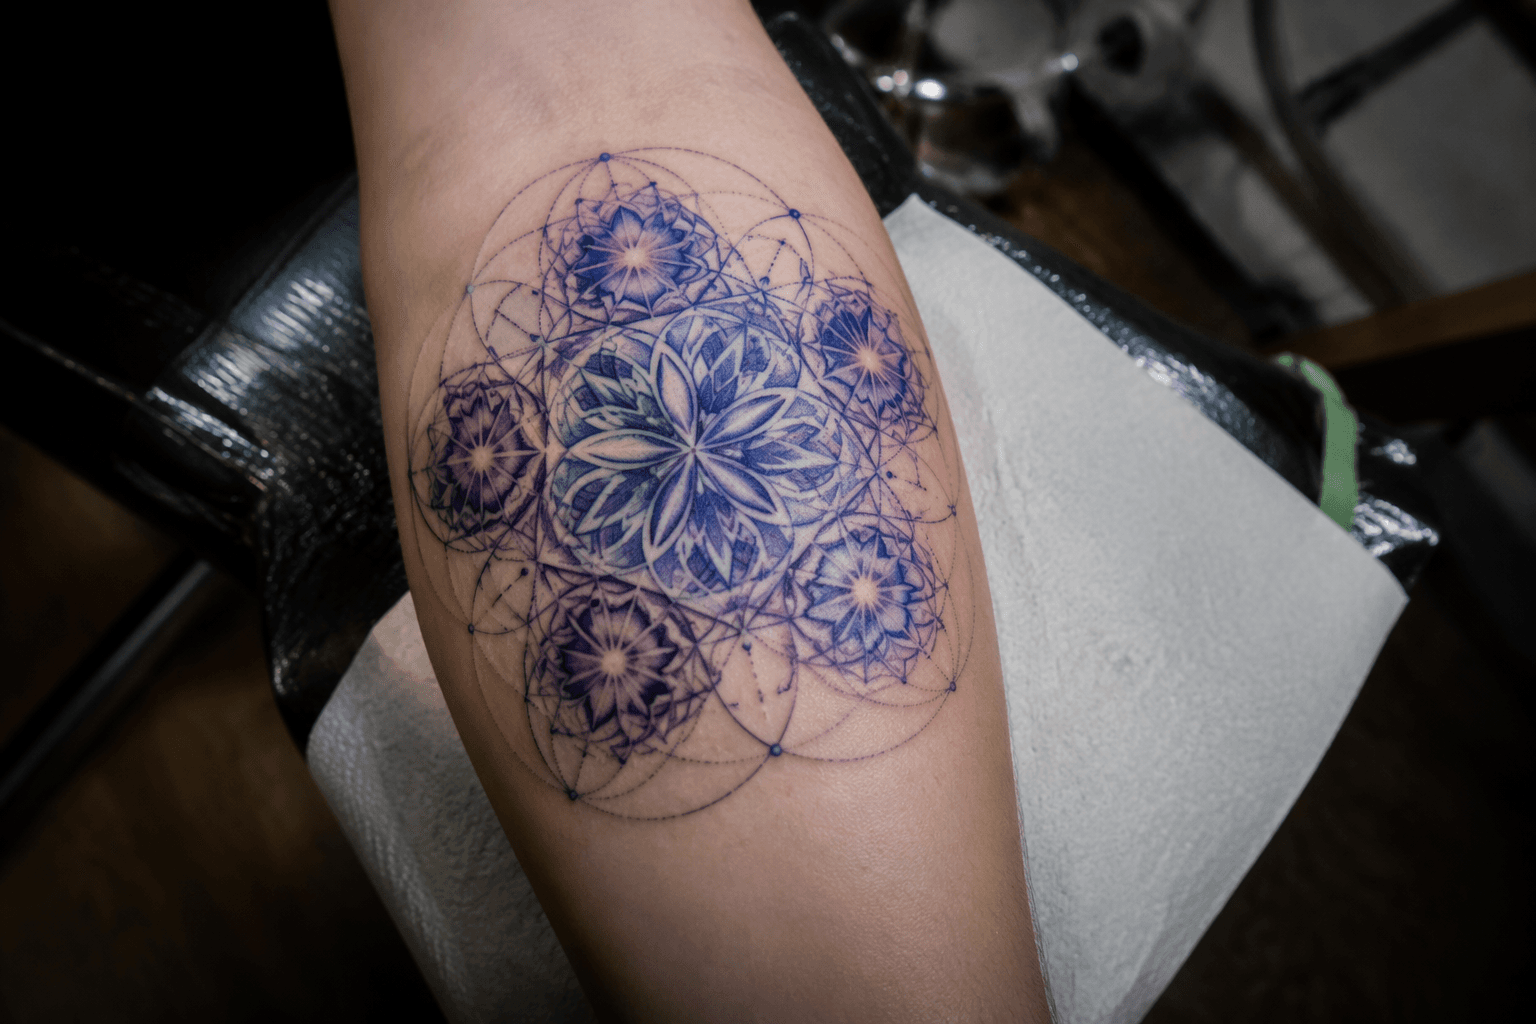
Stencil printers tighten the geometry before ink ever touches skin, keeping mandalas, dotwork, and symmetry-heavy pieces from drifting off-axis.
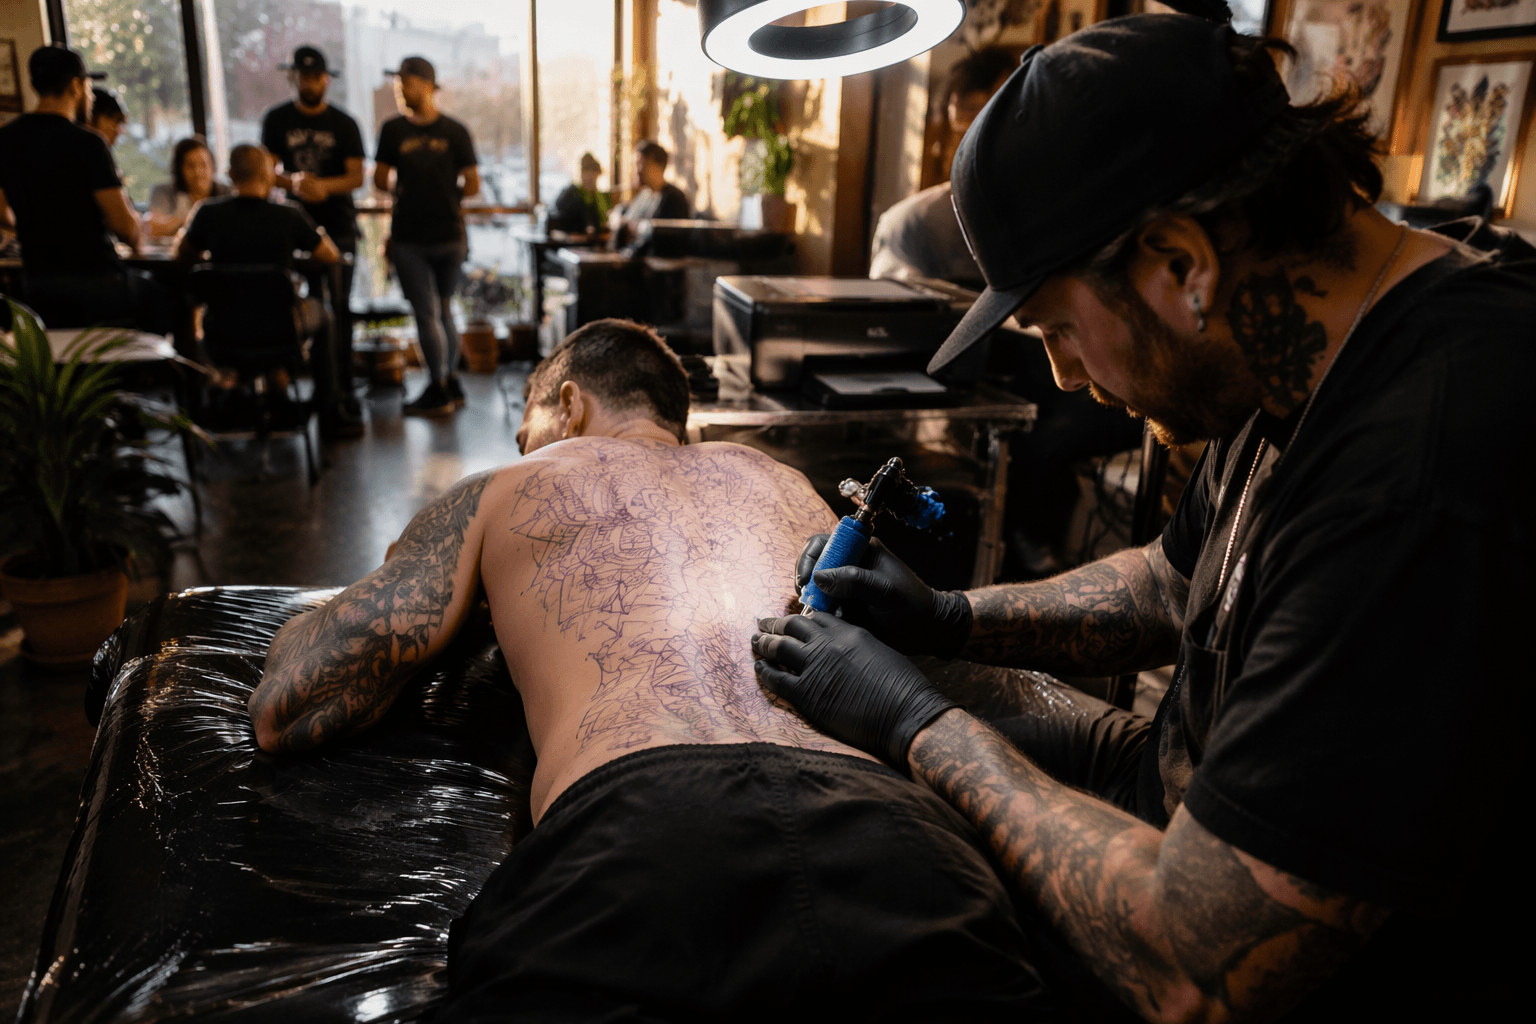
When the stencil goes soft, the geometry goes with it
The first failures in a geometric tattoo usually show up before the machine turns on: warped transfers, dropped fine lines, and tiny misalignments that only become obvious once the design wraps a shoulder, forearm, or ribs. In geometric work, that is not a small problem. A line that shifts by a hair can throw off symmetry, break a mandala’s balance, or flatten the clean rhythm of a repeating pattern.
That is why stencil printers have moved from nice-to-have studio hardware to a core part of the workflow. They are not just faster than hand-drawing a transfer. They are built to protect the structure of the design, from the first digital draft to the last pass on skin.
Why printed transfers changed the workflow
Tattoo transfer methods have been evolving for a long time, and that history makes the modern printer feel less like a novelty than the latest precision upgrade. Tattoo Archive traces the leap to the 1980s thermofax machines, which let tattooists instantly copy designs onto paper transfers and changed the way the shop thought about design transfer. Earlier still, Edwardian tattoo supply companies sold hectographic tattoo transfer paper for placing outlines on skin.
That matters in geometric tattooing because the old problem never really changed: you still need the outline to arrive on skin intact. Hand-drawn stencils have nostalgia and flexibility, but they are slower and less repeatable when the goal is identical placement across sessions or exact mirroring in a design with multiple axes. A printed transfer gives you a cleaner starting point, and in a style built on structure, the starting point often decides how much of the structure survives.
What the printer is protecting: line fidelity, symmetry, and scale
Geometric tattoos bring together sacred geometry, dotwork patterns, mathematical shapes, symmetrical compositions, mandalas, platonic solids, and geometric animal designs. That mix is beautiful, but it is unforgiving. If the stencil blurs, the symmetry can read as lazy instead of intentional. If the scaling is off, repeating elements stop matching. If the placement drifts on a curved body part, the whole composition can look tilted even when the artwork itself is strong.
The best stencil printers are marketed around exactly those pressure points. Brother Mobile Solutions says its tattoo-focused printers produce clean, consistent stencils anywhere, wirelessly, with no cartridges. Brother’s PocketJet 8 page lists 300 dpi thermal printing, 8.5-inch width, USB-C connectivity and charging, Wi-Fi, and Bluetooth. Brother UK describes the PocketJet range as aimed at tattoo artists and stencil designers, with optional Wi-Fi, USB, and Bluetooth connectivity. S8 Tattoo says its stencil printers are designed for use with S8 and Spirit thermal paper and outputs at 300 dpi.
For geometric work, those details are not marketing fluff. 300 dpi output helps preserve line fidelity when a design depends on tight angles, repeated dots, and crisp edge alignment. The 8.5-inch width gives enough room for larger compositions without forcing awkward sectional printing. Wireless transfer from a laptop, phone, or tablet also keeps the workflow moving when you are adjusting placement for a body contour and do not want a design trapped on one machine.
The setup that keeps the transfer sharp
A clean stencil starts with the right stack: printer, paper, software or driver support, and the skin prep that lets the transfer actually hold. The guide notes that tattoo stencil paper is a layered carbon system, which is the part that makes the transfer visible and usable in the first place. If the paper, machine, or software setup is off, the print can lose clarity before it ever reaches the stencil solution.
The simplest way to think about the workflow is as a sequence:
1. Build or finalize the geometric design digitally with the intended placement and scale.
2. Load the correct thermal or stencil paper for the printer.
3. Confirm the printer connection, whether that is USB-C, Wi-Fi, Bluetooth, or a wireless mobile setup.
4. Print at the highest consistent resolution, commonly 300 dpi.
5. Prepare the skin, then apply transfer agent or stencil cream before placing the stencil.
6. Press and hold long enough for the transfer to set cleanly, then let it dry before tattooing.
That sequence matters because geometric pieces punish sloppiness at every stage. If the design is resized casually, the symmetry changes. If the skin is not prepped, the stencil can smear or break apart. If the transfer medium is too heavy, the lines can bloom; too light, and the stencil may fade before the first pass.
Skin prep is part of the precision toolchain
Printer quality gets the attention, but the transfer still depends on how it meets the skin. Spirit Tattoo Products recommends a transfer agent and a thin layer of stencil cream to improve stencil transfer. That small detail carries real weight in geometric work, where the difference between a crisp guide and a smeared one can decide whether a dotwork field stays even or starts to drift.
Public-health guidance makes the same point from a different angle. The Food and Drug Administration warns that tattoos can lead to serious infections when equipment is unhygienic or ink is contaminated, and in October 2024 it issued final guidance on insanitary conditions in the preparation, packing, and holding of tattoo inks and microbial contamination risk. In practice, that means stencil prep belongs inside the broader sanitation routine, not beside it. Clean skin, safe handling, and compatible transfer products are part of the same precision system as the printer itself.
Why the modern setup fits contemporary geometric tattooing
The appeal of the current generation of stencil printers is that they combine portability with repeatability. Brother Mobile Solutions positions its tattoo printers as thermal, cartridge-free devices that can print from computers, laptops, and mobile devices. Brother’s PocketJet 8 and the Brother UK PocketJet line also point to a workflow built for artists who move between stations, touch up placements, and print multiple revisions without losing consistency. That is especially useful in geometric tattooing, where one client may need a compact forearm mandala and another may need a larger mirrored composition that must sit perfectly around the body.
Some modern suppliers have pushed the category further by pairing printers with paper and transfer gel built for visibility and adhesion. S8 Tattoo sells red stencil paper and transfer gel alongside its printer line, and that integrated approach reflects where the workflow is heading: the printer is only one piece of the system, but it is the piece that keeps the structure readable enough to trust.
The old failure points still exist. Warping still happens. Fine lines still disappear if the transfer is weak. Placement still has to negotiate the body’s curves. But a 300 dpi thermal printer, the right paper, careful skin prep, and a clean transfer routine give geometric tattooers a better chance of keeping the design’s bones intact. In this style, that is the whole game: make the stencil as exact as the math behind it, and the skin has a chance to hold the same order.
This article was produced by Prism’s automated news system from verified source data, official records, and press releases, then run through automated quality and moderation checks before publishing. The system is built and supervised by the people who set the standards it runs under. Read our full AI policy.
Did this article answer your question?