How to brew better beer with extract, step by step
All-extract brewing strips away mash-day complexity without stripping away quality. With good extract handling, hop timing, and fermentation control, you can make beer worth brewing again.
Briess puts the tradeoff in practical terms: a typical extract session can take about three hours, while an all-grain batch can stretch to eight. All-extract brewing is the lowest-friction way to make legitimately good beer at home because it uses minimal equipment and simple procedures while removing variables like hitting mash temperatures and volumes.
Malt extract is concentrated wort, so you are still building real beer, just without the mash tun, the grain bed, and the extra moving parts that make all-grain brewing slower and more equipment-heavy.
Why extract is a smart starting point
If you want to focus on sanitation, fermentation, and packaging before you juggle mash steps, extract gets you there faster. That shorter brew day lowers the barrier to entry, but it also makes repeat batches easier to fit into a normal week. Many homebrewing careers start with extract, and for a lot of brewers it remains the style of choice, Briess says.
Malt extract often gets a bad rap, but brewing with grain does not automatically create better beer, the AHA says. In practice, extract rewards the same fundamentals that make any good batch: a clean process, a sensible recipe, and controlled fermentation.
LME and DME: the two forms of malt extract
Liquid malt extract, or LME, and dry malt extract, or DME, do the same job in different forms. Both give you a concentrated wort base, but they behave differently in storage and handling. Heat is the number one enemy of liquid malt extract, Briess says, which is why freshness and storage conditions matter before you even fire the burner.
If you want the easiest handling and longest shelf stability, DME has a strong case. If you use LME, keep it cool and move it into the kettle promptly so it does not darken or stale before brew day ends.
The gear you actually need
Extract brewing keeps the equipment list lean. You do not need a mash tun, but you still need enough gear to brew, ferment, and package cleanly.
A practical extract setup usually includes:
- A kettle large enough for a partial boil
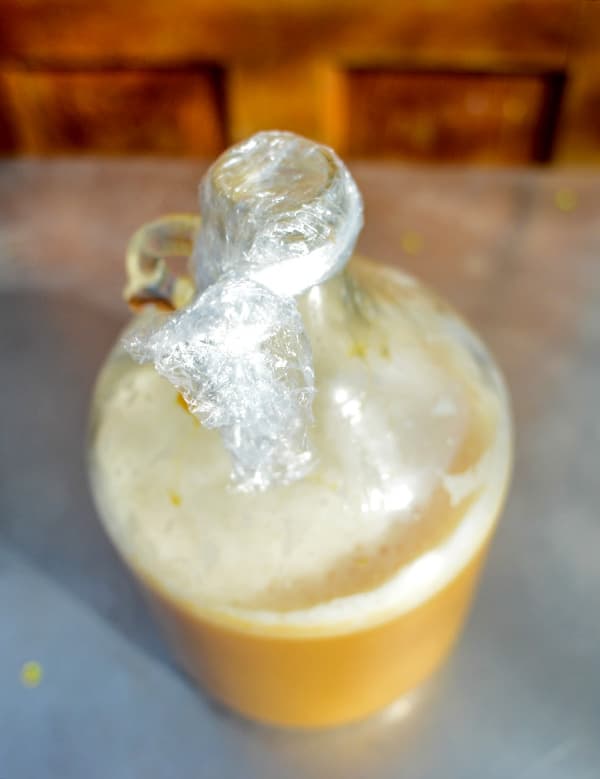
- A fermenter with an airlock
- An autosiphon or transfer tubing
- A bottling bucket
- Bottles, caps, and a capper
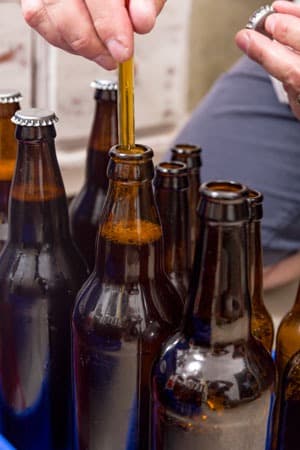
- A hydrometer or refractometer for tracking gravity
The hydrometer or refractometer tells you whether fermentation is moving as expected, and the bottling gear keeps the beer from picking up oxygen at the end of the process.
How to build a better extract boil
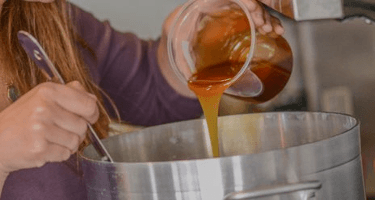
Partial boils are common in extract brewing. About half the extract goes in before the boil, and the rest is added near the end. That approach helps keep the boil manageable and reduces the chance of scorching thick wort on the bottom of the kettle. Early homebrewing books even pushed brewers to boil extract for a 5-gallon batch in as little as 1.5 gallons of water, which shows how concentrated these boils can be.
Timing matters because extract can darken if it spends too long in the kettle. Adding part of it late in the boil keeps the color lighter and helps preserve a cleaner malt profile, especially in pale styles. It also keeps the boil more effective for hop use, since you are not asking a dense syrup to do all the work from minute one.
Hop timing still counts in extract beer. Bitterness can also be produced in no-boil extract brewing by using hopped malt extracts or isomerized hop extracts, but a careful boil remains the most flexible route for most recipes. If you are boiling, pay attention to boil-off so your final volume lands where the recipe expects it, because different kettle setups can evaporate at different rates.
Fermentation is where the beer gets fixed or flattened
Extract will not save a sloppy fermentation, which is why temperature control matters so much. The off-flavors people blame on “extract twang” often come from temperature swings, poor sanitation, or weak fermentation health instead of the extract itself. Keeping the yeast in range gives the wort a chance to finish cleanly, which is especially important when the recipe has a simple malt backbone.
Top-off water also deserves care. If you are doing a partial boil and topping up in the fermenter, that water is part of the beer, not an afterthought. Clean water, clean gear, and a steady fermentation temperature do more for flavor than any myth about all-grain superiority.
From all-extract to the next step
Extract brewing does not trap you there. The AHA lays out a clear progression: all-extract homebrewing, then extract with specialty grains, then partial mash. Its partial mash guide defines that method as one where some fermentable sugar comes from mashing grains and the rest comes from malt extract, which makes it a natural bridge for brewers who want to learn mash behavior without jumping straight to full all-grain.
This article was produced by Prism’s automated news system from verified source data, official records, and press releases, then run through automated quality and moderation checks before publishing. The system is built and supervised by the people who set the standards it runs under. Read our full AI policy.
Did this article answer your question?