How to repair torn leather with flexible glue and fillers
A torn leather panel is not always a lost cause. Size, location, and wear decide whether flexible glue and filler will save it or send it to a pro.
A torn leather panel does not automatically belong in the trash. The real decision comes down to triage: how big the tear is, where it sits, how the leather is finished, and how hard that spot gets used. If you read the damage first, you can avoid buying the wrong supplies, make a cleaner repair, and know when a professional upholstery shop is the smarter call.
Start with the tear, not the glue
The first question is whether the damage is small enough to save at home. Repair guides commonly put the DIY range at tears shorter than 6 to 7 inches and narrower than 2 to 3 inches, which is a useful rule of thumb when you are staring at a split sofa seat or a ripped jacket panel. Once you are dealing with a hole, a major tear, or fabric that is missing material, the repair gets much harder to hide, and the odds shift toward professional help.
Location matters just as much as size. A tear on a low-stress back panel is a very different job from one on a seat cushion, armrest, jacket elbow, or car bolster, where the leather bends and stretches all day. If that spot takes constant abrasion or weight, a patch that looks acceptable in the shop can fail early in real use.
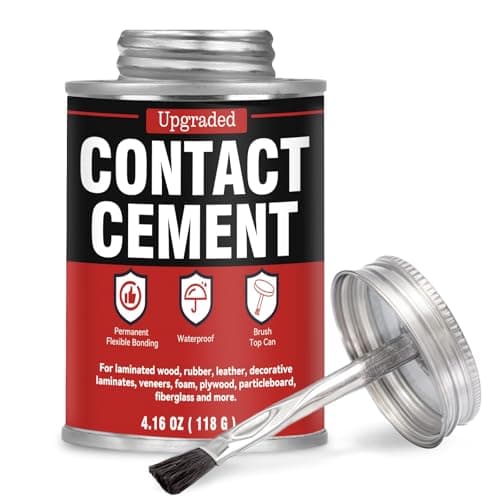
Why flexible glue beats a random household adhesive
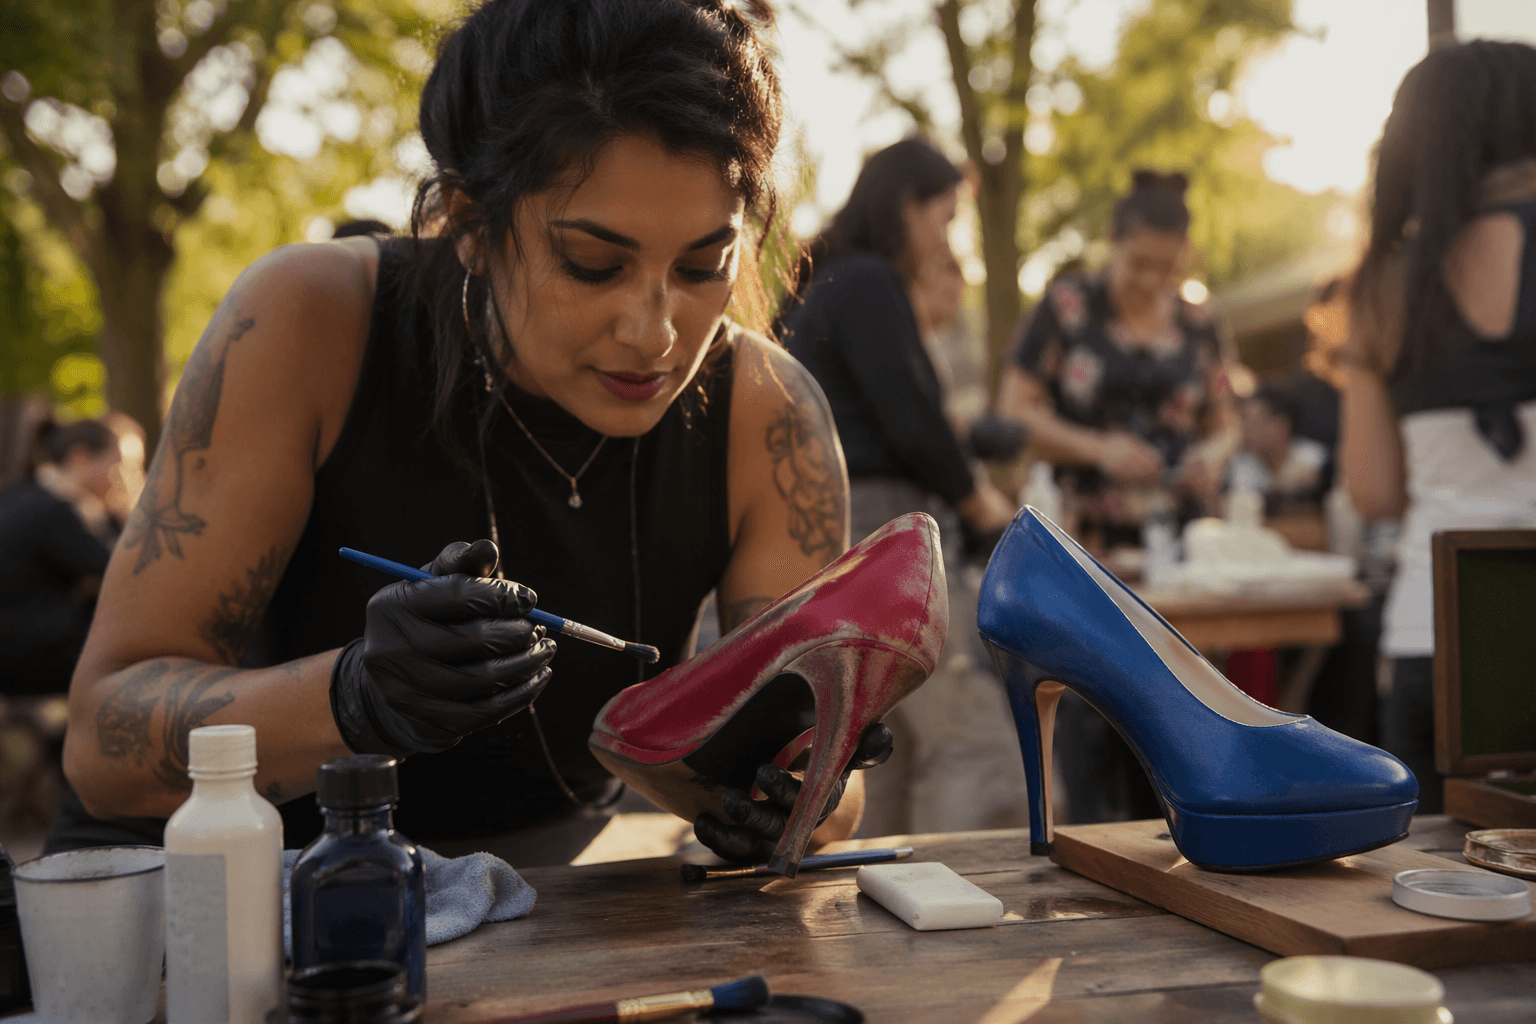
Leather is not a rigid craft board. It bends, breathes, and stretches, so a glue that dries hard can leave a stiff patch that feels wrong and may crack again later. That is why leather-specific glues and flexible contact cements are the right call for most tear repairs. They move with the material instead of fighting it.
This is also why prompt repair matters. 3M notes that a tear or cut can spread if left unchecked, so fixing damage early can keep a small problem from becoming a long split. If the leather is still holding together at the edges, a fast, flexible repair often has a much better chance of blending in.
When filler is the right tool
Glue alone cannot rebuild missing leather. That is where filler comes in, especially for scratches, cracks, gouges, and holes that cannot simply be pressed shut. In DIY repair language, leather filler is often treated like spackle for leather: a flexible, sandable paste that gives you back the surface you lost.
That flexibility matters. A repair compound that can move a little is more likely to survive on a couch cushion or car seat than a brittle patch. For a smoother result, gather the basics before you start: leather filler, fine-grit sandpaper in the 600 to 1200 grit range, leather dye or paint, and a sealer or finish to lock the surface down.
What a proper repair kit actually gives you
The best repair kits are built around color control and surface texture, not just adhesive strength. 3M says its Leather and Vinyl Repair Kit patches cuts, tears, and burns in automotive upholstery, and it includes a color-matching guide plus textured grain papers. Permatex’s Vinyl Leather Repair Kit goes even further with a heat transfer tool, seven colors of repair compound, clear vinyl adhesive and filler, grain pattern paper, a plastic spatula, and a color-matching chart.
Those details are not marketing fluff. A repair lives or dies on whether the patched area matches the surrounding panel in color and grain, not just whether the tear is closed. If the surface texture is wrong, the eye finds it immediately, especially on visible furniture arms, jacket fronts, or steering-wheel-adjacent trim.
The repair process is really surface preparation
Most repair instructions follow the same core sequence: clean the area, sand lightly, apply compound in thin layers, then color or seal the finish. That order is important because leather repairs fail when people rush straight to the adhesive and skip the prep. Dirt, loose fibers, and rough edges all telegraph through the finished patch.
Sanding is more than cosmetic. It helps feather torn edges back into the surrounding surface and smooth rough filler so the repair does not sit like a lump. Thin layers are better than one thick blob, because they dry more evenly and are easier to shape. If the repair is on a visible panel, some instructions recommend recoloring the entire panel seam-to-seam so the blend looks deliberate instead of spotty.
How to judge whether the piece is worth saving
Not every tear deserves the same answer, and that is where good triage saves money. A small split on a sofa back, a narrow cut on a bag edge, or a shallow gouge on a belt may be very repairable with flexible glue and filler. A wide tear on a high-wear cushion, a hole in a jacket front, or missing leather at a stress point is far less forgiving.
- Is the tear within the small-repair range, roughly under 6 to 7 inches long and under 2 to 3 inches wide?
- Is the damaged spot low-visibility and low-wear, or will every sit, bend, and rub put stress on it?
- Does the leather still have enough material at the edges to glue, rebuild, sand, and recolor cleanly?
Ask yourself three practical questions before you open the kit:
If the answer to any of those leans bad, a professional leather repair shop may be the better investment. That is especially true when the tear has become a hole, the panel is badly stretched, or the damage sits in a place where a patch will be seen and touched every day.
The payoff is a repair that behaves like leather
The best torn-leather repair is not the one that merely sticks. It is the one that bends, colors, and wears like the material around it, so the fix disappears into the object instead of announcing itself. Flexible glue, sandable filler, careful color matching, and a clean finish give you that chance, but only if the damage is small enough and the wear pattern is forgiving.
That is the real save-versus-replace decision. If the tear is short, the surface still has structure, and the finished area can be blended seam-to-seam or with careful buffing and sealing, you can often rescue the piece at home. If the leather is too torn, too visible, or too hard-used, the smarter move is to stop before the repair looks worse than the damage.
This article was produced by Prism’s automated news system from verified source data, official records, and press releases, then run through automated quality and moderation checks before publishing. The system is built and supervised by the people who set the standards it runs under. Read our full AI policy.
Did this article answer your question?