Leather stamping tutorial helps beginners personalize belts and wallets
A clean stamp starts with the right leather, the right dampness, and the right strike, turning starter pieces into polished keychains, cuffs, belts, and wallets.
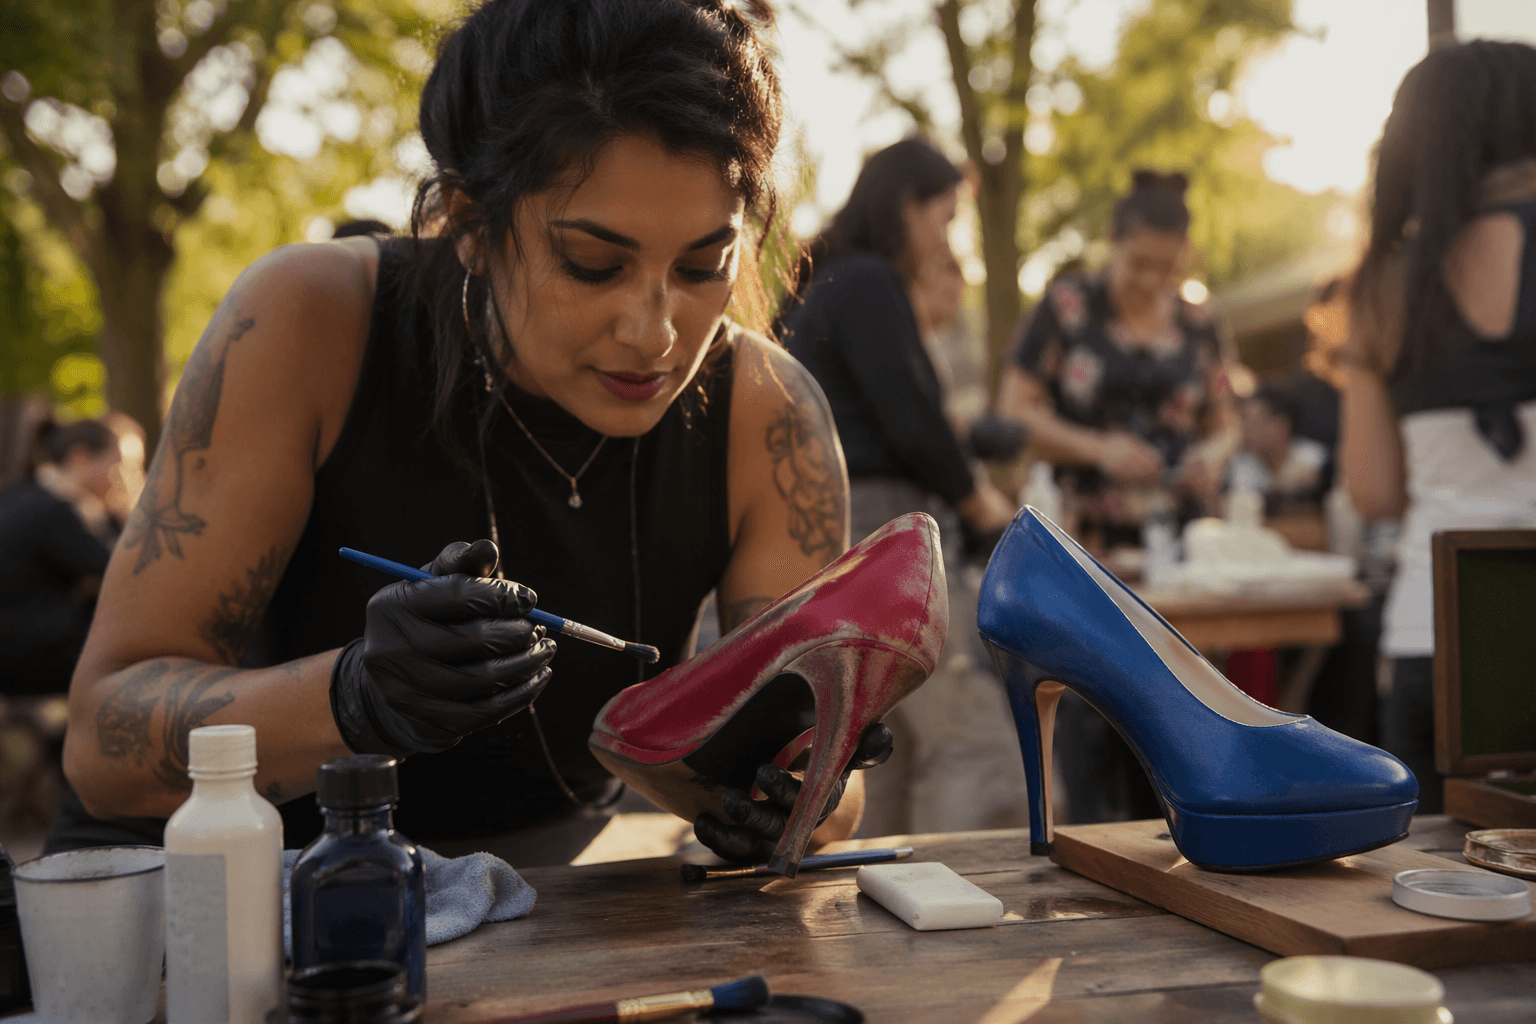
Leather stamping is one of the quickest ways to make a plain belt or wallet look finished, personal, and giftable without building a full shop. That is why it sits so naturally at the beginner end of leathercraft: the gear list is modest, the payoff is immediate, and a few controlled impressions can make even a simple project feel like it came from a seasoned bench.
Start with the material that takes a mark
The first decision that makes or breaks the result is leather choice. Vegetable-tanned leather is the standard for stamping because it absorbs impressions best, and that matters more than any fancy pattern in the tool rack. A 3 to 4 ounce piece is a smart practice weight for beginners, light enough to respond well but still substantial enough to hold a crisp design.
That recommendation is especially useful if you are starting with small goods like keychains and cuffs before moving up to belts and wallets. Thin, soft, or overly finished leather can fight the stamp and blur the image, while vegetable-tanned stock gives you a cleaner reading of your technique. In a craft where the first impression is literally the whole point, the right leather is doing half the work.
Casing is the quiet step that keeps the impression sharp
The biggest beginner mistake is usually not pressure, but moisture. Casing, the process of bringing vegetable-tanned leather to the right moisture level, is one of the most important prep steps in tooling and wet forming because it makes the leather easier to carve, stamp, and shape. The sweet spot is slightly damp and evenly moistened, never soaked.
Too much water can blur the impression; too little moisture will not let the stamp hold properly. The best cue is tactile: the leather should feel cool and slightly damp, not wet or slick. A light wetting on the flesh side, followed by a short wait for the moisture to penetrate, gives you a more even surface and a much better chance at a clean strike.
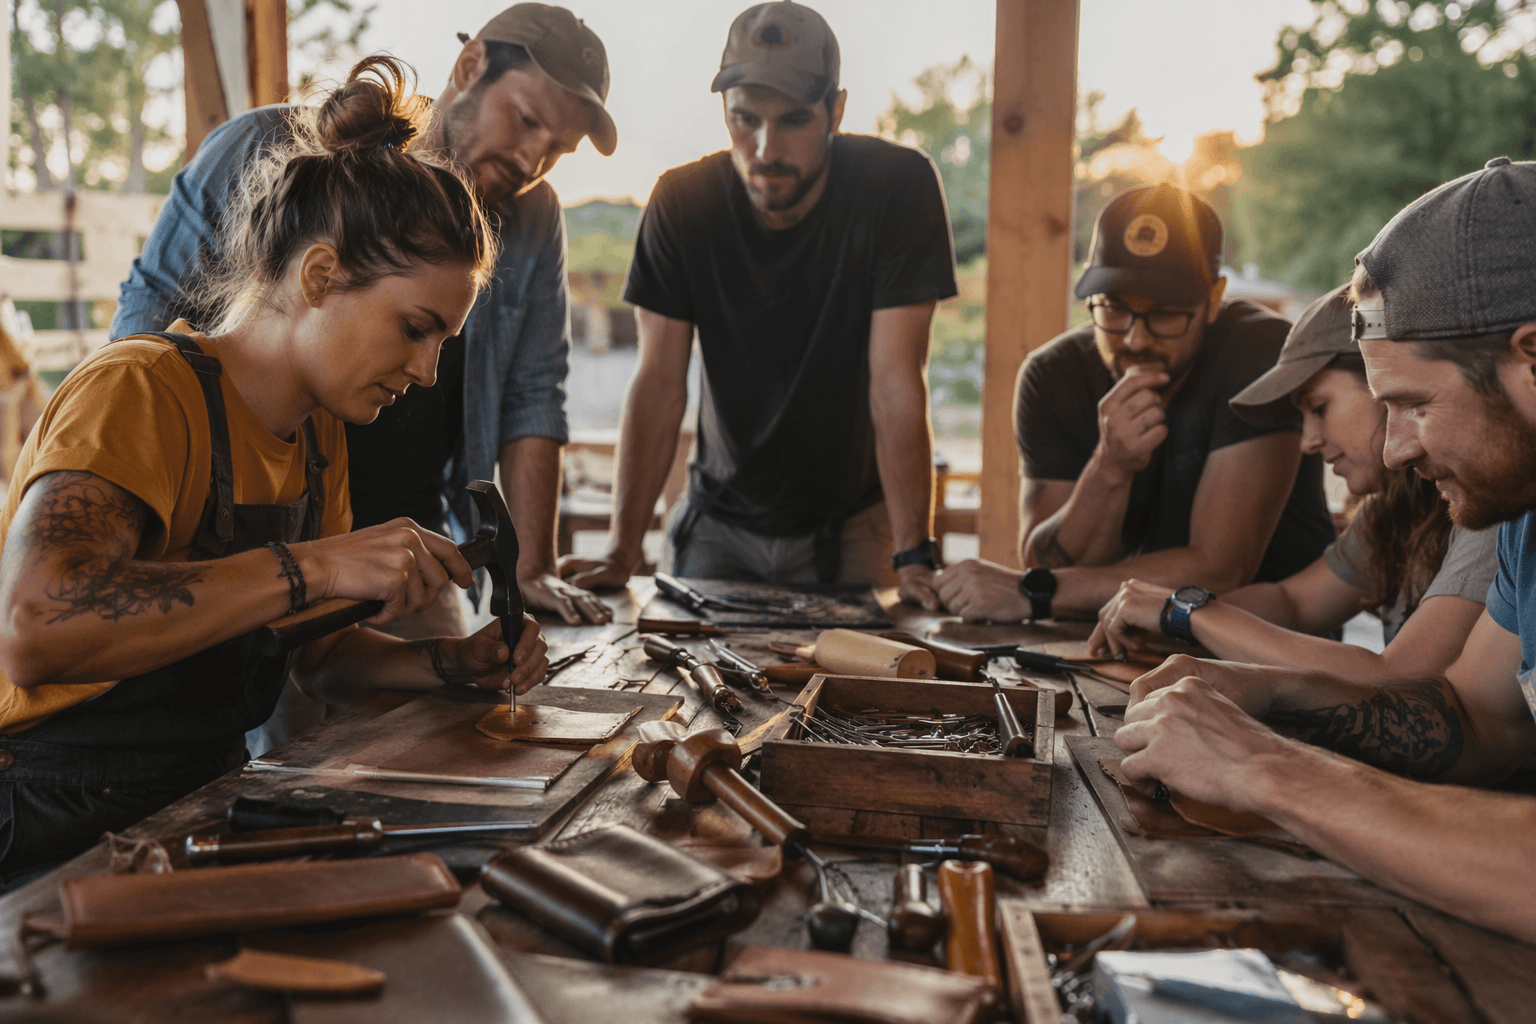
The tool kit is simple, but each piece has a job
A beginner stamp setup does not need to be intimidating. The core tools include letter stamps, design stamps, a background stamp, a nylon or rawhide mallet, a swivel knife, a stylus for transferring and outlining, a cutting mat, ruler, sharp utility knife, bone folder or burnisher, and a leather finish or sealer. Tandy Leather also points beginners toward a hard stamping surface, such as a marble slab or granite block, because the firmness underneath the leather helps the impression transfer cleanly.
The striking tool matters just as much as the stamp itself. Mallets or mauls made of wood, nylon, or rawhide are the right choices for leather stamping, while a metal hammer can damage stamps and throw off the blow. That difference sounds small until the first missed strike leaves a distorted edge or a broken tool, which is why the beginner advice here is less about buying more and more about choosing the right surface and the right impact.
Tandy’s stamp collection also shows how broad the language of leather decoration can be, with classic Sheridan patterns alongside modern motifs. That range matters for newcomers, because a first project can be as traditional as a floral border or as clean and simple as a monogrammed tag.
Consistency comes from the strike, not force
Clean impressions depend on repeatable pressure. The goal is to strike straight, with the same force each time, so the pattern reads evenly across the leather instead of fading in and out. Beginners often try to compensate for weak setup with a harder hit, but that usually makes the image less precise rather than more defined.
Testing on scrap leather is a smart habit before the final piece goes under the stamp. It gives you a feel for how the leather is taking the impression, how much pressure the mallet needs, and whether the moisture level is right. Once you can land the same mark twice in a row, the project starts looking intentional instead of experimental.
Build confidence with small projects first
The easiest way to learn stamping is to scale the project to your comfort level. Keychains are ideal for practicing initials and small borders, cuffs are a good next step for repeating patterns and simple motifs, and belts give you the longer canvas needed to practice spacing and rhythm. Wallets sit somewhere in the middle, because they reward clean alignment and crisp edges without requiring a full-belt length of consistency.
That progression matters because stamping teaches control as much as decoration. A keychain tells you whether your casing is right. A cuff shows whether your borders stay even. A belt or wallet exposes whether your line work holds together over a longer run. By the time you move through those pieces, the craft starts to feel less like hitting a stamp and more like composing a surface.
From pattern transfer to finish, the details add up
A beginner lesson in leather stamping is stronger when it includes the whole sequence, not just the moment of impact. The process starts with gathering tools, then moving into design transfer, outline work with the swivel knife, stamping the pattern, and finishing or sealing the completed piece. That order helps beginners see that clean work is built before the mallet ever lands.
Tandy’s basic tooling guidance reinforces that foundation by teaching how to transfer a pattern onto leather and how to use the swivel knife along with the basic seven stamping tools. That approach gives the maker a path from blank hide to finished surface, with each step supporting the next. Once the leather is properly cased and the design is laid out, the actual stamping becomes the part that brings the piece to life.
A small craft with a much bigger lineage
Leather stamping may feel like a beginner-friendly weekend skill, but it sits inside a long history of leatherwork. Leather has been used for clothing, footwear, handbags, furniture, tools, and sports equipment, and embossing has long been used to create ornaments or imitation tooling on leatherwork. Archaeological evidence of leather clothing stretches back about 120,000 years, and a 400,000-year-old bone tool found in Italy was reported as part of the story of early leather smoothing.
That bigger context is part of the appeal. The same basic desire that drove ancient makers to shape and decorate hide still shows up when a beginner stamps a set of initials into a wallet or adds a border to a belt. The technique is old, but the satisfaction is immediate: a simple piece, the right moisture, a steady strike, and suddenly a plain surface looks made for someone.
This article was produced by Prism’s automated news system from verified source data, official records, and press releases, then run through automated quality and moderation checks before publishing. The system is built and supervised by the people who set the standards it runs under. Read our full AI policy.
Did this article answer your question?