How to Choose or Build an Ergonomic Split Keyboard the Right Way
A CDC study found split keyboards cut ulnar deviation from 12° to under 5° of neutral. Here's the full, testable protocol to measure, build, and validate a setup that actually works.
The single most persuasive number in ergonomic keyboard research comes from a study published by the CDC's National Institute for Occupational Safety and Health: when set up correctly, split keyboards reduced mean ulnar deviation of both wrists from 12 degrees to within 5 degrees of a neutral position, compared to a conventional keyboard. That's a measurable, reproducible intervention, not a marketing claim. Everything in this guide flows from that baseline.
Start with a measurement, not a product
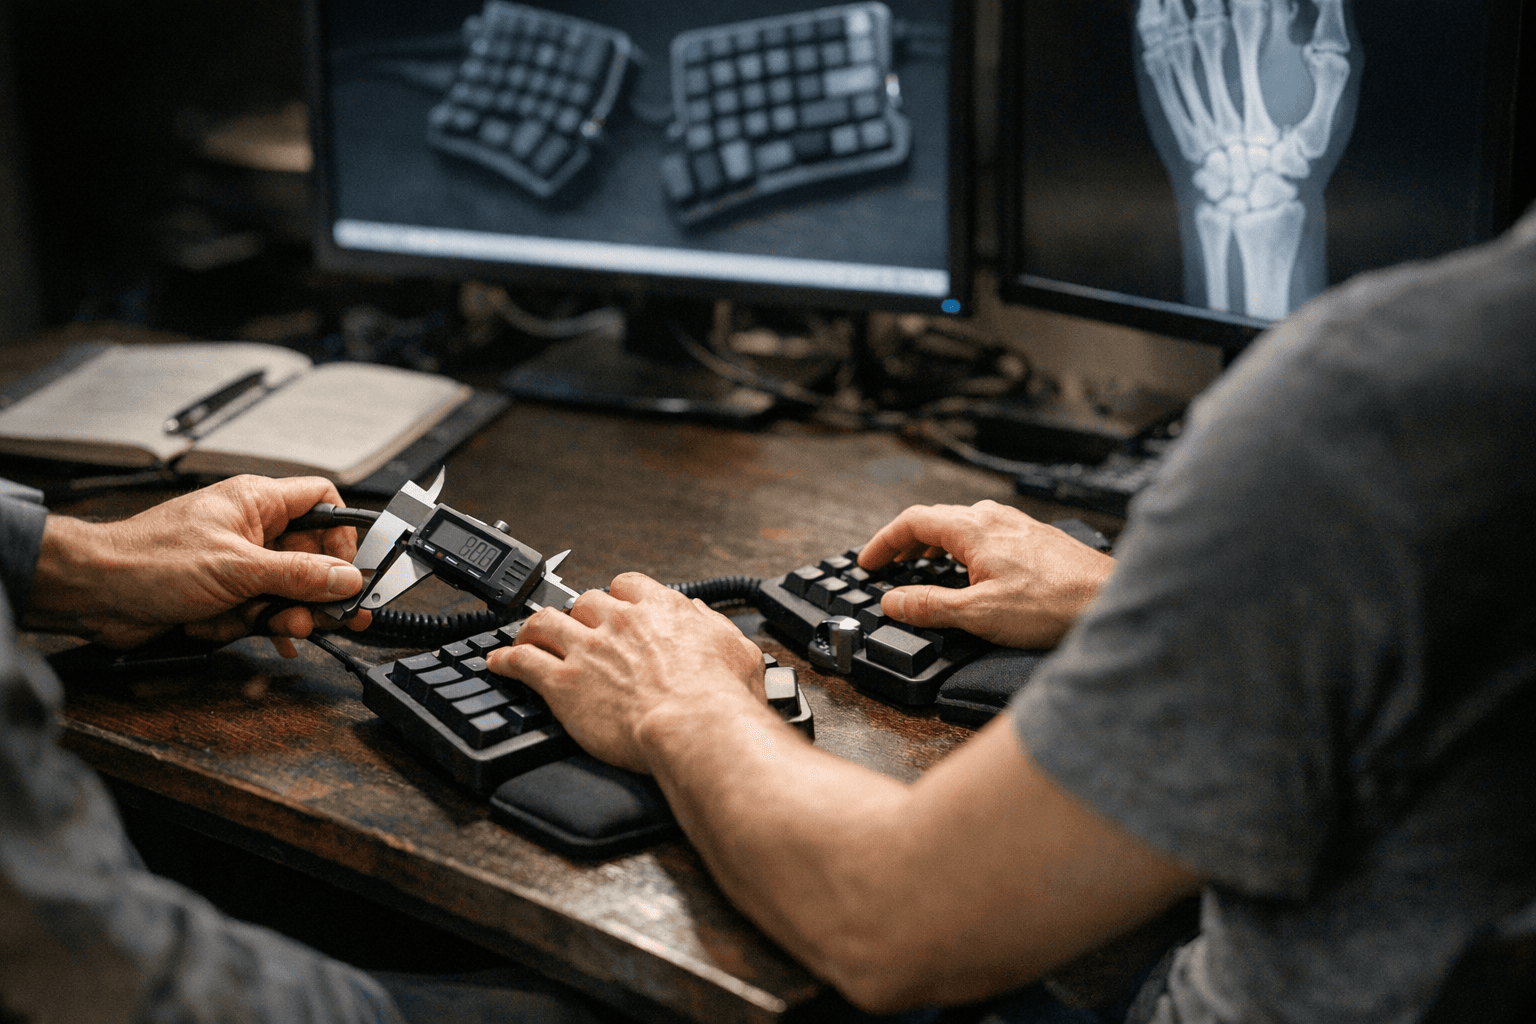
Before spending anything, take a side-angle and top-down photo during a 10-minute real typing session at your normal workstation. Use known anatomical landmarks (the center of the wrist, the knuckle line, the forearm midline) to estimate wrist extension and ulnar deviation. OSHA's computer workstation eTool and Cornell's ergonomics tutorials both describe exactly how to do this with a goniometer or even a printed angle overlay on a photo. Your numbers drive every subsequent decision.
Here is the decision rule the data supports: if you're measuring more than roughly 5 degrees of ulnar deviation, a split keyboard with column stagger is your first intervention. A 15-degree keyboard opening angle has been shown in peer-reviewed research to provide the best balance between reducing ulnar deviation without increasing forearm pronation or pushing your elbows uncomfortably wide. Tenting, which is the lateral tilting of each half toward you, addresses forearm pronation and residual wrist extension after column stagger has already done the heavy lifting. Jumping to aggressive tenting without resolving ulnar deviation first is the most common sequencing mistake builders make.
For wrist extension specifically, slope matters. Research shows keyboard slopes in the range of 0 to -4 degrees (flat to mildly negative tilt, meaning the front edge lower than the back) deliver the least wrist extension, least forearm pronation, and the lowest elbow height. A specialist study quantified a 13-degree reduction in wrist extension for certain low-profile and negative-tilt combinations, so if a vendor cites a specific angle improvement, ask for the test methodology before accepting it.
Layout and mounting: the spec decision that changes feel and fatigue
Once you've identified your postural targets, the first hardware choice is layout and case construction. Confirm whether the board is a true split (two completely independent halves) or a unibody with a curve. True splits let you set separation distance and rotation independently; unibodies lock you into a fixed geometry.
Within true splits, check thumb cluster coverage. Aggressive thumb clusters (like those on the Dactyl or Kyria layouts) redistribute high-frequency keys off the pinky columns, which matters for anyone with lateral hand fatigue. Measure how far your thumb naturally rests from the spacebar row and compare it to the cluster's key reach in millimeters, not just "comfortable" or "not comfortable."
Mounting style is a mechanical, testable property:
- Top-mount plates screw directly to the case, producing a stiffer, more precise feel with sharper sound around 55 dB SPL at 10 cm. Good for users who want immediate, dense feedback.
- Gasket mount suspends the plate in silicone or foam gaskets, absorbing vibration and producing a damped, deeper sound around 45 dB SPL at 10 cm. For long typing sessions, the reduced impact transmission is a real fatigue variable, not just an aesthetic one.
- Tray mount screws the PCB directly to the base, which is the stiffest and most acoustically inconsistent configuration. Fine for budget builds; less ideal for ergonomic-focused setups where you want predictable flex.
Firmware first: QMK or ZMK
Pick your firmware before selecting a PCB, not after. The two dominant choices for ergonomic split builds are QMK (open-source, wired-first) and ZMK (open-source, wireless-first with low power consumption as a core design goal).
QMK's feature depth is unmatched for wired builds. The features that matter most for ergonomic splits specifically are:
- Layers: map entire alternate key layouts accessible via a single hold; essential for reducing reach to function rows
- Tap/hold: a single key that registers as a letter on tap and a modifier (Shift, Ctrl, Layer) on hold, cutting the need to stretch to dedicated modifier columns
- Combos: simultaneous keypresses that fire a third key or macro, useful for reducing finger travel on high-frequency shortcuts
- Per-half settings: QMK allows you to define handedness logic by matrix row or column, so split behavior is addressable independently per side
ZMK replicates most of QMK's ergonomic features (layers, tap-hold, combos) but is built around Bluetooth Low Energy, making it the correct choice if your build needs wireless operation with meaningful battery life. The critical rule: do not accept vendor battery estimates without running an instrumented test. Run a one-hour synthetic workload that cycles your actual keymap, your intended backlight level, and any macro activity, then extrapolate. Vendor claims typically assume minimal RGB and light polling. Your real workload will differ.
Switch and actuation: matching weight to workload
For ergonomic builds, switch weight is not a preference issue, it is a fatigue variable. Heavier actuation weights (65g and above) reduce accidental keystrokes and give tactile certainty, but in sessions longer than two hours they accumulate into measurable finger flexor fatigue. Lighter linears or tactiles in the 35-45g range reduce that load but increase misfire risk if your column stagger or thumb cluster placement isn't dialed in yet.
Analog and magnetic (Hall effect) switches, such as those used in the Wooting and some Lekker-spec builds, add programmable actuation points across the full travel range. This is powerful for ergonomic customization because you can set a higher actuation threshold during fatigued typing or reduce it for lighter tasks. The tradeoff is calibration: magnetic switches require careful dead zone configuration to avoid ghost inputs, and the software layer adds another variable to your test protocol. Use a force gauge and travel measurement if you need to verify the actuation curve against spec, especially for analog builds.
Sound and foam strategy
Acoustics are a system property. The plate material, case material, PCB dampening, foam layers, and switch choice all interact. Polycarbonate and POM plates absorb more vibration than brass, producing softer sounds; brass increases rigidity and sharpness. PE foam under the PCB, switch foam over the PCB, and case foam lining the interior all have additive and sometimes conflicting effects.
When evaluating a board you can't test in person, ask vendors for sound samples recorded with a consistent setup: same microphone, same distance, same room. Ideally, request a return unit to evaluate. If a vendor can't provide normalized audio or demonstrate internal foam placement with photos, treat their acoustic claims with skepticism. The community's shared comparison videos are useful, but home recording environments vary too much to use them as absolute references.
The test protocol
Three tests, run in sequence, catch most purchase regrets before they happen:
1. Wrist posture check: capture side-angle and top-down photos during a 10-minute typing session.
Measure extension and ulnar deviation against your pre-purchase baseline. If deviation has not dropped below 5 degrees compared to your conventional keyboard, adjust separation, tenting, or opening angle before concluding the layout is wrong.
2. Latency verification: use a high-speed camera or logic analyzer to measure from physical keypress to HID event at your target polling rate.
For wireless builds, test both near-field (keyboard on desk) and at-distance (keyboard on lap, head height above receiver). Wireless latency variance, not average, is what creates the perception of sluggishness.
3. Battery runtime: run the one-hour synthetic cycle described above across two full charges to account for first-cycle variance.
If extrapolated runtime falls more than 20 percent below vendor claims, document the delta before any return window closes.
The entire point of this protocol is to replace vendor trust with repeatable measurements. Neutral wrist position is not a feeling; it is an angle you can photograph and quantify. Firmware behavior is not something to discover after soldering; it is a documented spec you verify before committing to a PCB. The most ergonomic keyboard you can own is the one you've actually measured against your body's specific geometry, iterated on, and validated with a consistent test. Marketing copy describes the average; your posture photos describe you.
This article was produced by Prism’s automated news system from verified source data, official records, and press releases, then run through automated quality and moderation checks before publishing. The system is built and supervised by the people who set the standards it runs under. Read our full AI policy.
Know something we missed? Have a correction or additional information?
Submit a Tip

