Micro Center’s Step-by-Step Beginner Guide to Building Custom Mechanical Keyboards
Learn how to plan, buy, prep, and assemble a beginner-friendly custom mechanical keyboard with low-risk choices and practical testing steps.
1. Plan your layout, plate, case, and PCB
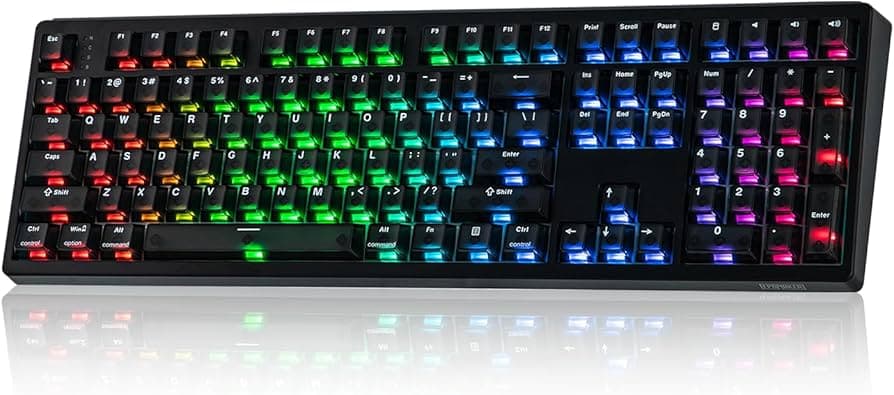
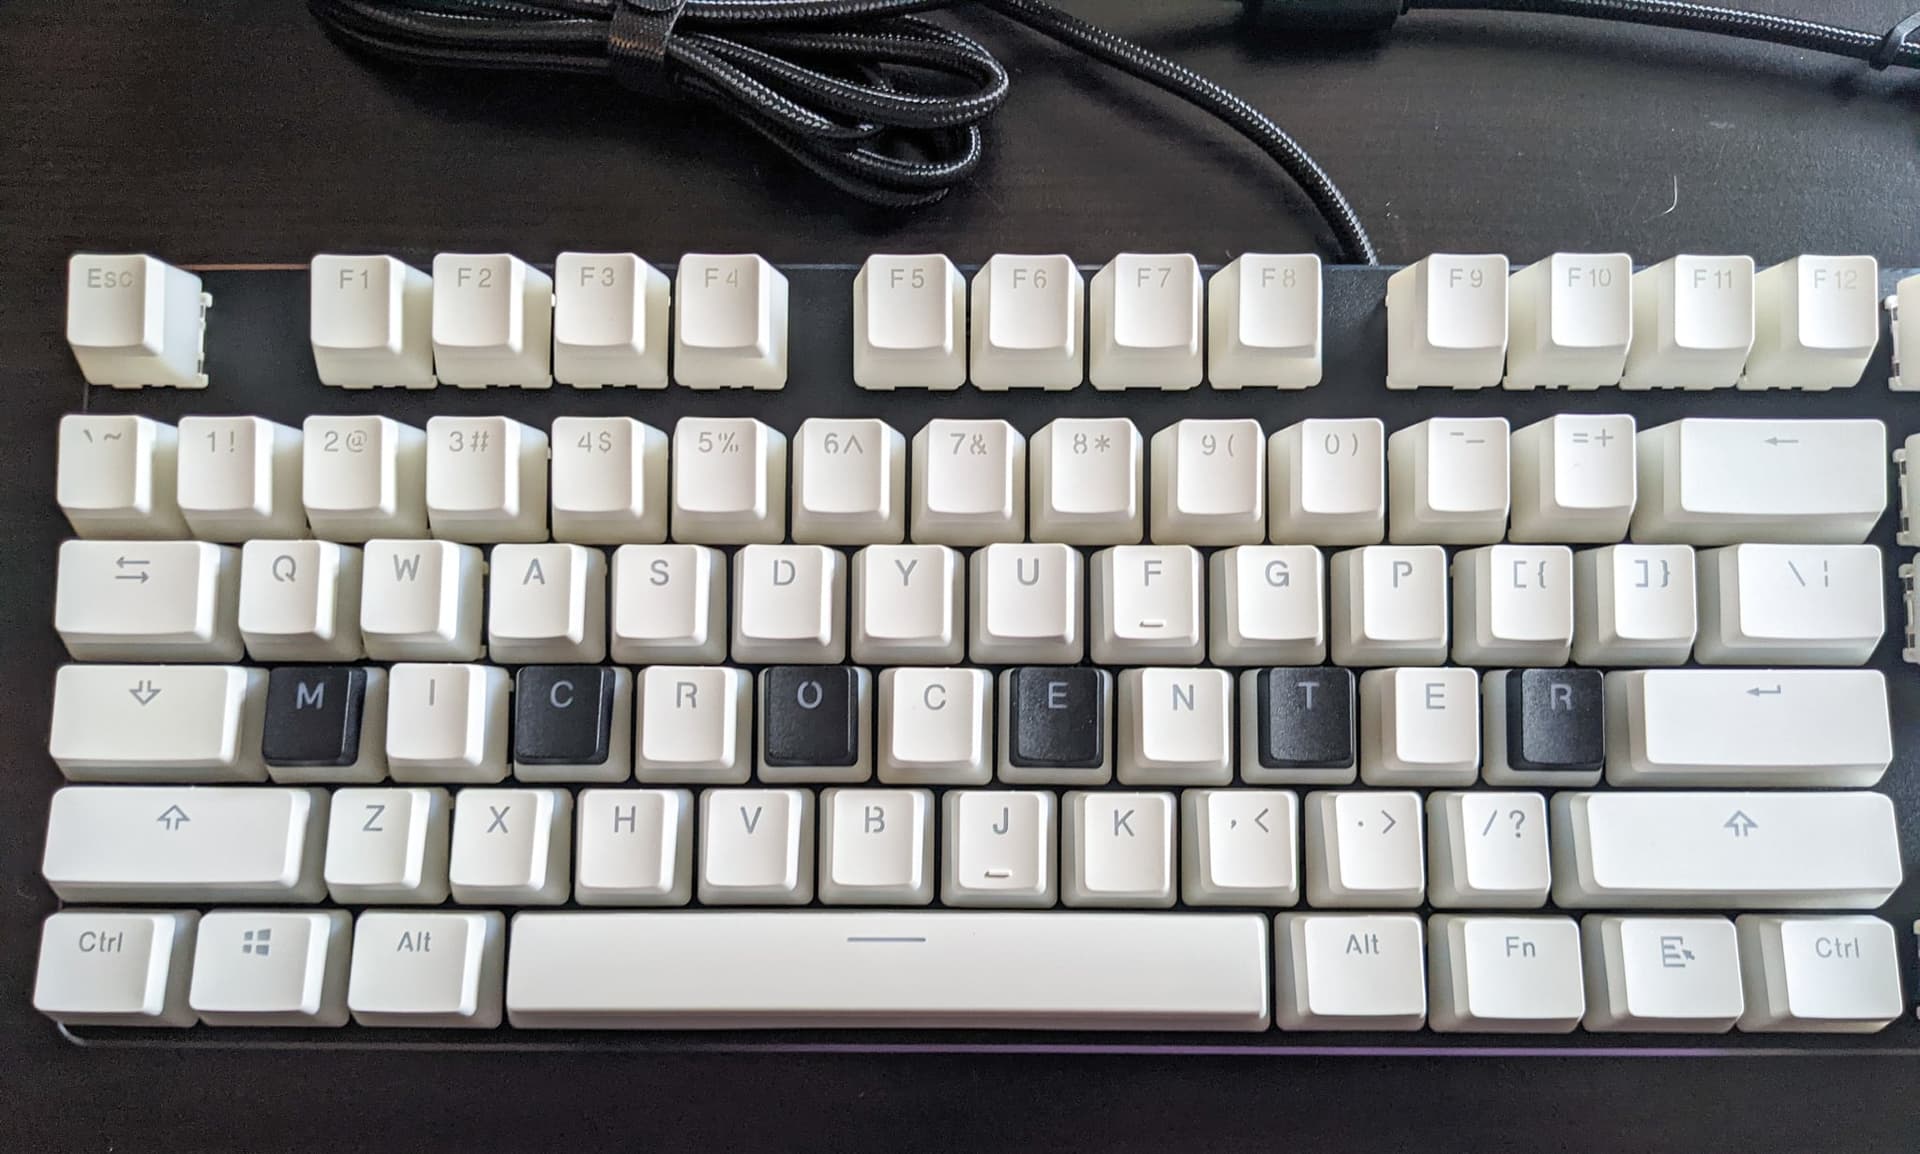
Decide layout (60%, TKL, full) first because plate size and case form factor follow it. Plates come in polycarbonate, aluminum, or brass, each changes flex and acoustics; polycarbonate is forgiving for first builds and gives a softer sound. Choose a PCB that matches your layout and supports the features you want (RGB, VIA/QMK support); for beginners, prioritize hot‑swap PCBs to avoid early soldering.
2. Pick switches and keycaps with compatibility in mind
Select switches that match your typing preference (linear, tactile, clicky) and ensure they fit your chosen plate and PCB mounting style. Consider switch housings and stem types when buying keycaps, Cherry-profile or OEM are the common pairings and keycap profiles change feel dramatically. Start with tactile or smooth linears and try switch testers or grab samples; Micro Center commonly stocks popular switch brands and starter kits so you can try before committing.
3. Choose and prepare stabilizers
Stabilizers affect larger keys (space, enter, shift) more than anything else; choose PCB-mounted or plate-mounted stabilizers depending on your PCB and plate. For beginners, consider pre‑lubed stabilizers to reduce initial rattle and simplify prep. When prepping stabilizers yourself, plan to clip housings if they’re uncut, lube the stems and wires, and consider banding for extra dampening, these mods tame rattle and make big keys feel uniform.
4. Decide mounting style: screw, gasket, or tray
Mounting style defines typing feel and acoustic profile. Screw mounts rigidly attach plate to case for a firmer, more stable feel; gasket mounts use rubber or silicone gaskets between plate and case for a softer, bouncy feel; tray mounts sit the PCB/plate on the case floor and can be the simplest option for stock builds. For a first build, gasket or tray mounting paired with a flexible plate (polycarbonate) gives forgiving tolerances and an enjoyable sound without heavy modding.
5. Hot-swap vs. solder: which path to take
Hot-swap PCBs let you plug and pull switches without soldering, drastically lowering risk for first-time builders and speeding iteration. Soldered PCBs offer permanence, slightly better electrical contact for some enthusiasts, and are necessary for certain custom wiring, but they carry higher commitment and require a soldering kit. If you plan to experiment with many switches or want a low-stress first build, choose hot-swap; Micro Center stocks both hot-swap PCBs and soldering essentials if you later decide to solder.
6. Gather essential tools and parts
Assemble a basic toolkit: keycap and switch pullers, small Phillips/hex screwdrivers, switch opener (optional), tweezers, lubricant, stabilizer kit, foam sheets, and a multimeter or switch tester for diagnostics. If soldering, add a temperature-controlled soldering iron, solder, flux, solder wick, and a fume extractor. Micro Center typically carries these items, grab a basic switch lubing kit and a beginner soldering bundle to keep everything in one cart.
7. Prep switches: lubing and filming
Lubing switches reduces scratch and damping; open housings with a switch opener, apply a thin, even coat of lube to the stem rails and spring, and reassemble carefully. Filming (adding a thin film between top and bottom housings) tightens tolerances and reduces hollow sound or wobble in certain switches. For first builds, you can buy pre-lubed switches or film kits; if you hand-lube, work on small batches and test often to avoid over‑lubing.
8. Stabilizer mods: clipping, lube, and banding
Clip any unnecessary housing plastic on certain stabilizers to prevent interference, then lube the stabilizer housing, stem, and wire contact points with a thicker grease. Banding (placing thin foam or silicone between the stabilizer and case/plate) can eliminate metallic ping and add dampening. These three mods together transform rattle-prone stabilizers into smooth, quiet keys; try one mod at a time and test so you know what changed.

9. Foam and acoustic treatments
Add foam between the plate and case or under the PCB to absorb mid-frequency resonance and reduce hollowness. Materials range from Neoprene and EVA to mil-spec silicone foam, cut to fit around standoffs and switches, and avoid blocking stabilizer holes. Small pieces of thin foam on the case floor and a top-plate gasket will dramatically improve clarity without heavy alteration.
10. Assembly sequence and step-by-step testing
Follow an ordered assembly sequence: plate/foam into case, PCB alignment, install stabilizers, install switches, mount plate, and finally screw the case together. Test incrementally: after stabilizers installed test their motion, after installing switches use a switch tester or connect the PCB to a PC to confirm each switch registers before final assembly. This step-by-step testing catches misseated switches, bent pins, or wiring mistakes early.
11. Soldering tips if you go that route
If you solder, secure the PCB, heat the pad and switch pin simultaneously, and apply solder so it forms a shiny fillet; remove excess with solder wick. Work one row at a time, then re-test the matrix frequently to ensure no bridges or cold joints. Safety first: use fume extraction and steady temperature control; practice on a spare PCB or kit before committing to your main build.
12. Final testing, firmware, and troubleshooting
Use an online keyboard tester or the PCB’s built-in diagnostics to confirm full matrix response and detect ghosting or stuck keys. If your PCB supports VIA/QMK, flash layouts and test keymaps, VIA enables live remapping without reflashing. For stubborn issues, check switch orientation, pin straightness, solder joints, and stabilizer interference; a multimeter can trace continuity if a key fails.
13. Checklist and low-risk starter recommendations
Use a pre-assembly checklist: confirm layout, check PCB compatibility, pre-lube stabilizers/switches (or buy pre-lubed), choose hot-swap for your first build, and gather tools. Low-risk choices: hot‑swap PCB, pre‑lubed stabilizers, polycarbonate plate, and basic foam dampening to ensure success and room to tinker later.
14. Community tips, swaps, and next steps
Bring switch samples to meetups, swap keycaps with local builders, and share sound clips in community channels to get feedback, the hobby thrives on listening tests and friendly critique. Try small mods (lube, foam, banding) incrementally; each has outsized impact and teaches you about acoustics and feel.
End with practical wisdom: start with a hot-swap PCB, prepped stabilizers, and a clear checklist so you build confidence instead of solder joints, then iterate one mod at a time and enjoy the sound of progress.
This article was produced by Prism’s automated news system from verified source data, official records, and press releases, then run through automated quality and moderation checks before publishing. The system is built and supervised by the people who set the standards it runs under. Read our full AI policy.
Did this article answer your question?