Step-by-Step Guide to Lubing Mechanical Switches for Sound, Smoothness
Learn how to lube mechanical switches step by step to improve sound, smoothness, and feel, with tools, technique, testing, and troubleshooting.
1. Tools & materials checklist
Have the right kit before you start: a switch opener (or pliers/clip jig), switch lube matched to switch type (Krytox 205g0 for linear and Krytox 105/205 blends for tactile modding), a thin brush for precise application, and a supply of stems/felt/paper towels for cleanup. Include spare springs, optional switch films, a spring clip or small container for bag-lubing springs, and a clean, well-lit workspace. A dedicated tray or ice cube tray works great to keep tops, bottoms, springs, and stems organized so you don’t lose parts mid-session.
2. Prep
Begin by removing keycaps and switches from the board: hot-swap boards let you pull switches cleanly; desolder if required for soldered boards. Ground yourself to avoid static discharge and work on a non-slip mat to keep tiny parts from scattering. Label rows or take photos if you’re doing a full-board mod so reassembly preserves layout and switch types.
3. Disassembly
Use the switch opener or clip jig to carefully open the housing, separating the top housing, stem, spring and bottom housing, keep each switch’s parts together if possible. Lay pieces out in a logical order: top housing, stem, spring, bottom housing; use compartments or labeled piles to avoid mix-ups. Handle stems and springs gently, bent springs or scratched rails change feel, so treat this like delicate surgery rather than a quick wrenching.
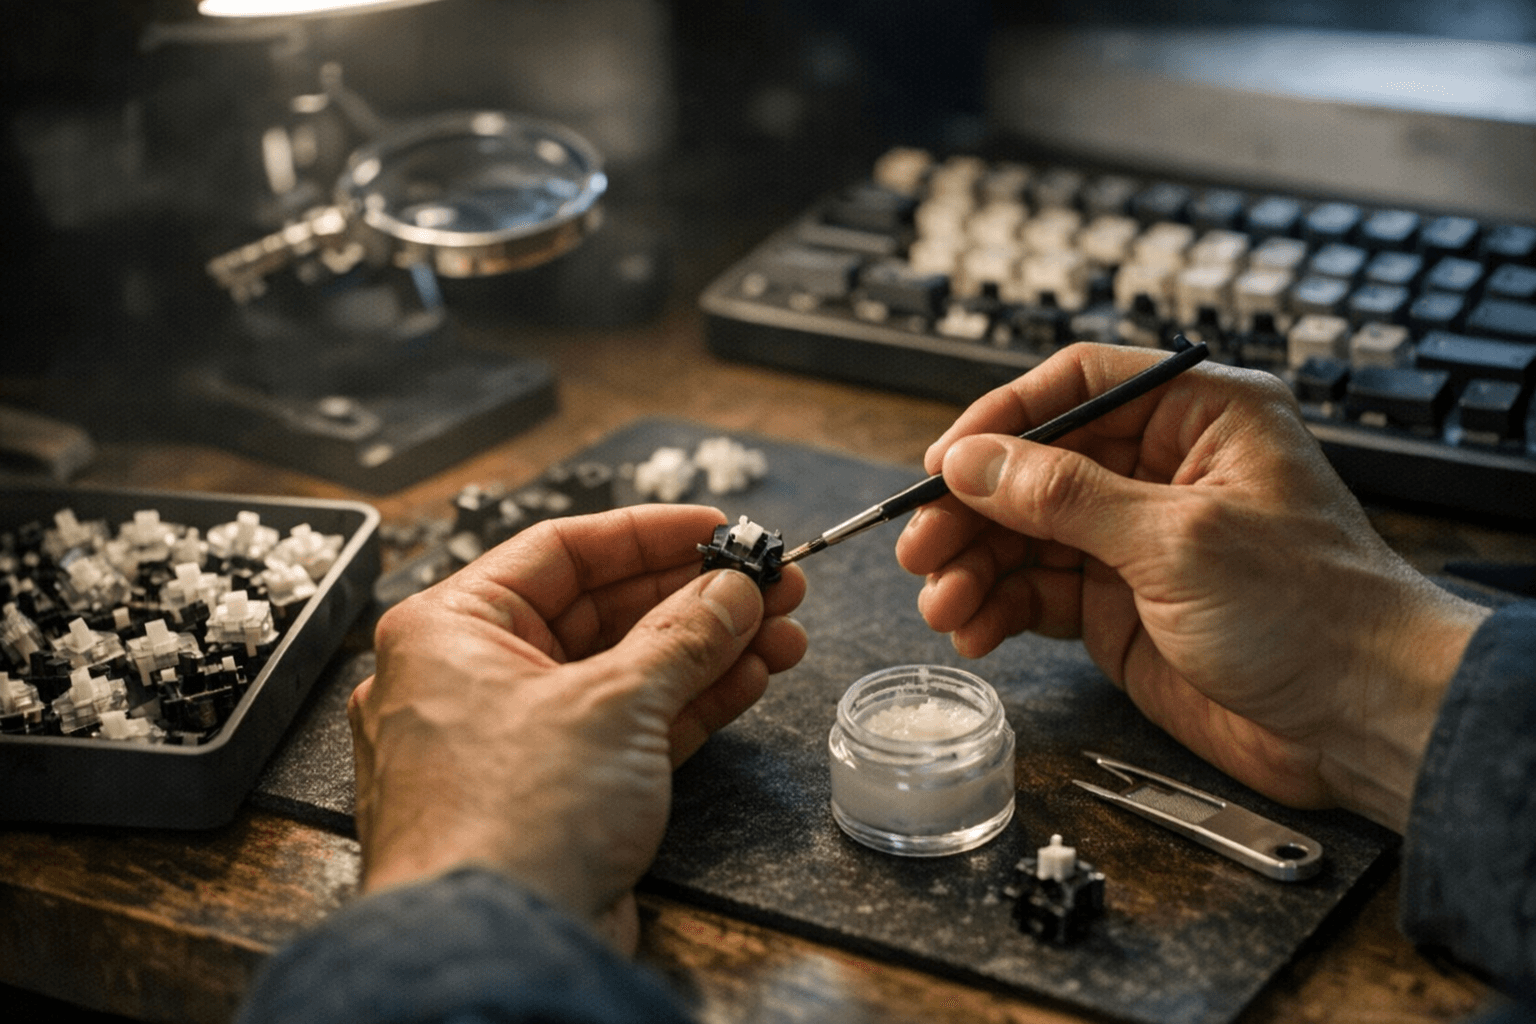
4. Lubing technique
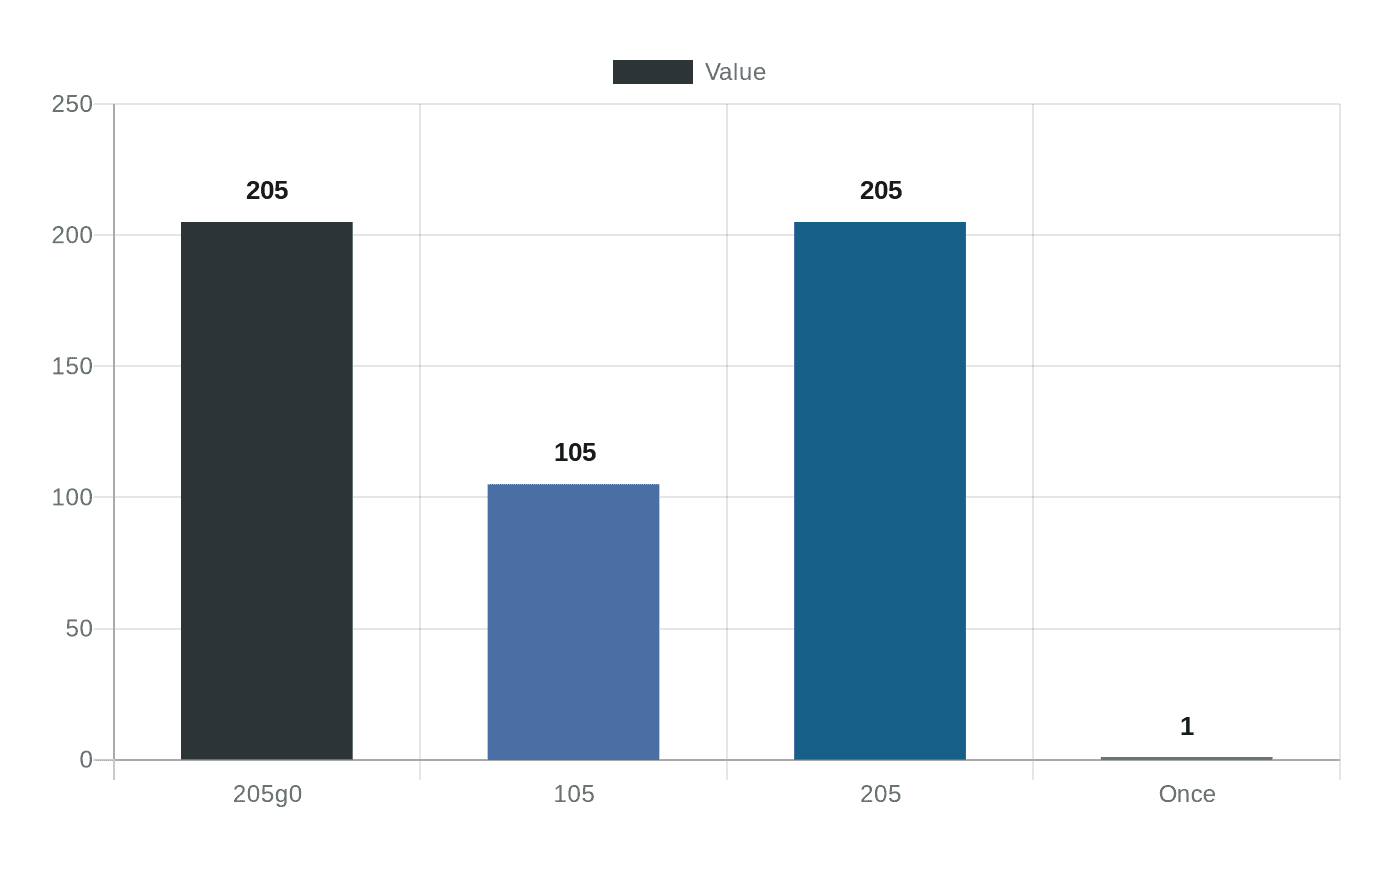
Apply a thin, even coat of lube to the stem rails and slider areas, too much globbing will mute tactility and create gunk. For linear switches, use a lighter coat on the rails and a light dab on the spring; Krytox 205g0 is the common go-to for smooth, quiet linears. For tactile switches, avoid lubing the tactile bump area unless you want to intentionally smooth the bump; use Krytox 105/205 blends for controlled tactile modding where a light touch preserves the tip while smoothing the rails. Use a small, thin brush to load minimal lube, drag the brush once along each rail and a tiny dab on the spring, or bag-lube springs with a spring clip to give them a light, even coat without overdoing it.
5. Reassembly & testing
Reassemble the switch carefully, ensuring the stem aligns with the housing and spring seats correctly; a misaligned stem creates scratchy feel and odd sound. Test switches on a switch tester or pop them back into the board to check travel and sound, listen for smooth travel and consistent return. Allow a break-in period by typing on the board for a few hours; lube redistributes slightly with use and often reaches its sweet spot after a bit of typing.
6. Tips & warnings
Less is more, over-lubing kills tactility, makes switches sluggish, and leads to messy cleanup nightmares. Match lube viscosity to switch type: heavier greases for linears, lighter blends or thinner coats for tactiles, and avoid lubing click-bars on clicky switches because lubing often destroys the intended click. If you plan films, use them to reduce wobble before lubing for better results; films plus light lube usually sound more refined than heavy lube alone.
- Use thin brushes and work in small batches to maintain quality control.
- Film switches to reduce housing wobble; film then lube yields cleaner results.
- Keep spare parts and a trash bowl handy, tiny springs are escape artists.
7. Troubleshooting
Sticky keys often mean excess lube, disassemble, blot excess with paper towel or cleaning cloth, and rewash the parts with a degreasing cleaner if needed to fully remove gummy residue. If actuation feel changes unexpectedly, consider swapping the spring or stem, spring swaps and different stems are common fixes and can restore the intended edge or weight. Rattly stabilizers aren’t a switch lubing problem alone; address them with band-aid mods, dielectric grease on stabilizer wires, or housing mods to reduce ping and rattle.
Closing practical wisdom Lubing is a high-impact, low-cost mod: take your time, start small, and treat a single switch or a few switches as your guinea pigs before committing to an entire board. Match the lube to the job, keep parts organized, and remember that slight adjustments and a little break-in time often turn a “meh” switch into a buttery daily driver. If you enjoy the result, your next stops are stabilizer lubing, switch filming, and spring swaps, each one stacks toward a cleaner sound profile and a smoother typing experience.
This article was produced by Prism’s automated news system from verified source data, official records, and press releases, then run through automated quality and moderation checks before publishing. The system is built and supervised by the people who set the standards it runs under. Read our full AI policy.
Did this article answer your question?