Beginner guide shows how to build and flash a Meshtastic node
The N39 guide turns Meshtastic’s usual first-flash friction into a short path from box to first contact. For a beginner, that matters more than any spec sheet.

A Meshnology N39 kit can go from assembly to flashing, pairing, and first contact with another node without assuming you already speak LoRa. The point is to strip out the failures that usually stop a first node before it ever talks to anything.
A beginner node that starts with the right hardware
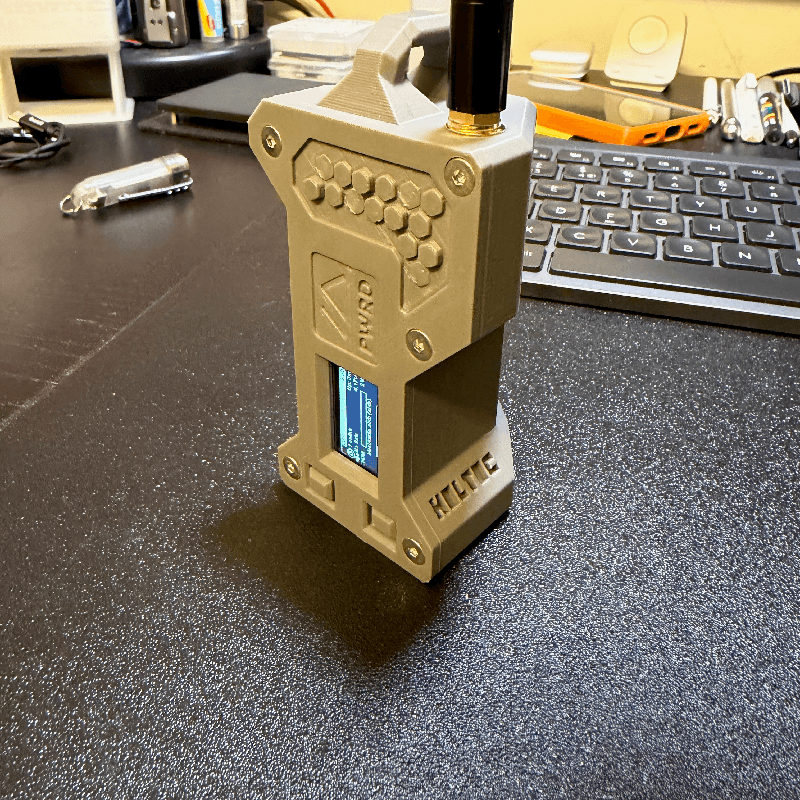
The Meshnology N39 is built on the Heltec WiFi LoRa 32 V4 platform and uses an ESP32-S3 with Wi‑Fi, Bluetooth LE, and LoRa on board. Meshtastic’s recommended browser flasher is designed for ESP32 devices, so the N39 lands in the easiest lane for a first-time build rather than forcing a more fiddly flashing path. Meshnology lists the kit starting at $11.99, which helps explain why this board is framed as an entry point instead of a boutique project.
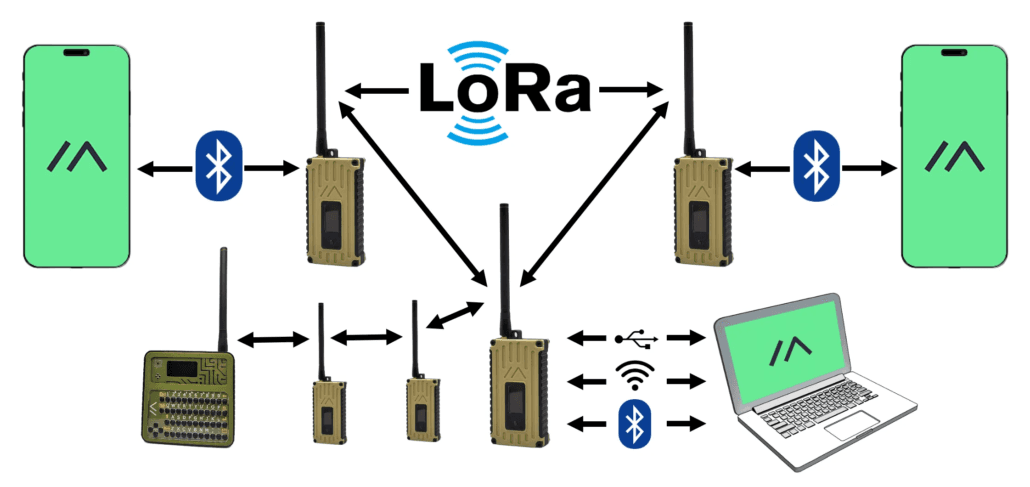
Meshtastic is an open-source, off-grid, decentralized mesh network built to run on affordable, low-power devices, and it lets phones or computers connect to radios over Bluetooth, Wi‑Fi, USB, or serial. One node can relay text and position data to other nodes without cellular service or internet access.
Why the guide works for first-time builders
The value of the N39 walkthrough is not Meshtastic theory. It removes the friction that usually derails a first build: the wrong USB cable, the wrong firmware target, a driver that never shows up, a button held at the wrong moment, or an app connection that stalls because the radio is not actually in the right state. Those are the failures that stop the board from flashing, pairing, or connecting.
The guide treats those details as the real task. It walks through hardware assembly, flashes the latest Meshtastic firmware, pairs the node with the Meshtastic app, and then proves the node is alive by testing communication with another node. That sequence confirms the board, firmware, phone, and radio settings one step at a time.
Flashing the N39 the way Meshtastic expects
For an ESP32-based board like the N39, the Web Flasher is Meshtastic’s recommended path. That removes the most avoidable confusion, because it keeps the process in the browser and avoids making a new user juggle firmware archives, board definitions, and extra tools on day one. The other flashing paths still matter, but they are for other chip families: drag-and-drop flashing is the recommended route for nRF52, RP2040, and RP2350 devices.
This is also where beginner mistakes tend to cluster. A build like the N39 can fail to flash for reasons that have nothing to do with the radio itself: a charge-only USB cable, a serial driver that has not attached correctly, or a missed boot sequence when the board needs it to enter flashing mode. The guide’s practical edge is that it shows those gotchas up front, so you are not left wondering whether your board is defective when the real problem is timing or cabling.
Meshtastic’s GitHub releases include a late-June-2026 2.7.26 alpha line. That makes firmware target selection and version choice matter, especially when you want the app, the board, and the radio profile to line up cleanly.
First boot, Bluetooth pairing, and the app side
The other half of a first Meshtastic node is the phone. Meshtastic’s Android app supports Bluetooth, Wi‑Fi, and USB OTG connections, and the first Bluetooth connection may require you to enter a pairing PIN. That small detail is exactly the sort of thing that trips people up, because a radio can be powered correctly and still appear “broken” if the app side has not completed the pairing state it expects.
The guide’s value is that it does not treat app setup as an afterthought. It covers the initial configuration steps that usually decide whether a node feels easy or frustrating: serial settings, Bluetooth behavior, and LoRa settings.
First contact is the real test
The strongest part of the walkthrough is that it does not stop at “flashed successfully.” It pushes the N39 all the way to first contact with another node and message exchange.
That also puts the tutorial in the right troubleshooting frame. When a new Meshtastic node does not send or receive, the most common failures are still basic configuration or connectivity problems, not a dead board. The official getting-started docs and the Android app guidance use the same core checks: confirm the connection method, confirm the Bluetooth pairing state, and make sure the LoRa and serial settings match the hardware you actually built.
A useful snapshot of a growing project
Meshtastic was founded in early 2020, now supports over 100 devices, and has built out local groups, community apps, and documentation around the core software. That growth also means beginners have more hardware options and more chances to choose the wrong path.
This article was produced by Prism’s automated news system from verified source data, official records, and press releases, then run through automated quality and moderation checks before publishing. The system is built and supervised by the people who set the standards it runs under. Read our full AI policy.
Did this article answer your question?