NBA 2K26 MyCAREER Beginner Guide: Builds, Badges, and Early Progression Tips
Spending VC on cosmetics before hitting your badge thresholds is the single most common mistake in NBA 2K26 MyCAREER, and it costs players hundreds of hours of avoidable grind.
Your first five hours in NBA 2K26 MyCAREER are worth more than your next fifty if you spend them correctly. Build errors made in the builder, wrong attribute spreads, ignored animation thresholds, VC burned on gear instead of ratings, compound into a progression deficit that takes real weeks to partially undo. The players who reach competitive parity in Park, REC, and Pro-Am fastest are not the ones who grind hardest. They are the ones who front-load the decisions that permanently accelerate every loop that follows.
Step One: Commit to a Role Before You Touch the Builder
The most expensive mistake in MyCAREER is building without a clear role. The four core archetypes, shooter, slasher, playmaker, and two-way defender, each demand a fundamentally different attribute distribution, and the badges that make each role dangerous are not interchangeable. A shooter build chasing Contact Finisher badges is wasting badge points. A slasher investing in Quick Draw is leaving Clamps and Intimidator on the table.
Creating the perfect MyPLAYER build is your foundation for success in NBA 2K26, whether you are grinding MyCAREER, dominating in The Park, or competing in Pro-Am. Decide your role before the builder opens and do not deviate. Role clarity is the single variable that determines whether your first fifteen badge upgrades accelerate your build or scatter it.
Build Sizing: Smaller Is Often Smarter
The instinct to chase maximum height costs sharpshooting guards mobility, speed, and shooting ratings they can never fully recover. Point guards in NBA 2K26 need to balance scoring, playmaking, and enough athleticism to compete online. A 6'2" or 6'3" guard with correctly invested shooting attributes and the right badge stack will outperform a taller build with diluted ratings every time.
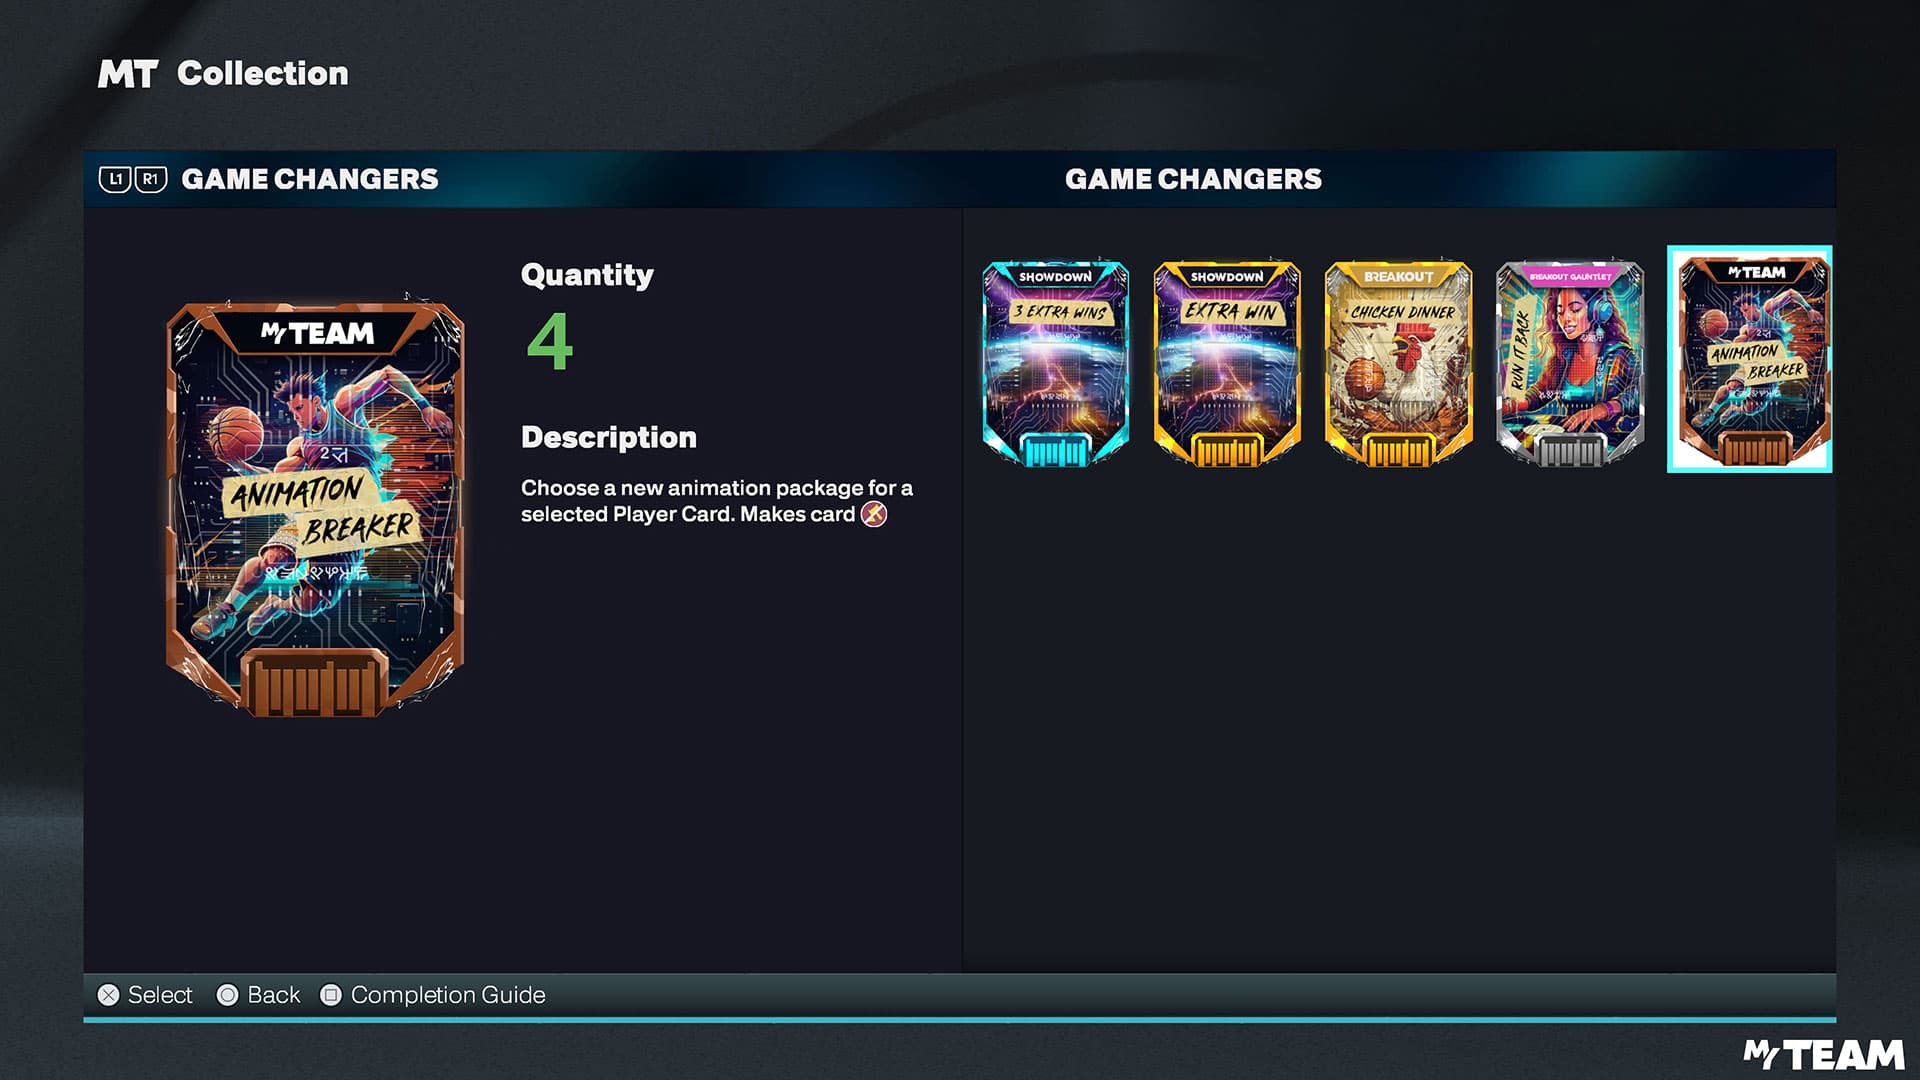
Wingspan adjustments deserve special attention in the builder. You might need to lower your wingspan to hit certain attribute targets, but this trade-off is often worth it for reaching key animation thresholds. The builder's all-new Animation Glossary is not decorative. Animation thresholds are the specific attribute points where your player stops using one set of animations and starts using a better one. These are not signature animations you can purchase; they are the core movements of your player, baked into your build from the start. Falling short of a dribble package or layup threshold by two or three attribute points is a silent build killer. Cross-reference the Animation Glossary before finalizing any build.
Do-Not-Buy-Yet List
Before spending a single VC beyond what the builder requires, internalize this short list of early purchases that consistently waste progression:
- Cosmetics (jerseys, shoes, accessories): zero badge value, zero rating value. Buy after your build is validated online.
- Animations purchased above your current attribute tier: if your ball handling does not yet unlock the package, the purchase does nothing.
- Secondary-role badges before core-role badges are at least Gold tier.
- Attribute upgrades in categories unrelated to your role's badge thresholds.
Prioritizing attributes that help unlock the badges you want most makes focused upgrades easier to hit badge milestones and optimizes your player for your grind. Avoid spreading VC across unnecessary stats and target only what will actually help your badge progression.
The Rebirth Priority: Do This Before Anything Else
The moment you load into MyCAREER, your priority should be accessing Rebirth. This system unlocks maximum badge potential and is absolutely essential for competitive play. Navigate to your Quest menu and look for the "Find Ronnie" objective. Complete this quest before focusing on anything else, because Rebirth affects your entire progression journey.
Silver Rebirth unlocks at 90 OVR and allows you to instantly unlock any newly created MyPLAYER's maximum potential to the highest overall rating you have previously reached. It permanently accelerates badge progression by 10% and automatically upgrades badges to Silver once attribute requirements are met. If you have a previous MyPLAYER above 90 OVR, this single quest shortens the climb for every future build you create.
Badge Priorities by Role
Universal badge logic applies regardless of archetype: hit the attribute threshold that unlocks each target badge, then allocate points there before anywhere else. Role-specific priorities break down as follows:
For slashers, Contact Finisher and Slithery are the two badges that separate above-the-rim play from contested-miss frustration. Both require reaching specific driving layup and ball handling thresholds, so build toward those ratings first.
For shooters, Quick Draw and Volume Shooter are the core stack. Quick Draw shortens release windows, which is the difference between a makeable pull-up and a contested brick in tight online games. Volume Shooter rewards the high-frequency shot attempts that Park and REC naturally generate.
For two-way builds and dedicated defenders, Clamps and Intimidator are not finishing touches but foundational investments. In NBA 2K26 MyCAREER, adjusting quarter length and game difficulty can help maximize badge and VC earnings. Running longer quarters in offline modes generates more badge-triggering actions per session, which matters most for defensive badges that require sustained contest and steal attempts to level.
The Fastest Early Loops: Badge Points Per Minute
The concept of "start with role clarity, then grind the smallest loop that gives the largest badge/rep return" is the organizing principle for the first five hours. Not every rep source is equal, and the opportunity cost of a slow loop is real time that could have been spent on a faster one.
The highest-efficiency early loops in order:
- 2KTV: passive VC for answering in-app questions. Zero time cost once you build the daily habit.
- Gatorade Training Center: your stamina is not maxed by default and must be earned through training activities. The center offers multiple mini-games and challenges that permanently boost stamina and unlock additional body types. This is among the most time-efficient early investments because stamina directly affects how long your build performs at full speed.
- Short REC and The City events: high rep density, manageable time commitment, and the online exposure needed to identify build gaps before you commit expensive upgrades.
- Pro-tuned team practices when available: badge-specific actions in a controlled environment produce direct badge point returns with no matchmaking overhead.
Save the long MyCAREER story sessions for after your core attribute thresholds are met. Playing through the narrative at 65 overall is badge-inefficient compared to drilling short loops at 75 or 80.
Testing Before Committing
These hidden animation thresholds are the secret to making your build feel elite, and falling short by just a few attribute points can prevent you from unlocking key moves. Always double-check requirements in the animation glossary before finalizing your attributes.
Before spending VC on expensive late-build upgrades, run offline scrimmages and Pro-Am test sessions to verify shot timing, movement feel, and animation behavior. Small adjustments to weight or attribute distributions, which look minor in the builder, can produce major differences in how a build moves on the court. Community guides from Deltia's Gaming, ClutchPoints, and Games.gg publish specific badge-threshold targets and build recipes that adapt to seasonal and patch-driven meta shifts; cross-checking against those tested templates before a big VC spend is worth the fifteen minutes it takes.
The builds that reach competitive parity fastest in 2K26 are not the most expensive or the most ambitious. They are the most deliberate, built around a single clear role, protected from early cosmetic spending, and tested before upgrades are locked in. Get that foundation right in the first five hours and every hour after it compounds.
This article was produced by Prism’s automated news system from verified source data, official records, and press releases, then run through automated quality and moderation checks before publishing. The system is built and supervised by the people who set the standards it runs under. Read our full AI policy.
Did this article answer your question?