Essential Lens Checks Before Buying New or Used Mirrorless Glass
Run these checks before you hand over cash, they catch the common failures that turn a bargain into an expensive regret.

Who this is for: "Who this is for: This evergreen checklist is written for hobbyist and enthusiast mirrorless shooters considering a new lens purchase, whether you’re shopping used, buying retail, or comparing third‑party options. The checklist focuses on practical, decision‑oriented items that matter most in everyd"
A quick upfront note: I’ve bought faulty copies, swapped lenses mid-shoot, and returned one with a 14‑day window, so I’m blunt: run the checks below whether the seller is a shop or someone’s garage sale.
1. Shop from a reliable source
There’s value in buying from a seller who inspects and stands behind gear. "There’s no shortage of retailers selling second-hand lenses which is why you should be extra cautious and only buy from a reputable store that inspects and certifies their camera equipment. The seller should have put the equipment through a rigorous inspection to ensure the item you are buying is in good working order. The lens should also come with a warranty that covers parts and labor. Buying pre-owned lenses from ebay, craigslist or private seller can result in buying a subpar product." If price looks too good, factor in the lack of return window and repair cost before you click buy.
2. Inspect the physical body and mount fit
Start with the obvious but don't skip it: check for dents, loose screws, missing rubber, and a clean tripod foot. "Inspect the physical body, glass clarity, focusing/aperture mechanics, and test autofocus, sharpness, and mount fit." A play‑fit test on your camera body will catch bent mounts and electronic contact issues; mount a lens, twist it a few times, it should seat solidly without wiggle.
3. Check glass for scratches, haze, fungus, and balsam separation
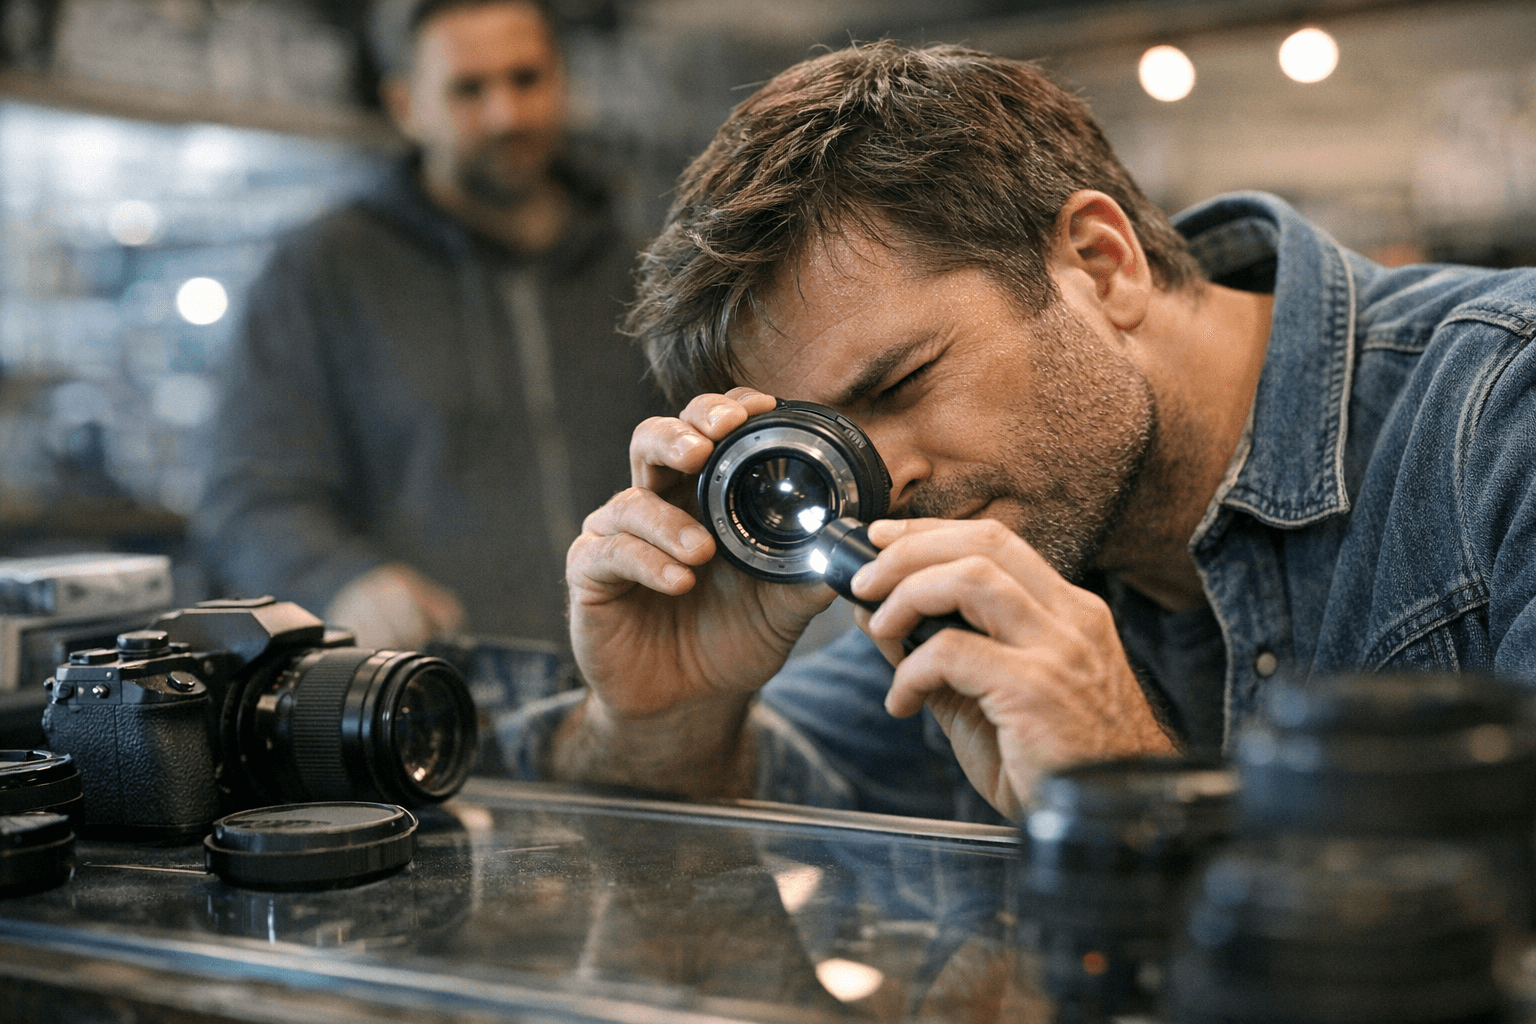
Look straight through the lens into bright light and backlight it to reveal internal issues. "Fungus, haze, balsam separation, scratched front/rear elements, and stuck focusing or aperture rings lower value most quickly." "Bring a small flashlight with you, angled beams quickly reveal scratches, haze, or fungus inside the elements." Small surface dust or light, faint scratches aren’t usually deal‑killers, but deep scars or glass separations are.
4. Inspect the focusing and zoom rings, grips, and internals
Feel is as important as sight. "You want to inspect both grips on the zoom and focus rings to make sure they are intact. Next, you’ll want to confirm the rings themselves move smoothly without grinding. However, do make sure the rings are not too loose either. If the rings are too loose, this may indicate that the lens has been dropped or that there is a lot of dust and debris in the internals of the lens. To check this, move the focusing and zoom rings around, and you can tell if there is an issue rather quickly." Also cycle the zoom and AF/MF switches, they should click positively, not flop.
5. Confirm aperture mechanics and iris consistency (do this exact test)
Use this repeatable method, it catches sticky blades that kill exposure consistency. "The following method should work for both DSLR and mirrorless cameras, even those without a depth of field preview button. Put the camera into Manual Exposure mode, select a large f‑number and a slow shutter speed (something like 2 to 4 seconds), look into the lens from the front, and press the shutter down to take a picture. Take note of the aperture’s size during exposure, and then take several pictures more. The iris should close down to the same size consistently. Any deviation in aperture size without a corresponding change to the f‑number could spell trouble for the consistency of your exposures." If the iris shows inconsistent movement you’ll get exposure and depth‑of‑field surprises in the field.
6. Check manual-focus operation on mechanical lenses
Manual‑focus lenses must feel right, smooth with full travel and no slack. "Many vintage, third-party, and special-purpose lenses are focused by manually rotating the mechanically coupled focusing ring. Since there’s no autofocus fallback, it’s essential to confirm that the focusing ring works correctly and focuses the lens. With the camera switched on and your eye on the viewfinder, rotate the focusing ring from one extreme to the other. The scene in the viewfinder should shift in and out of focus. Additionally, the focusing ring should rotate smoothly across its entire range of motion without any grit or sense of slack." If you feel gritty steps or dead spots, walk away unless the price reflects repair.
7. Confirm that autofocus works and watch for failure patterns
"## 9. Confirm that autofocus works", yes, test AF thoroughly. Exposuretherapy’s caution is worth repeating: "Unfortunately, autofocus errors can occur on both DSLR and mirrorless cameras, even on brand-new lenses. For example, the zoom lens I use to make these videos is my second copy. The first one had an autofocus so faulty that every two out of five shots were misfocused. I was lucky to notice the problem before my 14-day return period ended. Sadly, there’s no return policy when buying a used lens from someone you meet on Craigslist. So don’t be shy about carrying out a thorough inspection when buying an item that’s sold “as-is.”" Practically: mount it on a body you know, shoot burst series at a high-contrast subject at typical working distances (10–20 frames per position). If you see misses approaching the "every two out of five shots" example, that’s a red flag, mills of missed frames are not “quirky,” they’re costly.
8. Test sharpness, bokeh, and focal-length behavior in the real world
"Shoot at different apertures and angles, backlight the lens to spot haze, and feel for stiff or rough movements." Don’t rely on one sample frame: compare shots wide open, stopped down one or two stops, and at different focal lengths for zooms. "Yes, provided you test systematically with good lighting and compare sharpness at various apertures and focal lengths." Also consider subjective character: "I once borrowed an older 50mm manual focus lens during a documentary shoot. Side by side with a brand-new modern equivalent, the vintage lens delivered a softer, cinematic bokeh that looked richer on portraits. That day taught me 'old' doesn’t mean 'outclassed.'"
9. Does the optical image stabilization work? (don’t skip it)
Exposuretherapy flags this explicitly: "## 13. Does the optical image stabilization work? [...]" Treat OIS as a functional system, switch stabilization on and off, then take handheld shots at slower shutter speeds (around 1/(focal length) or slower) to compare. If OIS produces blurred halves or mechanical clunks, it’s not just a cosmetic fault; repairs are expensive and common on stabilized lenses.
10. Know the common defects that drop value and how to price them
Keep this list in mind when you haggle: "Fungus, haze, balsam separation, scratched front/rear elements, and stuck focusing or aperture rings lower value most quickly." Small, faint scratches are survivable: "Also, look for scratches on the front element and rear elements of the lens. Small faint scratches are not a deal killer, but anything that has left a scar or crevices in the glass is a deal killer." Price accordingly, a lens with minor dust is different from one with balsam separation.
11. Price, replacement strategy, and the wallet math
If you’re switching systems, Samys’ reasoning nails it: "Buying lenses at almost half the retail price will make the transition a lot easier on the wallet!" Factor repair costs and the chance you’ll sell the lens later. If a reputable shop offers certification and a parts-and-labor warranty, that warranty can be worth a noticeable premium versus private‑party risk.
- "Bring a small flashlight with you, angled beams quickly reveal scratches, haze, or fungus inside the elements."
- Bring your camera body, memory card, lens caps, and a test target or chart if you want to be meticulous.
12. Quick tools to bring and odd web crumbs I saw while researching
Also, you may encounter listings UI like these while browsing classifieds: "Have an account? Log in to check out faster." "Analog cameras - Dutch|Thrift" "Camera Lenses - Dutch|Thrift" "Digital cameras - Dutch|Thrift" "Photography accessories - Dutch|Thrift" "Video Cameras - Dutch|Thrift" "All Other electronics - Dutch|Thrift"
Final word Run the checks in order, carry a flashlight, mount the lens on a known-good body, and don’t be seduced by a low price when the mechanics or glass fail inspection. If a seller can’t let you test a lens properly or won’t warranty their work, treat the price as a reflection of unseen defects, buying used can save you a fortune, but only when you do the homework first.
Know something we missed? Have a correction or additional information?
Submit a Tip

