How to Capture Better Bird Photos: Gear, Settings, and Field Techniques
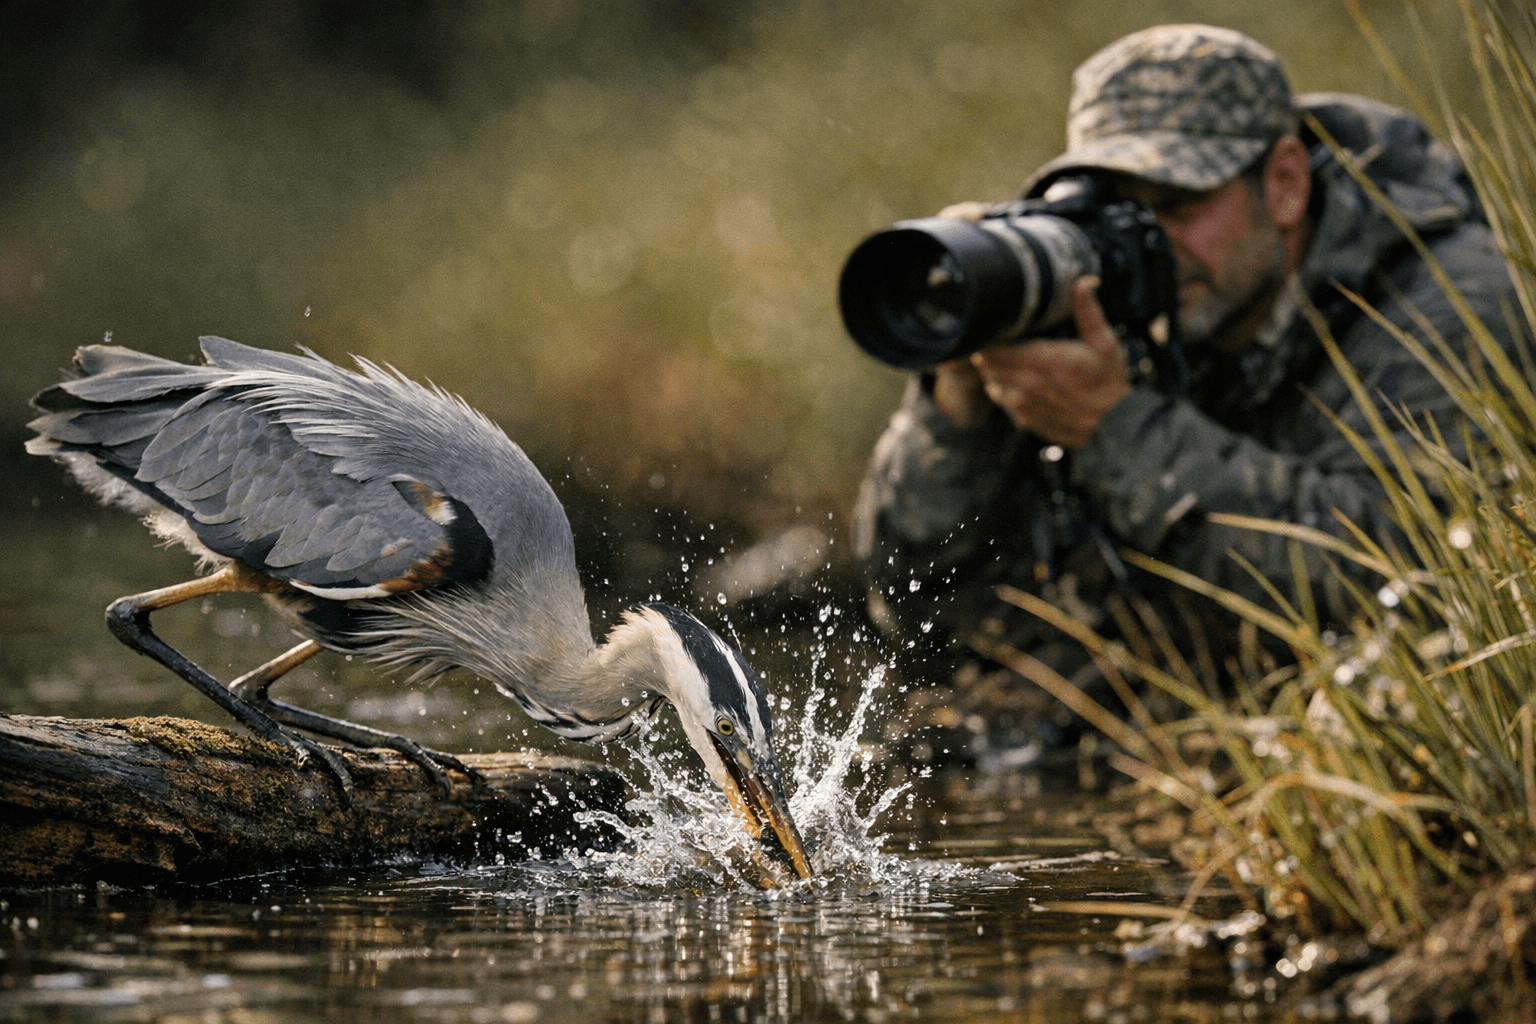
Freezing a heron mid-strike takes more than fast glass: the right AF mode, a pre-focused perch, and knowing when NOT to move matter just as much as focal length.

Getting sharp, compelling bird photos is one of photography's most demanding disciplines. The subjects are fast, unpredictable, and rarely interested in your composition. But the photographers who consistently come home with keepers aren't just lucky; they've built a system around the right gear, dialed-in settings, and hard-won field knowledge. Here's what that system actually looks like.
Getting the Right Reach
Focal length is the first, non-negotiable variable in bird photography. For small passerines, sparrows, warblers, and the like, you need at least 300mm equivalent just to fill the frame from a reasonable distance. For open-field shooting, shorebirds, or any situation where approach is limited, 400 to 600mm is the practical standard. That sounds expensive, and it can be; but one of the smartest moves for anyone starting out is to buy used telephoto glass. A second-hand 500mm f/4 or a used 100-500mm zoom will deliver the reach you need at a fraction of new pricing, and birds don't care what year your lens was manufactured.
If budget or portability is a concern, two tools stretch your existing glass considerably. Cropped-sensor bodies give you a free 1.5x or 1.6x multiplier without any optical penalty, turning a 400mm lens into a 600mm equivalent. Teleconverters add reach optically, though you pay in maximum aperture and, with some combinations, autofocus speed. A 1.4x converter is usually the sweet spot: meaningful extra reach with minimal AF degradation on modern fast lenses.
On aperture: f/2.8 telephoto zooms are tempting because of their low-light capability, but the tradeoff is depth of field. At close distances with a fast aperture, it's entirely possible to nail focus on a bird's eye while the bill goes soft. Stopping down to f/5.6 or f/8 often produces cleaner results with birds in motion, and the smaller aperture keeps your shutter speed math manageable. Lens stabilization matters here too; in-lens or in-body stabilization lets you handhold in marginal light without sacrificing shutter speed to compensate for camera shake.
Autofocus and Exposure Settings
Bird photography is where your camera's AF system earns its keep. Use continuous AF (Canon calls it AI Servo, Nikon calls it AF-C) any time a bird is moving or likely to move. Modern subject-tracking modes, especially eye-detect AF, have transformed keeper rates for in-flight shots; if your system has it, use it. The main variable to tune is your AF zone: a wider zone helps pick up birds entering the frame, while a narrower central zone gives more precise control when you're tracking a single bird against a busy background.
Shutter speed is the other critical lever. To freeze wing motion cleanly, 1/1000s is a floor for most species in flight; a hummingbird's wings or a tern in a dive might demand 1/2000s or faster to eliminate motion blur. In practice, this means shooting in Shutter Priority or Manual mode and letting ISO float to compensate. Modern sensors handle ISO 3200 to 6400 well enough that exposing for sharpness and cleaning up noise in post is almost always the better trade-off versus a blurry wing at base ISO.
Burst mode is your probability machine. A bird landing, a raptor striking, a wading bird spearing a fish; these moments last fractions of a second. Shooting at your camera's highest burst rate during those moments, rather than trying to time a single frame, dramatically improves the chance of nailing the decisive split-second. Just budget time for the cull afterwards.
Fieldcraft and Composition
Gear is half the equation. The other half is positioning yourself to actually see what you want to photograph, and that requires patience and bird behavioral knowledge more than any piece of equipment.
Golden hour light, the hour after sunrise and before sunset, does two things simultaneously: it bathes subjects in warm directional light that sculpts feather detail, and it coincides with peak bird activity. Feeding, preening, singing, territorial displays; all of these behaviors concentrate in the early morning hours and reward photographers who show up before the light gets harsh.
Pre-focusing on perches is an underrated tactic. If you spot a fence post, branch tip, or rock that a bird has used before, set up and pre-focus there. When the bird lands, you're already ahead of your AF system; a quick burst the moment it settles gives you frames that would take seconds to acquire cold.
Low angles change everything. Shooting from eye level with a small songbird, literally lying in the grass or resting your lens on a bag at ground level, produces a perspective that feels intimate rather than documentary. It also throws the background further out of focus by reducing the angle to it, which simplifies busy scenes naturally.
Speaking of backgrounds: before pressing the shutter, scan what's behind your subject. A bright sky behind a dark-plumaged duck or a cluttered reed bed behind a heron can make or break an otherwise technically sound image. Repositioning even a few feet left or right often trades a distracting background for a clean one.
Natural hides and blinds are worth the setup time at productive locations. Birds habituate to permanent structures faster than to a person standing in the open. Even a simple pop-up blind, or a car window with a bean bag mount, dramatically reduces the flush distance and lets you work a single spot for extended periods.
Ethics and Conservation
Every piece of fieldcraft exists inside a non-negotiable ethical framework. The first principle is simple: use a longer lens rather than closing distance. Approaching too close flushes birds from nests, triggers energy-expensive escape flights, and stresses breeding birds at the worst possible time. The photograph is never worth it.
Respect protected areas and seasonal restrictions without exception. Restricted zones exist because ground-nesting birds, colonial nesting seabirds, and sensitive migratory stopover sites are genuinely vulnerable to disturbance. These rules aren't bureaucratic obstacles; they're the mechanism by which good habitat stays good habitat, for your use and for future photographers.
The broader point is that bird photography's long-term viability depends on birding communities and wildlife managers trusting the people who carry cameras. A reputation for responsible behavior protects access; a reputation for flushing rare species for the shot closes it.
Putting It Together
The gap between occasional bird snapshots and consistent portfolio-quality shots closes faster than most people expect once the system is in place. Start with used telephoto glass in the 300-500mm range, build your AF habits around continuous tracking modes, and commit to the field discipline of early mornings, low angles, and patient waiting. Layer behavioral knowledge on top of that technical foundation, know what a bird is likely to do next, and you'll find yourself in position for the decisive moments rather than reacting to them after the fact. That's the whole game.
This article was produced by Prism’s automated news system from verified source data, official records, and press releases, then run through automated quality and moderation checks before publishing. The system is built and supervised by the people who set the standards it runs under. Read our full AI policy.
Did this article answer your question?


