Sailrite Kits Let DIY Sailors Build Small Sails in a Weekend
Sailrite's pre-cut sail kits ship with CAD-plotted Dacron panels and every notions needed, so any sailor who can thread a machine can finish a working small sail in a single weekend.
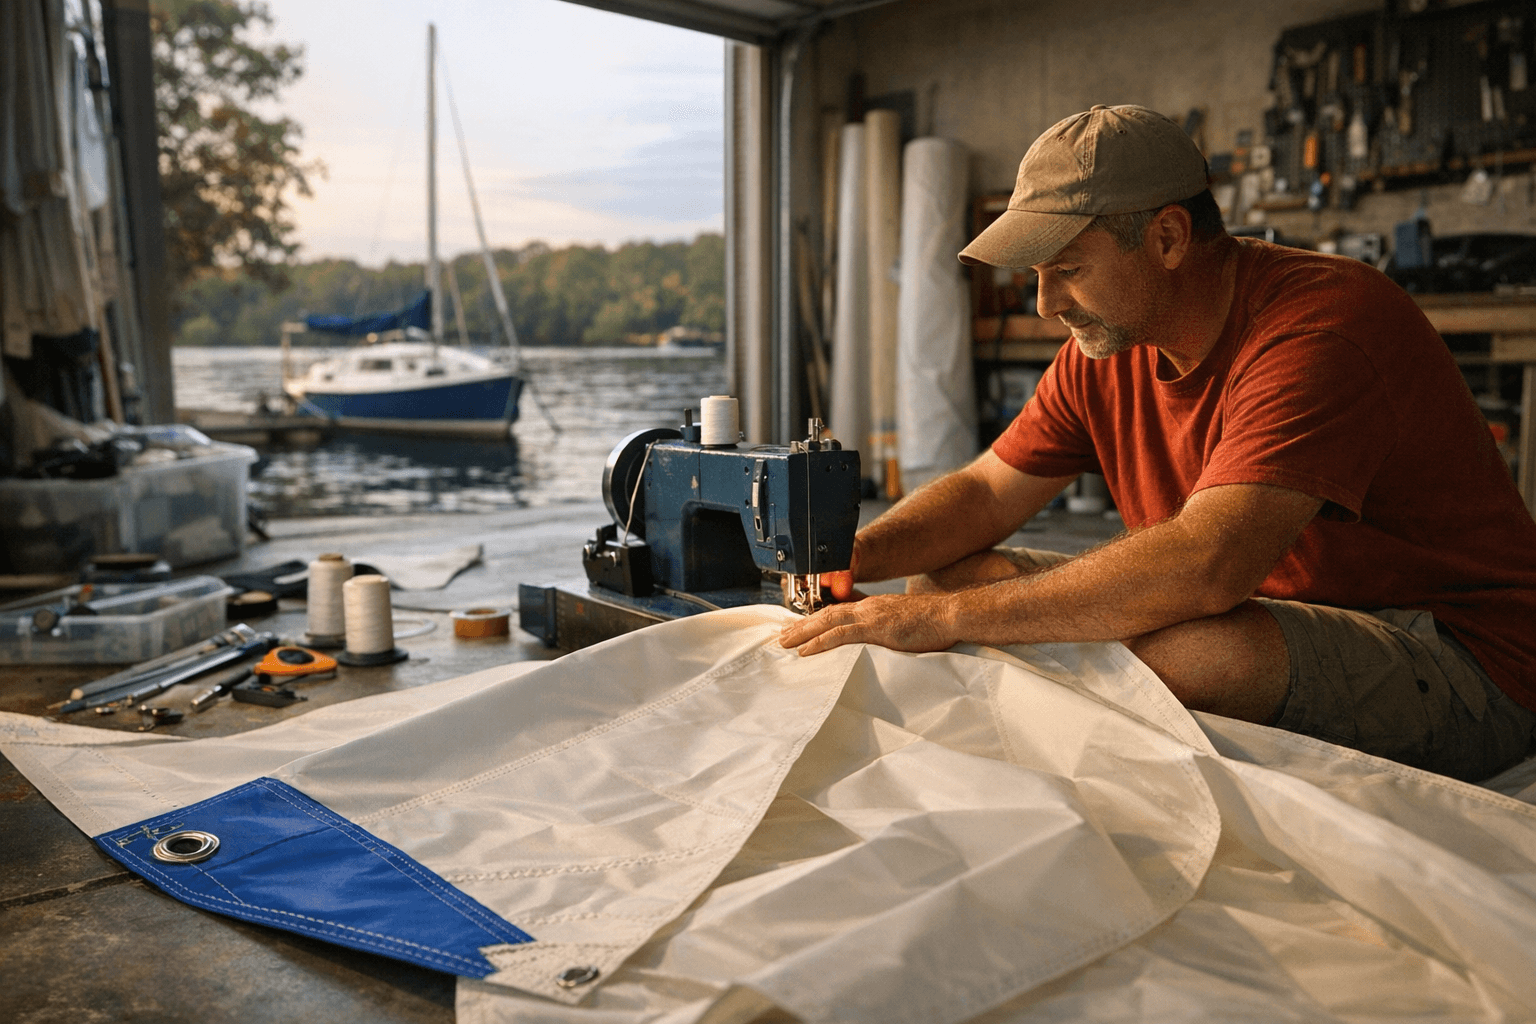
Skip a trip to the sailmaker and start the machine instead. That's the straightforward pitch behind Sailrite's DIY sail kits, and for a growing number of small-boat owners and cruisers in refit mode, it holds up. The kits don't ask you to draft panels from scratch or hunt down obscure hardware. Everything from the sailcloth to the spur grommets arrives measured, cut, and labeled, which means the weekend project you've been putting off is mostly a question of whether you're willing to sit down at the machine and follow the lines already plotted on the cloth.
Sailrite has been in this business for more than 50 years. The Indiana-based company is family-owned and has spent those decades building what is essentially the reference library for DIY marine canvas and sail construction. Their sail kits are the most visible part of that catalog, but they sit inside a much larger ecosystem of video tutorials, tool guides, and learning resources that function as a complete curriculum for anyone who wants to move past basic repairs and actually build something seaworthy.
What the Kit Actually Contains
The kits are designed around one central idea: eliminate every obstacle that causes a first-time builder to stall. Sailrite's sail designer Jeff Frank plots seaming and hemming lines directly onto each panel before it ships, so you're not measuring and marking on a kitchen floor with a tape measure and chalk line. All panels arrive precut, labeled, and numbered. Corner patches and reef reinforcements come cut and pre-grouped. Double-sided basting tape is included to hold assemblies together before you run them under the needle, which is the same technique professional lofts use to keep panels aligned during construction.
A concrete example of what this looks like in practice: Sailrite's Nutshell Pram lugsail kit, designed for Joel White's 7-foot 7-inch pram, contains nine pages of step-by-step instructions, five precut sail panels, and six sets of corner and reef reinforcements, all cut from 4-oz white Dacron. The kit includes telltales, spur grommets, and a row of reef points already accounted for in the pattern. Small Boats Monthly built one of these kits and described the result as a success with a sail that set correctly and performed as designed. That 37-square-foot lugsail is representative of the kit range's entry level: small enough to be manageable on a dining table, complete enough to actually sail.
The Machine Question
One of the most common points of hesitation for new kit builders is the sewing machine. Sailrite sells its own Ultrafeed LSZ, a portable walking-foot machine assembled and tested by hand at their Indiana facility, capable of sewing both straight and zigzag stitches through thick canvas and multi-layer Dacron assemblies. It's the machine Sailrite recommends because walking-foot feed handles heavy layered material without the slipping and bunching that defeats standard home sewing machines on marine fabric.
That said, the kits are designed to work with what you have. Sailrite's learning center explicitly addresses the difference between zigzag and straight-stitch construction, and their instructions include guidance for builders who only have access to a straight-stitch home machine. One row of zigzag or two rows of straight stitch are both acceptable seam constructions for the corner patch work on most small kits. For builders who don't own a capable machine and aren't ready to buy one, Sailrite suggests checking for local canvas or upholstery shops that rent machine time, which is a practical way to run a one-off kit without committing to equipment.
If you do decide to invest in a machine, the Ultrafeed LSZ is worth serious consideration. It handles not just sails but dodgers, sail covers, bags, and any canvas project you'll encounter during a refit or cruise season, making it a tool that earns its keep across multiple projects.
Building a Learning Track, Not Just a Sail
The most important framing Sailrite applies to its kit system is the idea of a learning track. The company is explicit that a mainsail cover or a foredeck bag is the right first project, not a working headsail. The forgiving part of a sail cover is that it doesn't need to hold shape under load the way a working sail does, so the margin for imperfect seam allowances or slightly uneven grommet placement is wider. Mastering those skills on a low-stakes project before you attempt a functional headsail is the difference between a sail that performs and a sail that's embarrassing to hoist.
The progression looks roughly like this:
1. Start with a mainsail cover or simple bag to learn seam technique, machine settings, and grommet setting on real sailcloth.
2. Move to a small working sail, such as an anchor rode bag or a riding sail, where fit matters but loads are modest.
3. Attempt a headsail or small dinghy mainsail once seam quality and reinforcement technique are consistent.
4. Approach larger sails only after completing at least one full kit at the previous level.
A WoodenBoat forum builder who worked through a Sailrite kit with a partner described the experience plainly: the project stalled through procrastination until they tackled it together, and "then it took a weekend." That compression of effort into a focused build session is exactly how the kits are designed to work.
Five Habits That Separate Good Builds from Problem Ones
Beyond the kit contents and machine choice, Sailrite's process guidance points to a handful of habits that consistently separate clean, durable results from frustrating ones.
- Measure carefully before ordering. Return policies on custom-cut kits are limited, and a kit ordered for the wrong luff length doesn't become the right kit with clever modifications.
- Choose a practice project first. The mainsail cover recommendation isn't just marketing; it reflects genuine skill sequencing.
- Test stitch patterns and tension on scrap Dacron before working the actual panels. Thread tension that works on a thin test strip may need adjustment for a five-layer corner patch.
- Learn to set grommets properly. Spur grommets set with the right setter tool hold cleanly; ones installed with improvised tools back out under load.
- Use the video content. Sailrite's learning center includes foot-by-foot demonstrations of broadseaming, panel alignment, and reinforcement techniques that no written instruction can fully convey.
The Actual Value Proposition
The cost math on DIY sailmaking is real but sometimes overstated. A Sailrite kit isn't always dramatically cheaper than a finished sail from a discount loft, particularly once you factor in the cost of a capable sewing machine. The genuine return on investment is something different: the ability to make competent on-the-water repairs, build replacement sails during a refit rather than waiting on a loft's schedule, and develop the working knowledge of how your sails are actually constructed. A sailor who has built a headsail from Dacron panels understands where load concentrates, why reinforcement patches are placed where they are, and what a failing seam looks like before it becomes a blown sail offshore.
That knowledge is what the kit system is really selling. The sail is the output; the capability is what stays with you.
This article was produced by Prism’s automated news system from verified source data, official records, and press releases, then run through automated quality and moderation checks before publishing. The system is built and supervised by the people who set the standards it runs under. Read our full AI policy.
Did this article answer your question?


