Mirlandra Neuneker Shares Expert Tips for Feeding and Maintaining Sourdough Starter
Mirlandra Neuneker breaks down sourdough starter care into ratios, timings, and fixes that actually work.
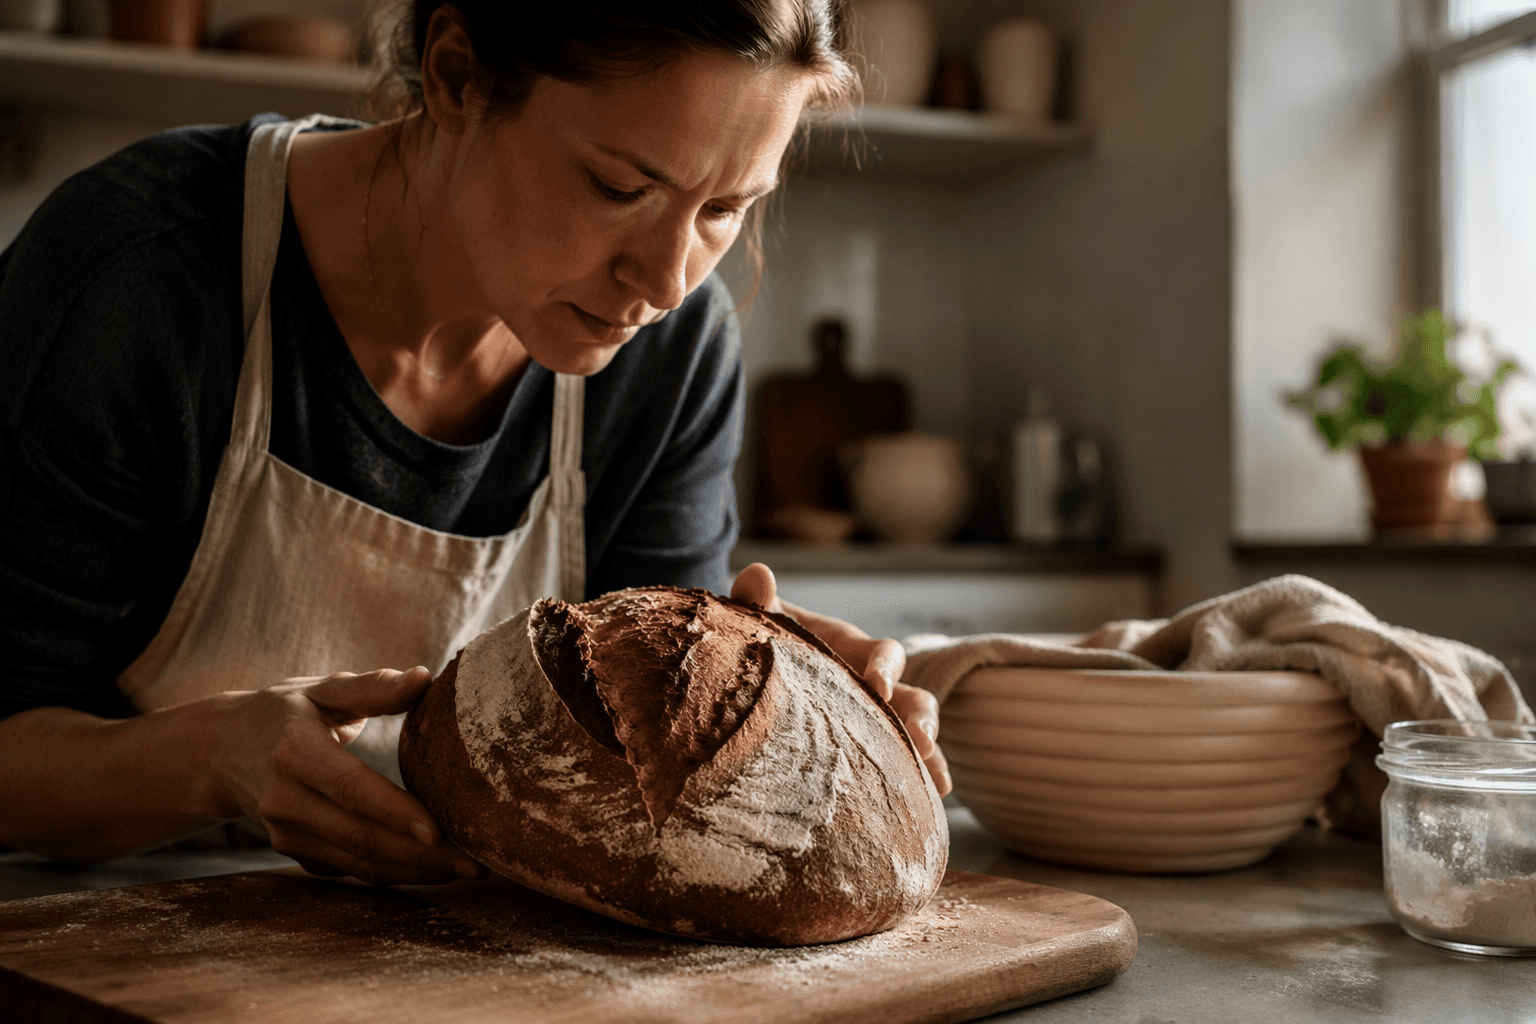
Keeping a sourdough starter alive and active is one of those skills that sounds simple until you're staring at a jar of flat, grey-tinged gloop wondering where you went wrong. Mirlandra Neuneker, home-baking author and the voice behind Mirlandra's Kitchen, has spent serious time in this territory, and her practical approach to feeding, storing, and troubleshooting a starter cuts through the mysticism that tends to surround sourdough culture care.
Getting the ratios right
The feeding ratio is the foundation everything else is built on. Neuneker's guidance centers on understanding the relationship between starter, flour, and water by weight, not volume. A common starting point is a 1:1:1 ratio, meaning equal parts existing starter, fresh flour, and water, but that's not a universal prescription. If your starter is sluggish or you're building up to a big bake, shifting to a 1:2:2 or even 1:5:5 ratio gives the yeast and bacteria more food to work through, which encourages a stronger, more predictable rise.
The type of flour matters here too. Whole wheat and rye flours contain more wild yeast nutrients than white bread flour, so even a small percentage of either mixed into your feeding flour can accelerate activity in a starter that's gone quiet. Neuneker is specific about this: if your starter isn't doubling reliably, the fix is often in the flour, not the frequency of feeding.
Timing your feeds
Knowing when to feed is just as important as knowing what to feed. The peak activity window, the point at which your starter has doubled or more and still has a dome rather than a collapsed top, is when it's at maximum strength for baking. Missing that window and feeding a starter that has already peaked and fallen means you're working with a culture that has exhausted its food supply, which pushes the overall ecosystem toward more acetic acid production and a sharper, more sour flavor profile.
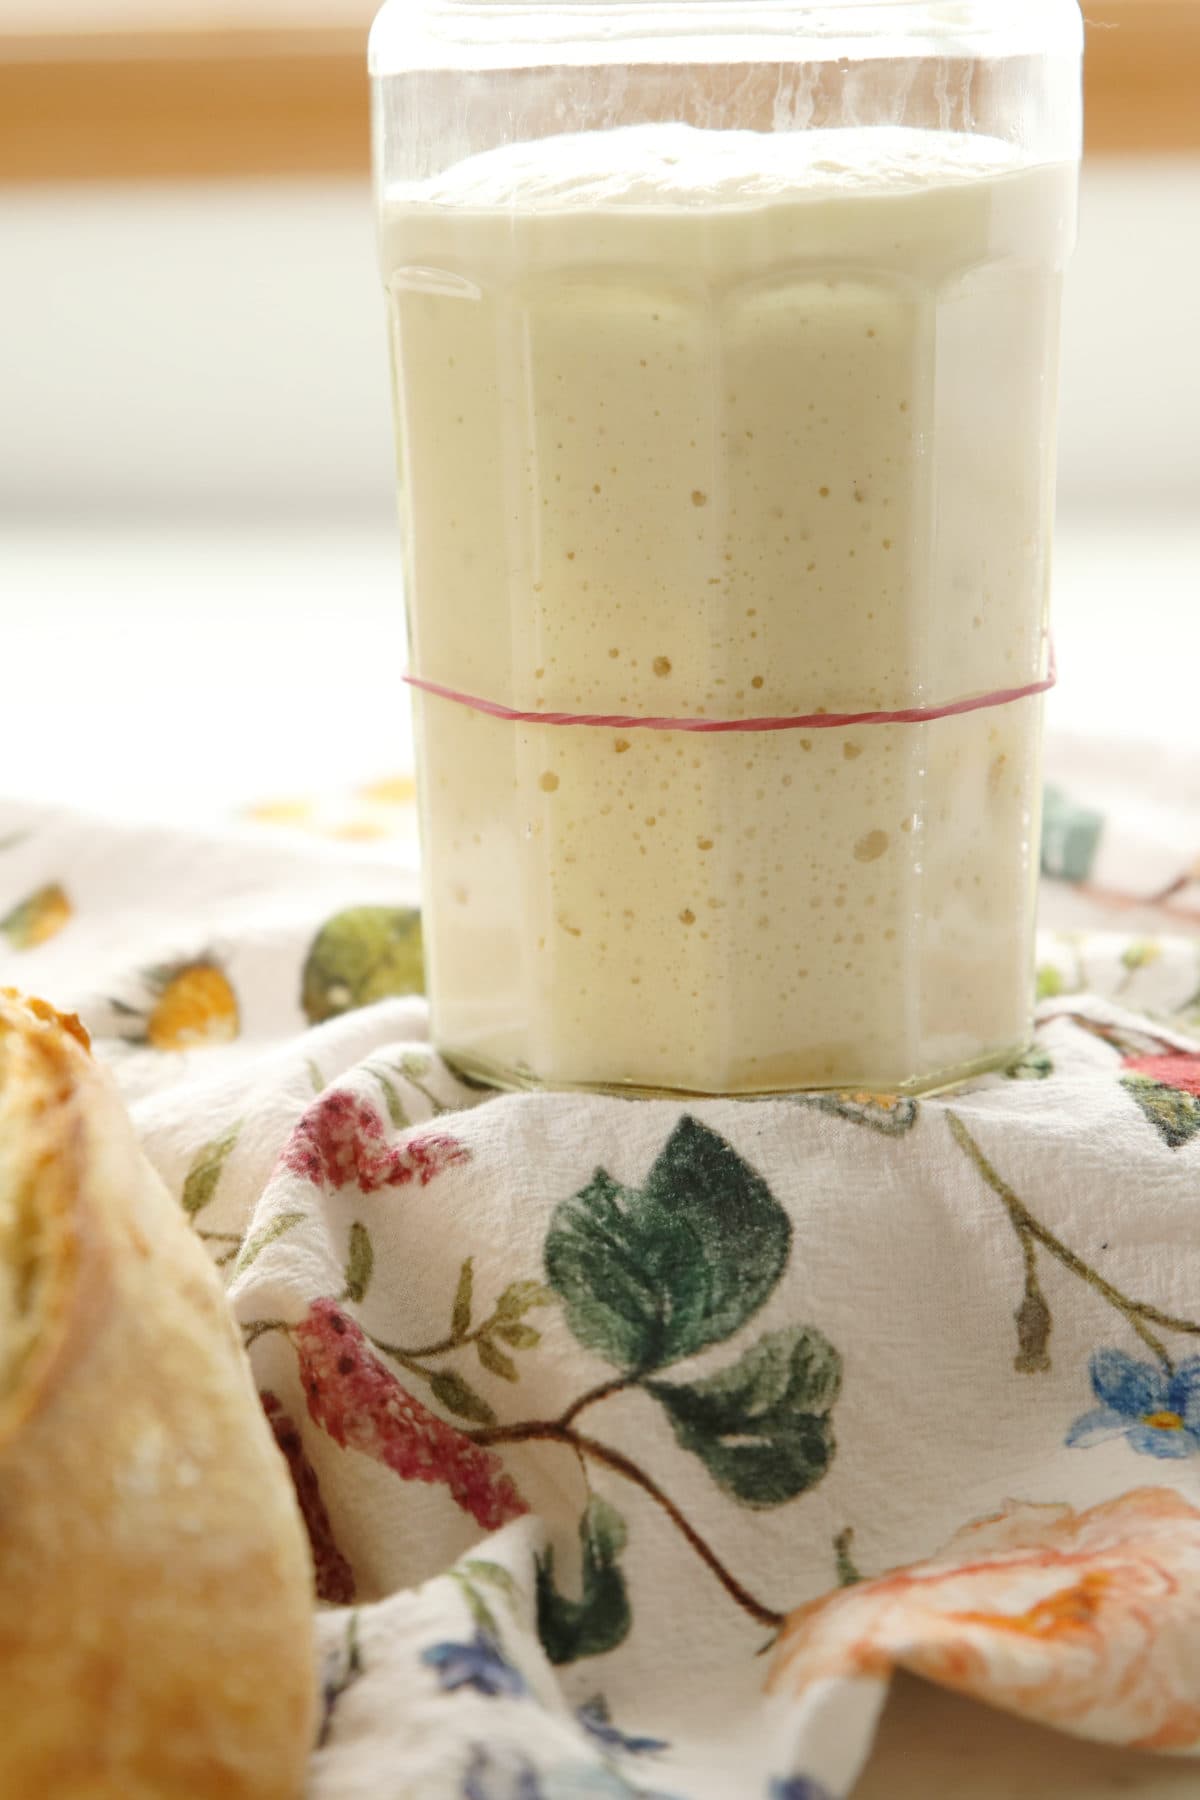
For bakers maintaining a starter at room temperature, once or twice daily feeding is typically necessary depending on ambient warmth. A kitchen running at 75 to 78 degrees Fahrenheit will drive fermentation faster than one sitting at 68 degrees, so there's no single clock-based schedule that works everywhere. Neuneker's approach is to read the starter rather than watch the clock: the float test, the dome, the aroma, and the bubble structure all give you more reliable information than a timer.
Storing your starter
Not every baker wants to commit to daily feedings, and that's where refrigerator storage becomes practical. A starter stored cold slows down dramatically but doesn't die; the cold suppresses yeast activity and keeps the culture in a kind of metabolic low gear. Neuneker recommends feeding before refrigerating so the culture goes in with fresh food, and then pulling it out at least a day before you plan to bake to give it time to wake up and rebuild strength.
Long-term storage is a different matter. If you're going away or just taking a break from baking, a dried starter is essentially indestructible. Spread a thin layer of active starter on parchment, let it dry completely at room temperature, then crumble it into flakes and store in an airtight container. Rehydrating months later is straightforward: mix the flakes with water, feed with fresh flour, and give it a few cycles to regain full activity.
Troubleshooting common problems
This is where a lot of sourdough guides go vague, but Neuneker gets specific. A few of the most common issues and what's actually happening:
- Hooch (the grey or dark liquid that pools on top) is not a sign your starter is dying. It's alcohol produced when the culture runs out of food. Stir it back in for a more sour flavor or pour it off for a milder result, then feed immediately.
- A pink or orange streak through the starter means contamination and the batch should be discarded. That color is bacterial, not yeast-related, and you don't want to bake with it.
- A starter that smells like acetone or nail polish remover is over-fermented and needs a reset: discard down to a small amount and do several consistent feedings with a higher flour ratio until the smell normalizes to something yeasty and pleasantly sour.
- Slow or absent rise is almost always a temperature or flour issue before it's anything else. Putting the jar in a slightly warmer spot, like on top of the refrigerator or inside an oven with just the light on, can make a visible difference within a single feeding cycle.
Discard: don't throw it away
One practical note that Neuneker emphasizes is the value of starter discard. Every time you feed your starter, you remove a portion before adding fresh flour and water. That discarded starter isn't waste; it's an active culture that works beautifully in pancakes, crackers, flatbreads, and quick breads. Using discard regularly also keeps the overall volume of your starter manageable so you're not drowning in it by the end of the week.
Building a consistent routine
The real lesson running through Neuneker's guidance is that consistency beats perfection. A starter fed at roughly the same time each day, with roughly the same ratio, in roughly the same temperature conditions, will become predictable. You'll start to recognize its smell at peak activity, the way the bubbles look when it's ready, and how long it takes to rise in your specific kitchen. That accumulated observation is what separates a baker who struggles to get a reliable loaf from one who bakes confidently without consulting a recipe at every step.
Sourdough starter care has a reputation for being fussy, and it can be if you're working against the culture's natural rhythms. Neuneker's practical framework, grounded in ratios, temperature awareness, and honest troubleshooting, is the kind of guidance that turns an intimidating process into a manageable weekly habit.
This article was produced by Prism’s automated news system from verified source data, official records, and press releases, then run through automated quality and moderation checks before publishing. The system is built and supervised by the people who set the standards it runs under. Read our full AI policy.
Did this article answer your question?