Painting Imperial Knights and Defilers, a Step-by-Step Workflow Guide
Big models punish bad planning and reward good habits. Here's the exact workflow, from sprue to tabletop, for Imperial Knights and Defilers.
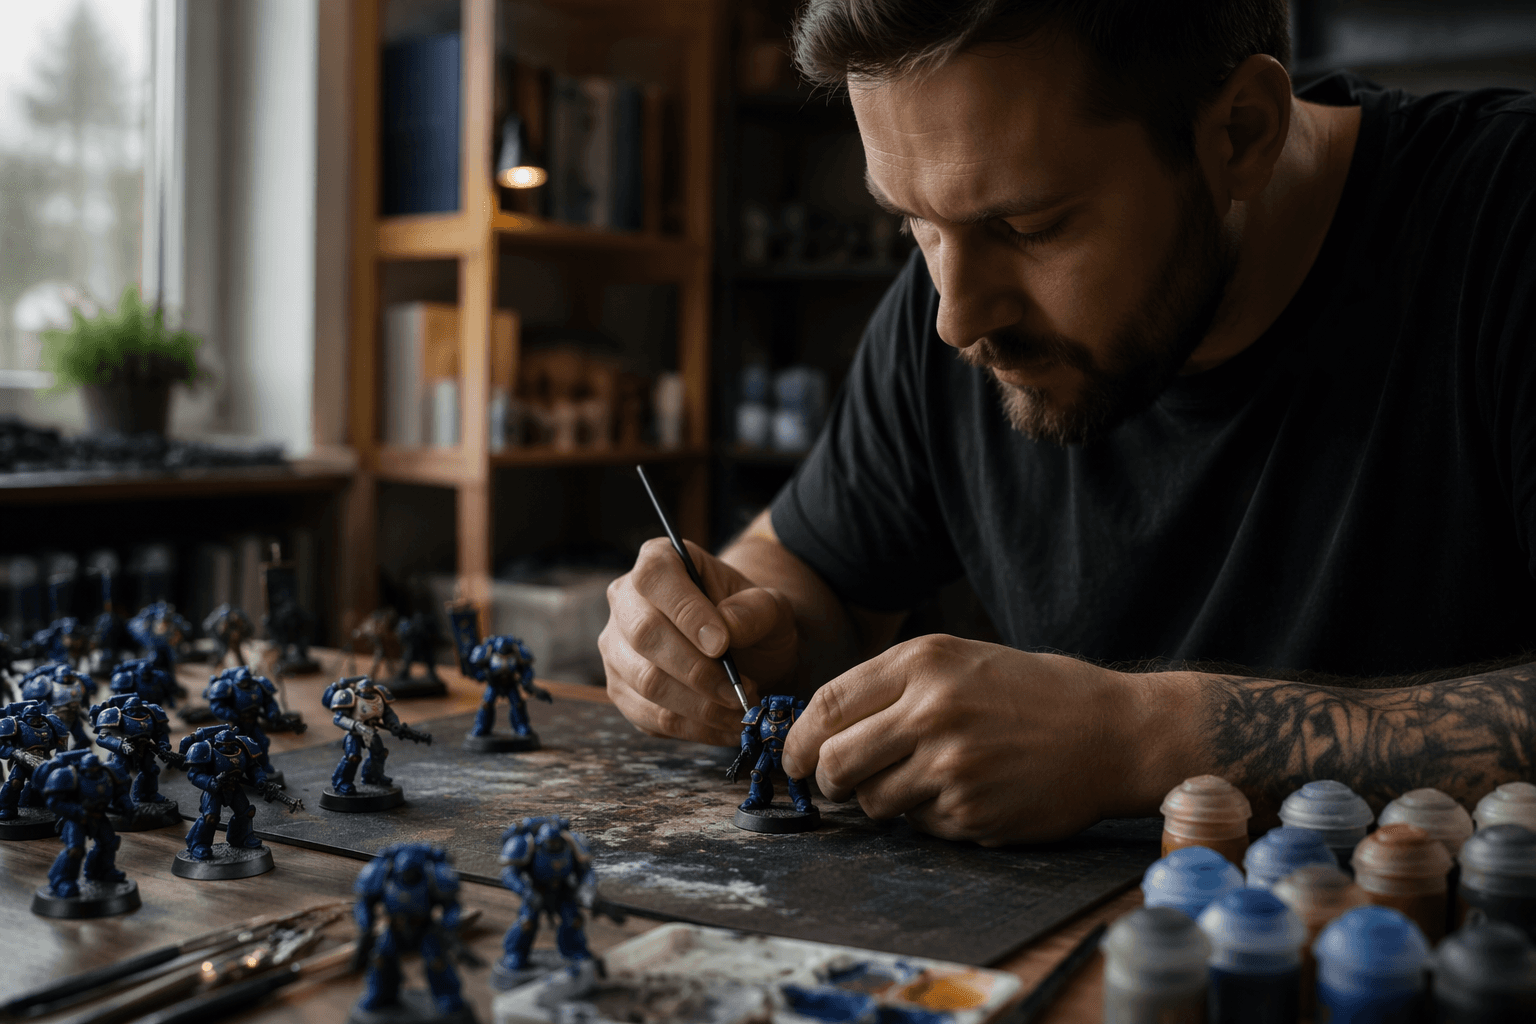
Painting a Knight or a Defiler is not just a bigger version of painting a Space Marine. The surface area alone changes everything: brush strokes that look fine on a boot look sloppy across a carapace panel; a wash that settles perfectly in an infantry model's recesses can pool badly across a Knight's broad armour plates. Get the workflow right from the start, and these models become some of the most satisfying projects in the hobby. Get it wrong, and you're eight hours in with a streaky mess that's hard to fix without stripping.
This guide walks through every phase of the process, from the first test-fit to the final varnish coat, with specific techniques for both Imperial Knights and Defilers.
Step 1: Planning and Sub-Assembly
Before a drop of glue or paint touches the model, do a full test-fit and sort the parts into logical sub-assemblies: legs and feet, torso, carapace and pauldrons, weapons, and cockpit. For a Knight, seriously consider magnetising the torso joints and weapon hardpoints. It adds an hour of prep time but opens up the whole model for easier brush access during painting, and it gives you loadout flexibility on the tabletop permanently. For a Defiler, the priority is separating the limbs and any rotating weapons, since those joints become nearly impossible to paint neatly once the model is fully assembled.
Once you've sorted your sub-assemblies, photograph the model from multiple angles before anything is glued. These reference shots are invaluable later when you're trying to remember which direction a hydraulic line runs or where a rivet cluster sits under a weapon mount. Label parts with sticky notes and take a phone photo of the sprue orientation so reassembly stays consistent. Decide early which sections will be masked or painted completely separately: cockpit interiors, lens elements, and any detailed heraldry all benefit from being handled in isolation before the final build-up.
Step 2: Preparation and Priming
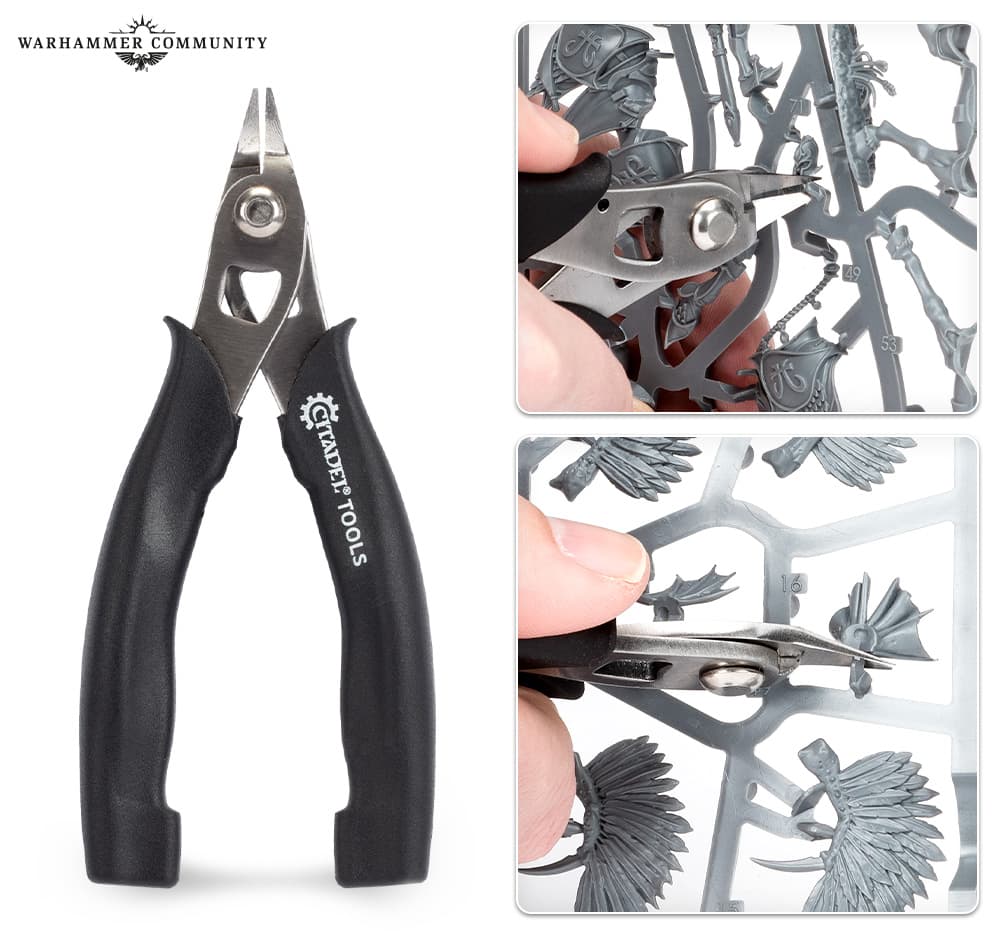
Large models have a lot of mould lines, and many of them hide in places you won't notice until the primer reveals them. Go over every surface with a hobby knife and sanding sticks before touching the glue. For plastic-to-plastic joins where you want a slight amount of flex, Tamiya Extra Thin Cement is the right tool. For any resin or metal components, use super glue.
Primer choice shapes every stage that follows. Black undercoat is the traditional choice for metallics and dark schemes; it handles deep shadows automatically and forgives thin coverage. Grey is the neutral option, easiest to paint over in either direction. White is ideal if you're running bright colours, but it punishes uneven basecoating since every thin patch shows. For Knights specifically, a two-stage approach works extremely well: prime grey overall, then hit the model with a lighter zenithal spray from above. That built-in shading gives you a head start on the depth that large flat panels desperately need.
Step 3: Base-Coating and Large-Area Colours
Use a large filbert or flat brush for the first basecoats, or break out the airbrush if you have one. On a Knight's carapace or a Defiler's casing, airbrushing isn't just faster; it produces smoother gradients that are genuinely difficult to replicate with a brush at that scale. Regardless of method, apply two thin coats rather than one thick one. A thick coat fills recesses and obscures fine detail that you'll want visible for the wash stage.
For metallic components, start with a mid-tone metallic across the whole area, then glaze or wash a darker tone into the recesses. This keeps the reflectivity of the metal while building depth that a flat metallic coat can't achieve on its own. Hold off on gems, skulls, lens elements, and wiring entirely at this stage; that work belongs to a fine detail brush much later. If you're planning complex heraldry, block in the base colours now and treat decal placement or hand-painting as a separate session once the core scheme is locked in.
Step 4: Shading, Edge Highlights, and Weathering
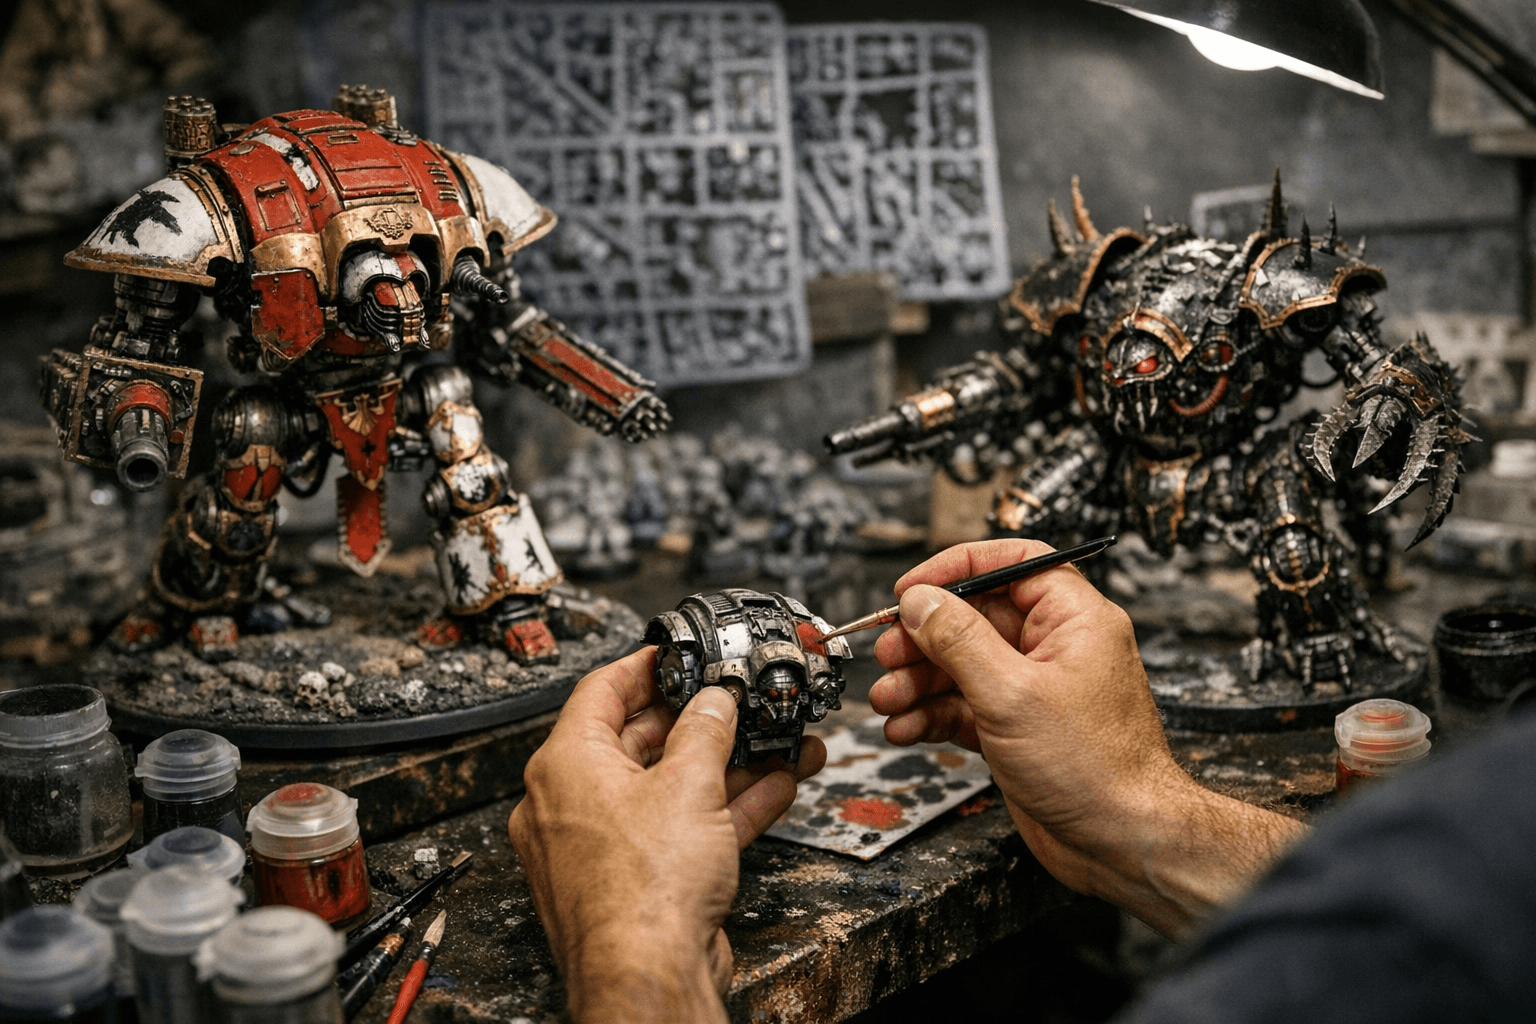
Apply washes deliberately rather than over the whole model at once. Target panel lines and the areas immediately around rivets; this keeps the highlights clean while adding depth exactly where it reads best. For chipping, use a small piece of blister foam or a stipple brush to dab on a darker underchip colour first, then come back with a metallic or lighter tone on the exposed edge. The two-layer chip is what separates convincing battle damage from a smear of silver.
After washing and chipping, lightly drybrush raised edges with a tone lighter than your base colour to pick out the geometry. Then edge highlight by hand with a small flat or 0/1 detail brush loaded with a lighter version of the base colour. On a Knight, pay specific attention to mechanical edges and hydraulic lines; those are the structural storytelling details that read across a game table. On a Defiler, rust streaks and oil stains placed near the joints and weapon mounts are the most important weathering decisions: that model is supposed to look like a daemon engine that's been running too long on too little maintenance.
Step 5: Decals, Transfers, and Final Detailing
Always apply decals over a gloss varnish coat. The smooth surface eliminates the silvering effect that wrecks transfers on a matte finish and makes the decal conform tightly to the surface. Once dry and sealed, apply thin glaze layers over the decal edges to blend the printed colours into the surrounding paint. If the heraldry needs to look worn rather than fresh, hit it with a targeted wash the same way you'd weather the armour underneath it.
For lenses and energy elements, paint the brightest point at the centre and work outward with progressively darker glazes to simulate the glow bleeding into the surrounding material. A sharp bright reflection dot added last makes even a small lens read clearly across the table. Add small bright chips or streaks along damaged edges at this stage, not earlier; they're the final layer of scale storytelling and look wrong if other weathering goes on top of them.
Step 6: Varnish and Final Assembly
Satin varnish is the right call for large surface protection. It's durable enough to handle gaming and doesn't produce the plastic sheen of gloss or the chalkiness that can kill weathering effects under a dead-flat matt coat. For lenses and any deliberate gloss effects, spot-varnish with gloss varnish first, then seal the surrounding area with satin if you want the overall finish to stay consistent. Reassemble your sub-assemblies using small amounts of glue, or drop the magnets in as planned. Once together, test the model on an actual game table or against your usual photo background; ambient light reveals touch-up spots that bench lighting hides.
Timings and Final Toolkit
A solid tabletop-grade Knight or Defiler, neat two-colour scheme with moderate weathering, typically runs 8 to 15 hours of active work. Display-standard results with freehand heraldry, layered glazing, and micro-highlights push into the 25 to 60-hour range. Neither number should be intimidating if you break the project into sessions: assembly and primer in one sitting, basecoats in the next, weathering, decals, and varnish as separate dedicated passes. Burnout is the biggest threat to a large model project, and structured sessions neutralise it.
For brushes, a large filbert or flat handles basecoating; a size 1 or 2 sable covers the majority of general work; and a 0 or 00 handles fine detail. Beyond brushes, you'll need a hobby knife, sanding sticks, a pin vise for magnet holes, both plastic glue and super glue, thin glazes (oil or acrylic both work), Citadel technical and weathering paints for streaks, and a quality satin varnish. Document the scheme with photos at every stage.
The techniques you build on a Knight or Defiler scale down directly to infantry. Every hard-won lesson about panel lining, glaze blending, and controlled weathering applies across the whole range, just faster and on a smaller canvas. Large models are the best teachers in the hobby.
This article was produced by Prism’s automated news system from verified source data, official records, and press releases, then run through automated quality and moderation checks before publishing. The system is built and supervised by the people who set the standards it runs under. Read our full AI policy.
Did this article answer your question?