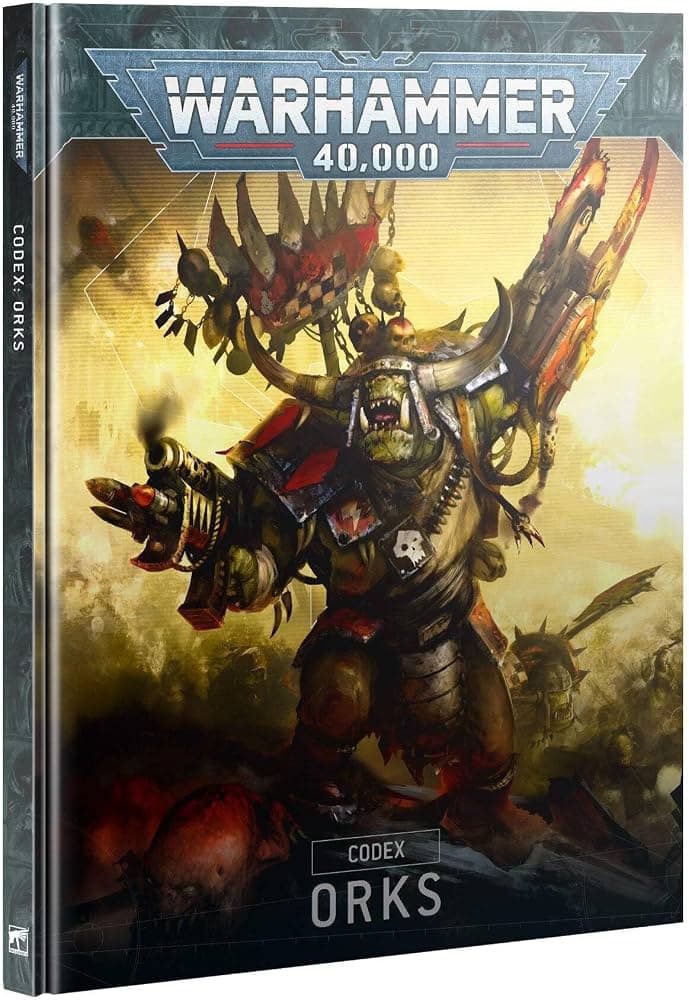
Warhammer 40k painters get smarter basing and shading tips from Games Workshop
The fastest wins are not display tricks: a smarter highlight, a cleaner base, and one tiny eye dot can make a squad read better across the table.
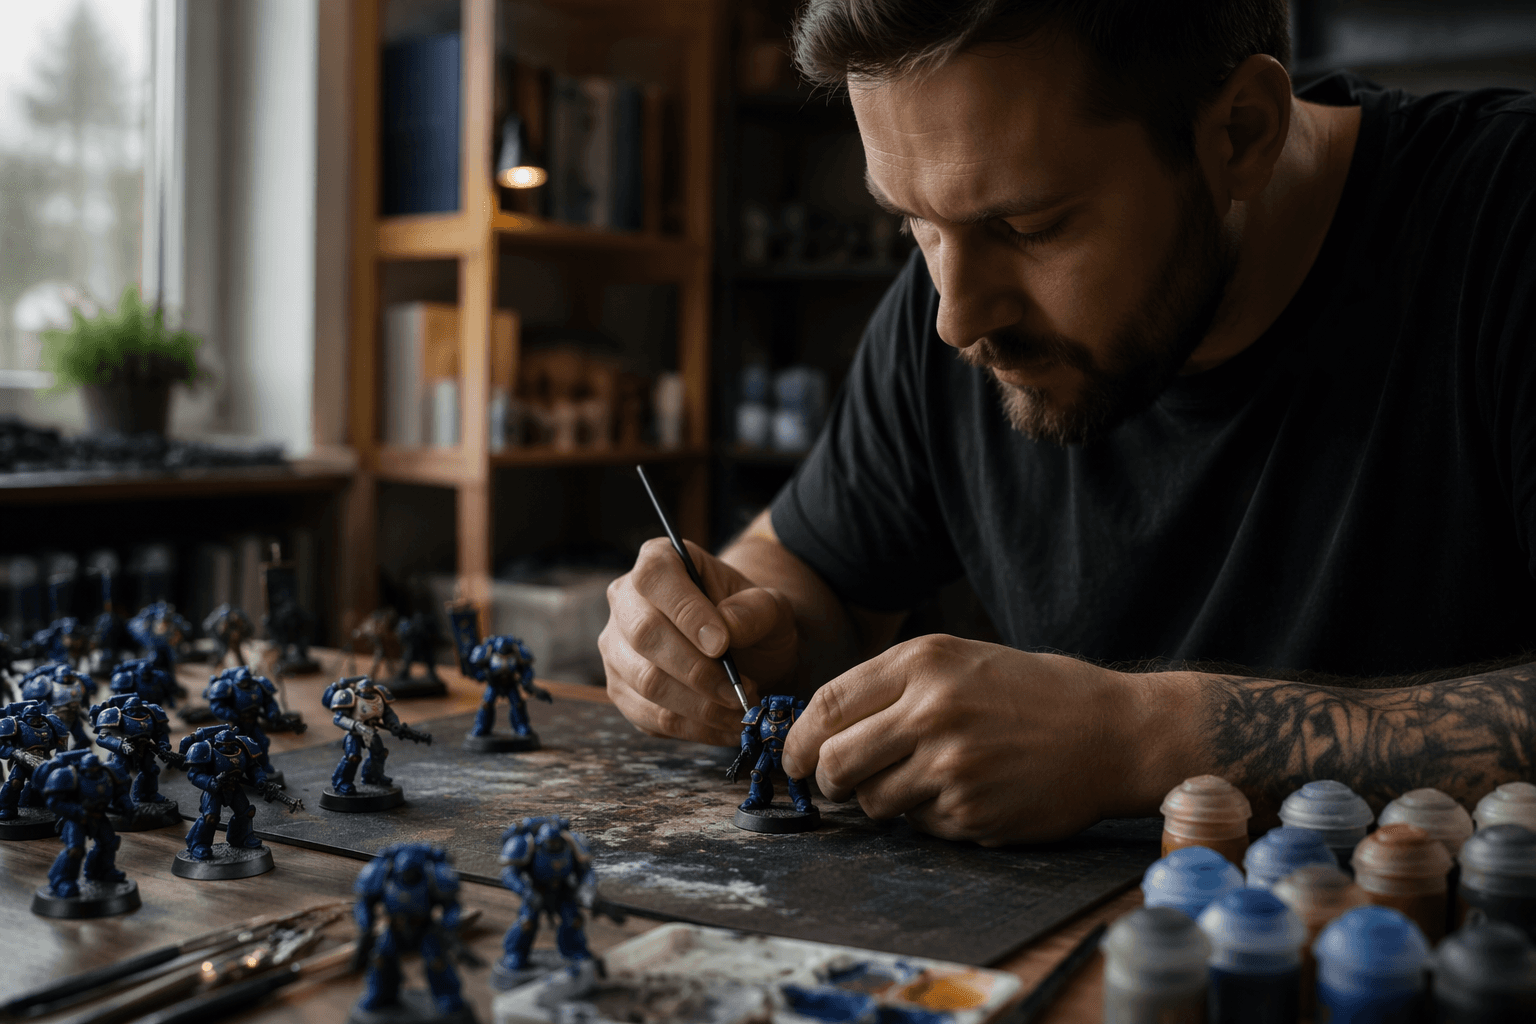
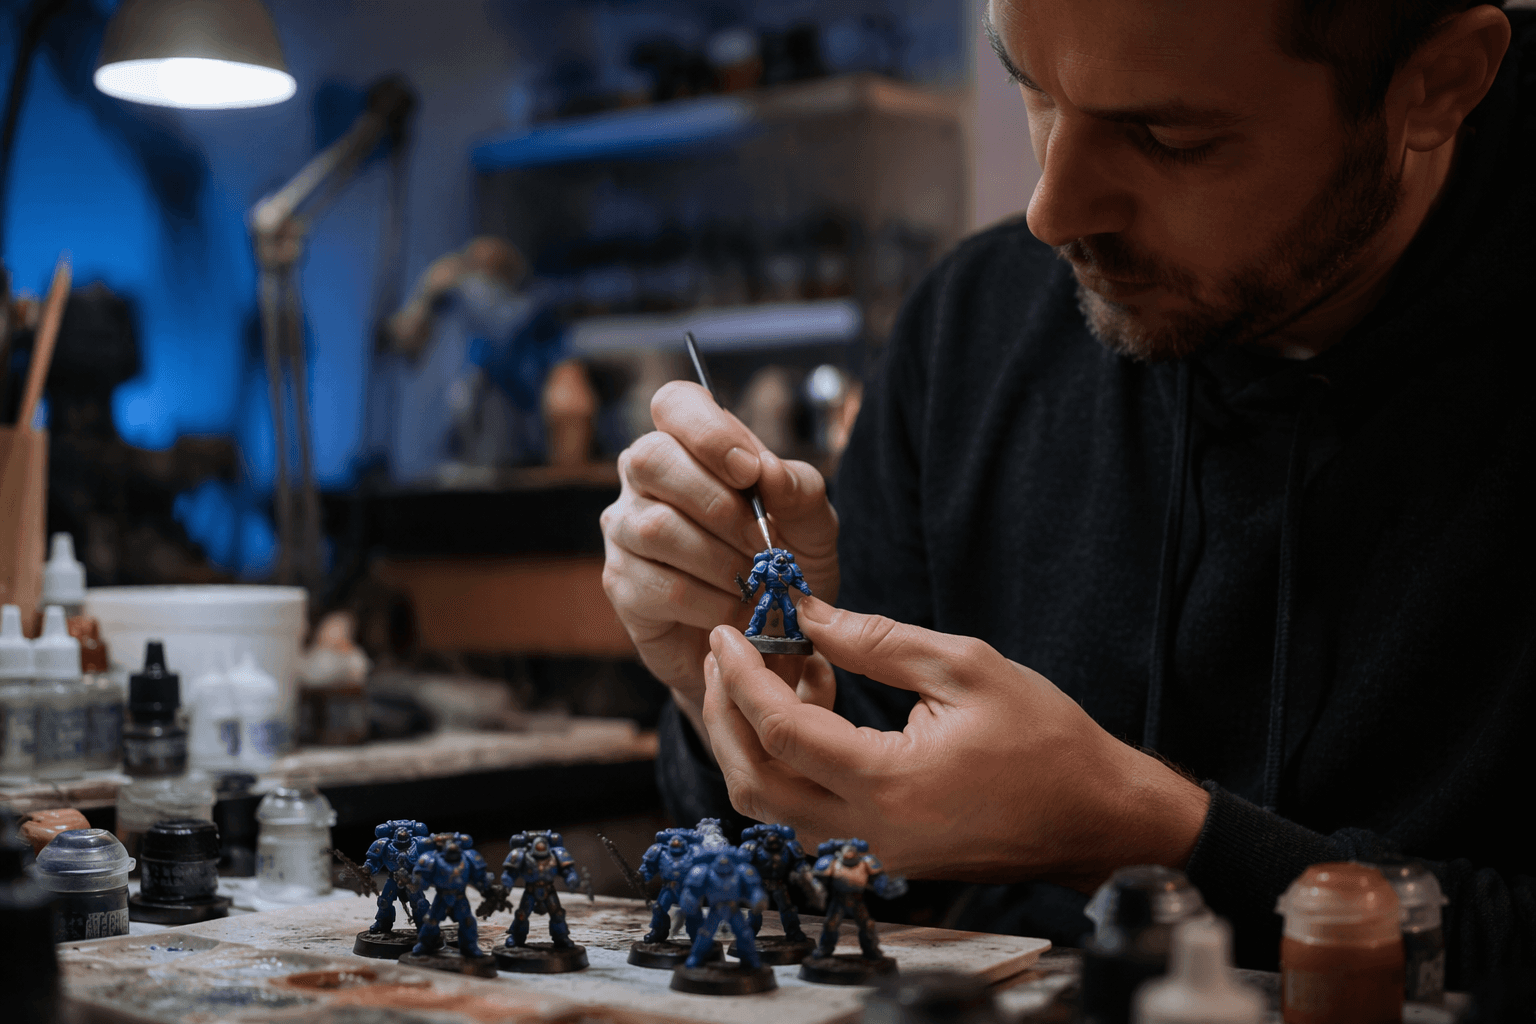
A Citadel Texture Spreader, a sharp edge highlight, and a tiny white dot in the eye do more for a squad than another layer of armor trim. The Warhammer TV painting team turns those three pain points into a practical workflow that fits right into a normal hobby night. You do not need parade-level skills to get a better tabletop result, just the right order and the right tools.
Start with the base, but do it with the right tool
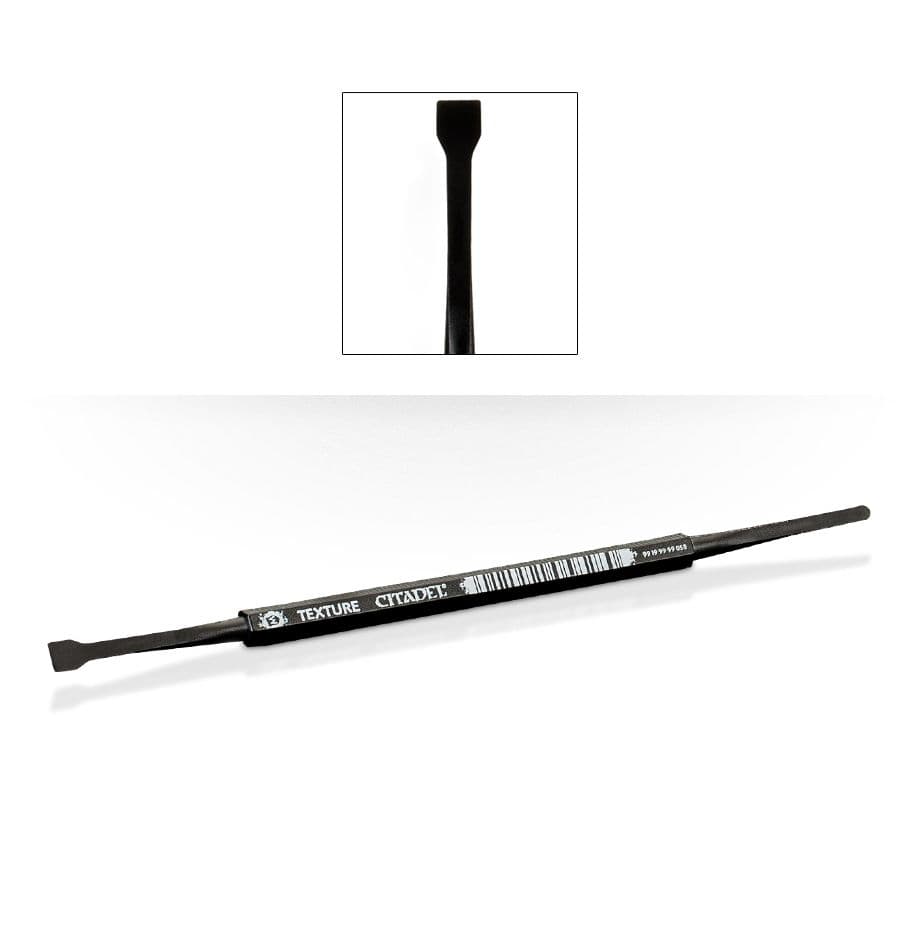
If you are working with thick Technical paints like Armageddon Dust, do not reach for your nicest brush and hope for the best. A Citadel Texture Spreader is the better choice because it moves dense material around without wrecking the fine point on a standard brush. A ruined tip slows every detail pass that comes after.
If you do not have the proper tool to hand, a bit of plastic cut from the box or even a coffee stirrer can stand in as a stopgap and keep a squad moving instead of stalling on the hobby desk. Once the texture is down, Valhallan Blizzard gives you a snowy finish that suits the frozen worlds Warhammer 40,000 keeps returning to, from Fenris to Valhalla.
Valhallan Blizzard also behaves in a way that makes it easy to tune the result to the model. Straight from the pot, it gives you a clumpy snow effect with more texture and bite. Thin it with water and you get a smoother, more controlled finish, which is useful if you want your infantry bases to look more like packed frost than fresh drifts.
For the best look, put the snow where it would actually collect. On rocks, feet, hooves, tracks, and tufts, it reads as weather; on a flat empty base, it reads as pasted-on paste.
Use the highlight recipe that mimics the box-art look
The highlight guidance is basically a stripped-down version of the ’Eavy Metal approach, and that is the point. Start by identifying the sharpest edges on the miniature, then use a light source to decide where the brightest points should fall. Instead of trying to outline every panel equally, concentrate on the edges that would catch light first.
The next step is what makes the effect look deliberate instead of chalky. Apply the brighter layer to the top three quarters of the existing highlight, not the whole thing, so the transition stays visible. Then finish with a tiny dot highlight at the junctions where edges meet. That last dot is small, but it is the kind of thing that makes a shoulder pad edge, a weapon casing, or a helmet rim snap into focus.
This is also where the wider Citadel Colour system makes sense as a workflow rather than a catalogue. The range now has more than 300 colours, and Games Workshop’s 2022 update added 25 new Contrast paints, reformulated Shade paints, and White Scar Spray. That means faster access to consistent results for everyone from first-time painters to people chasing Golden Demon, Games Workshop’s premier competition that draws thousands of entries from around the world.
Make yellow work harder before you start freehanding
Yellow is one of those colors that exposes every shortcut, so the advice here is specific. White Scar gives you the most vibrant result, Grey Seer gives you a colder yellow, and Wraithbone pushes it toward a warmer, sandy tone. That means you can choose the undercoat based on the final mood you want instead of fighting the paint later.
For a classic yellow armor or hazard-panel look, start with Averland Sunset as the basecoat, then push the brightness with Yriel Yellow. If you want speed more than layering, Imperial Fist Contrast can do the heavy lifting over White Scar, Grey Seer, or Wraithbone. That is the sort of shortcut that matters when you are trying to finish a squad, not a showcase piece.
The same logic shows up in Games Workshop’s Battle Ready standard. Battle Ready models have all the main areas colored and a simple finish on the base, and the standard is used at Warhammer World events. In practice, that means a solid yellow block, a clean base, and controlled shading will carry far more weight than overworking one panel until the rest of the miniature falls behind.
Finish the face last, and make the eyes do less work
Eyes are intimidating because they look tiny, but the fix is smaller than the fear. Start with off-white base colors such as Celestra Grey, Grey Seer, or Corax White before you add the pupil. That softens the look and gives you a cleaner field to work on, especially on faces that sit under helmets, hoods, or deep brow ridges.
For the reflective point, place a tiny dot of White Scar in the upper left or right corner of the pupil. That one pinprick of light stops the face from looking flat or lifeless.
This article was produced by Prism’s automated news system from verified source data, official records, and press releases, then run through automated quality and moderation checks before publishing. The system is built and supervised by the people who set the standards it runs under. Read our full AI policy.
Did this article answer your question?