25-Minute Slow Yoga Sequence Targets Hip, Shoulder, and Upper Back Tension
Twenty-five minutes of slow vinyasa work on hips, shoulders, and upper back can deliver real tension relief when you stop rushing and actually breathe through each pose.

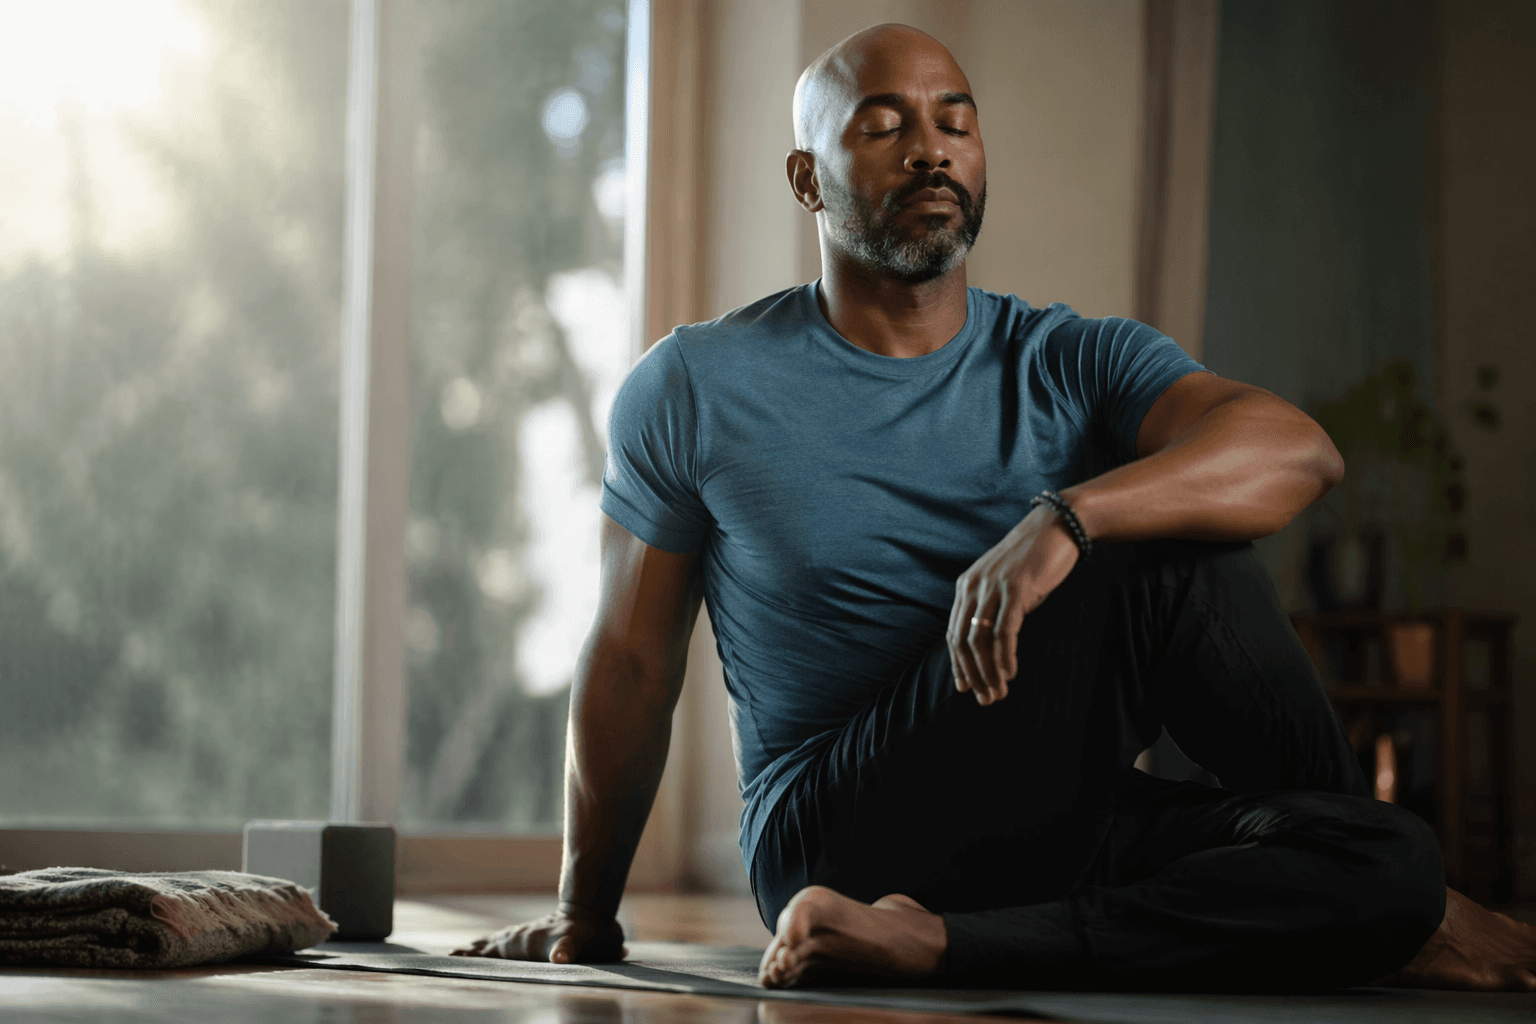
The point of this slow yoga for flexibility class isn't to race through it and finish as quickly as you can. It's to take a modest amount of time and actually feel into your experience as you find relief from tension." That framing sets the tone for everything that follows in this 25-minute vinyasa-style sequence, and it's worth sitting with before you even unroll your mat.
This is a practice built around three areas where most of us carry chronic holding patterns: the hips, shoulders, and upper back. The sequence moves through poses designed to address exactly those spots, and the instruction throughout is explicit: "You're not rushing through the movements but rather challenging yourself to experience the stretch afforded by each pose." That's a meaningful distinction from a flow class where you're riding the tempo of the music or trying to keep pace with someone else. Here, the work is internal.
What the Practice Looks Like
The sequence is vinyasa-style, which means poses link together with intention and breath, but the pace is deliberately unhurried. You'll move through a Seated Side Body Stretch, Baby Wild Thing, Seated One-Legged Forward Bend, and Seated Shoulder Stretches, with Reverse Warrior also featured in the practice's visual progression. The sequencing prioritizes the side body and shoulder girdle alongside hip opening, which makes sense anatomically: tension in the upper back and shoulders often shows up laterally as well as across the posterior chain.
No props are required, though as the sequence notes, "you're always welcome to keep them within reach and use them when you want that support." If you've got a block or a blanket nearby, there's no reason not to use them, especially under the sit bones in the seated poses.
Pose by Pose: The Key Cues
The Seated Side Body Stretch is one of those poses that looks simple and gets underestimated. The cue here is specific and worth paying attention to: "Straighten your right leg out to the side. Reach your left arm up and over toward the right." The key refinement follows immediately: "Rather than folding down toward your right knee, think of rolling your left shoulder back and reaching long through your arm. Relax your neck." That shoulder-rolling cue completely changes the quality of the stretch, shifting it from a lateral hamstring pull into a genuine side body and lat opener. Most people collapse toward the knee out of habit. The instruction redirects you upward and outward.
Baby Wild Thing builds on that side body work with more active engagement through the feet and hips. The full cue: "Bring your left hand to the mat behind you, reach your right arm alongside your head, and press through your left hand and your feet as you lift your hips in a side body stretch that's a kneeling version of Wild Thing. Really reach through your right toes to flatten your foot." That last detail, pressing through the toes to flatten the foot, is the kind of specific physical instruction that actually creates the pose rather than just approximating it. Without it, most people let the bottom foot roll and lose the lateral hip lift entirely.
The Seated One-Legged Forward Bend and Seated Shoulder Stretches round out the active portion of the sequence, targeting the hamstrings and the shoulder girdle respectively. The full step-by-step cues for those sections weren't captured in the available excerpts, but the breath guidance woven into the forward bend section applies across the entire practice.
Breathing Is the Practice
If there's one instruction that runs through this sequence more consistently than any single pose cue, it's the breathing guidance. The sequence states it plainly: "Throughout your yoga for flexibility practice, keep breathing in and out through your nose." In the Seated One-Legged Forward Bend section specifically, the instruction goes further: "Remind yourself to keep breathing through your nose during this slow yoga practice, keeping your inhalations and exhalations the same length, especially when the stretches get fairly intense."
The rationale behind this is one of the most useful things in the entire sequence: "The more you can breathe, the more your brain sends messages to your body that you're safe, that it's okay, that you can release." That's not a metaphor. Sustained nasal breathing with matched inhale and exhale lengths activates the parasympathetic nervous system, which is exactly the state that allows chronically held muscular tension to let go. As the sequence puts it, "often in stretches, we'll hold our breath as we hold onto the tension." Recognizing that pattern is the first step to interrupting it.
One note worth flagging: the cool-down breathing exercise at the end of the sequence shifts the instruction slightly. Where the active practice consistently cues nose-only breathing, the concluding exercise reads: "Inhale deeply through your nose, filling your lungs completely, and exhale slowly through your mouth." Both sets of instructions appear in the same Yoga Journal piece, with the shift appearing to mark a transition in the nervous system's state from active stretching to full cool-down. Neither instruction contradicts the other in functional terms; they serve different moments in the practice.
Concluding Your Practice
The sequence closes with a cool-down that moves from that mindful breathing exercise into Savasana. As the guidance frames it: "As you near the end of your yoga practice, it's essential to include a cool-down that incorporates breathing and relaxation techniques. This helps ease your body out of more intense movements and prepares you for meditation."
For the breathing exercise, the instruction is: "Begin with a few minutes of deep, mindful breathing. Inhale deeply through your nose, filling your lungs completely, and exhale slowly through your mouth. Focus on each breath to calm your mind and body."
From there: "Transition into Savasana (Corpse Pose) to allow your body to relax fully. Lie flat on your back with your legs and arms comfortably spread. Close your eyes and let your body sink into the mat, releasing any tension." Savasana often gets treated as an afterthought, especially in a 25-minute practice where the clock pressure is real. Resisting the urge to skip it is part of the same instruction that opened the sequence: don't race.
Why 25 Minutes Is Enough
A daily 25-minute practice of this kind works by stacking small physiological and neurological changes over time. Regular practice in this format can help lower cortisol levels, improve mood, and enhance overall well-being, making it easier to manage daily stressors. That holds whether you're coming to the mat as a newer practitioner or someone with years of practice looking for a sustainable maintenance routine. The length is the point: it's short enough to actually do consistently, and slow enough to produce the kind of tissue-level release that faster flows often skip past.
The sequence closes with a line that reframes the entire 25 minutes not as a workout but as a skill: "And it's a practice you can take back with you into your life off the mat." The breath awareness, the recognition of where you're holding tension, the ability to consciously release: those aren't things that stay on the mat. That transfer is what makes a short, deliberate slow practice worth prioritizing over a longer, faster one you'll skip three days out of five.
This article was produced by Prism’s automated news system from verified source data, official records, and press releases, then run through automated quality and moderation checks before publishing. The system is built and supervised by the people who set the standards it runs under. Read our full AI policy.
Did this article answer your question?