Nine Steps to Choosing the Perfect Diamond Engagement Ring
Cut quality, not carat weight, is the single decision that determines how brilliantly a diamond performs — and most buyers don't find this out until after the proposal.

The diamond engagement ring is one of the most expensive purchases most people make without a technical education to support it. Carat weight gets all the attention, yet a poorly cut one-carat stone will look flatter and deader than a well-cut 0.85-carat sitting next to it. The nine steps below are designed to reorder your priorities before you walk into a showroom or open a browser tab with a credit card in hand.
Step 1: Choose the Shape That Flatters the Wearer
Shape is not the same as cut, and that distinction matters from the first decision you make. Shape refers to the outline of the stone; cut refers to how precisely its facets interact with light. Round brilliant, oval, princess, cushion, and emerald are the most popular shapes in 2025, each with a genuinely different visual character. Oval diamonds account for roughly 20 percent of engagements, largely because their elongated outline creates an extending effect on the finger. Princess cut ranks third, offering modern square proportions with intense sparkle, while cushion cuts deliver a vintage romantic quality through rounded corners and softer brilliance.
Emerald cuts emphasize clarity through a "hall of mirrors" effect rather than scintillating fire, which means they reward buyers willing to spend on clarity but punish anyone trying to hide inclusions. For narrower fingers, an elongated shape including marquise, oval, or pear is worth considering; marquise diamonds carry perhaps the most dramatic length-to-width ratios of any shape, most falling between 1.75:1 and 2.00:1.
Step 2: Decide on Carat Weight With Proportion in Mind
Carat is a unit of mass, not size: one metric carat equals 0.2 grams. Two stones of identical carat weight can look measurably different face-up depending on their cut proportions and shape. Elongated shapes, in particular, tend to spread their mass across a wider surface area, appearing larger than a round stone of the same weight. Before settling on a number, factor in finger size, hand proportions, and the setting you intend to use. A halo setting, for example, can add the visual impression of significant extra size around a modest center stone.
Color becomes increasingly noticeable as carat weight increases, making color grade especially important when selecting larger diamonds. This is a frequently overlooked relationship: a buyer who chooses an H-color stone at half a carat may be entirely satisfied, but the same grade at two carats may show a warmth they did not expect in the showroom lighting.
Step 3: Prioritize Cut Quality Above All
Cut is the most consequential of the four Cs, and it is the one characteristic that human skill determines rather than geological formation. Brilliant cuts, characterized by numerous small kite-shaped and triangular facets, gather and reflect light to create brilliance and fire, and their busy facet pattern can help mask inclusions and color, making them more forgiving than step cuts. Step cuts, by contrast, feature concentric trapezoidal facets that create a "hall of mirrors" effect, known for their elegant gleam rather than explosive brightness, with larger facets that reveal color and clarity more readily.
On grading reports, look for Excellent or Very Good cut grades for round brilliants. An H-color diamond in the Excellent or Very Good cut tier consistently delivers more visible beauty than a higher-color stone with a Good or Fair cut, at a lower price point. This trade-off is one of the most reliable value strategies in diamond buying.
Step 4: Navigate Color With Metal and Shape in Mind
GIA grades diamond color on a D-to-Z scale, with D representing colorless and Z representing light yellow or brown. The practical reality is that most buyers cannot distinguish D from F in a mounted ring viewed under normal lighting. The value case lives in the G-to-J range. Choosing G or H color instead of colorless is a well-established strategy among jewelers, because the color difference is effectively invisible to the naked eye while the price difference is substantial.
Yellow gold can make near-colorless diamonds appear whiter, meaning buyers setting a stone in yellow gold can often drop one or two color grades without any perceptible loss. Step-cut shapes like emerald and asscher tend to display more color than brilliant cuts, which mask color with their superior light-dispersing properties, so shape and color grade must be considered together rather than independently.
Step 5: Choose Clarity by the Eye-Clean Standard
Clarity measures a diamond's freedom from internal inclusions and surface blemishes, graded on a scale from Flawless to Included. For most buyers, the practical target is an "eye-clean" stone: one where no inclusions are visible to the unaided eye at normal viewing distance, regardless of what a loupe reveals. VS2 and SI1 are widely considered the best value clarity grades, because they are typically eye-clean without carrying the price premium of Flawless or Internally Flawless stones.
Scale matters here, too. For diamonds of 1.25 carats and above, VS2 or better is generally recommended, because inclusions become more visible at larger sizes. A small SI1 inclusion that disappears into a half-carat stone can become a visible flaw in a two-carat one. Always request photographs under magnification and, where possible, view the actual stone rather than relying solely on the grade.
Step 6: Compare Similar Stones and Watch Pricing Anchors
Diamond pricing is not linear. Small differences in carat weight around psychological thresholds, 0.90 versus 1.00 carat, for instance, can translate to significant price differences for no visible gain. "Light" carat weight stones, those just below whole or half-carat marks, can be excellent value because they carry lower per-carat pricing while looking nearly identical to their heavier counterparts. When comparing two stones of similar specifications, line them up side by side on screen if buying online, or request both on the finger when shopping in person. The goal is to neutralize the anchoring effect that a single displayed price creates.
Step 7: Verify a Reputable Laboratory Certificate
Never purchase a significant diamond without a grading report from an independent gemological laboratory. The two most recognized names globally are GIA (Gemological Institute of America) and IGI (International Gemological Institute). In July 2025, GIA changed its grading approach for lab-grown diamonds, moving away from detailed 4Cs grades, while IGI publicly reaffirmed it would continue using full 4Cs grading for both natural and lab-grown stones. For buyers choosing lab-grown diamonds, this makes IGI certification particularly useful for direct comparison.
A diamond certificate establishes what the stone is: its color, clarity, cut, and carat weight. An appraisal, issued by a jeweler or independent third-party appraiser, establishes what it is worth as a retail replacement cost. Both documents serve different purposes, and a properly documented purchase requires both. Do not accept a seller's in-house grading as a substitute for an independent lab report.
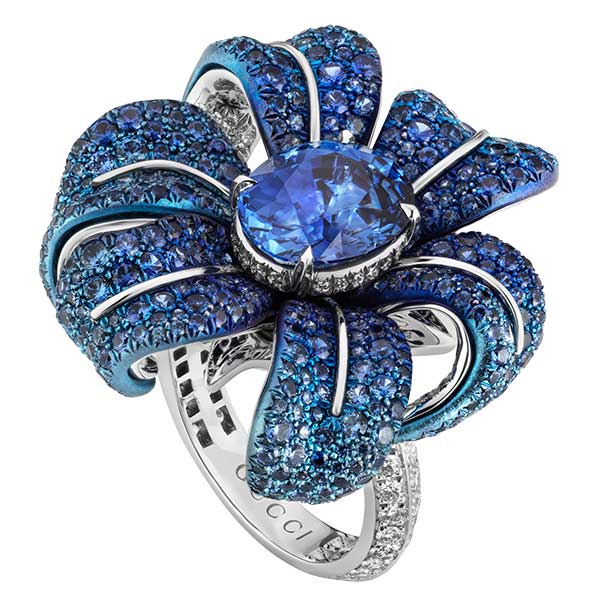
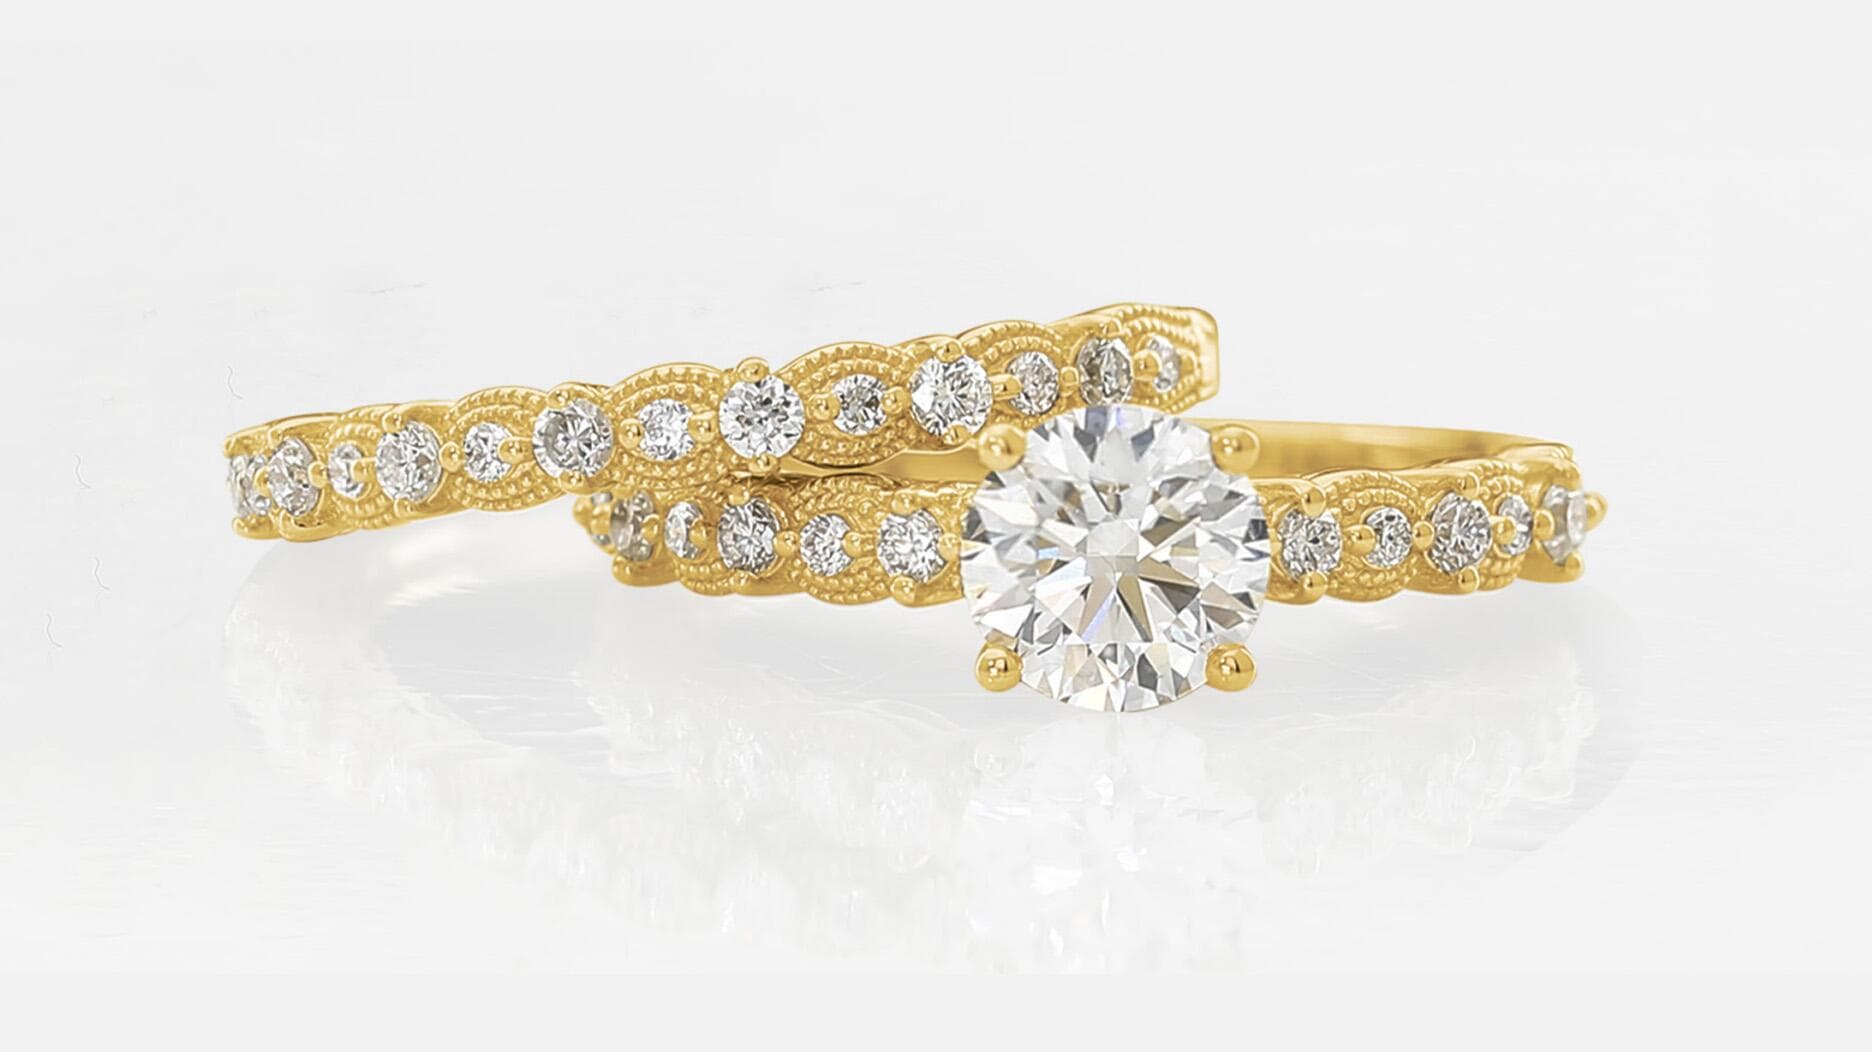
Step 8: Choose the Setting to Maximize Beauty and Protect the Stone
The setting is not merely decorative; it determines how light reaches the diamond, how secure the stone is in daily wear, and how the proportions of the ring read on the hand. Prong settings are the most common style, with each diamond held by a small metal prong that can be rounded, flat, pointed, or V-shaped. They expose the maximum amount of stone to light and give a classic, airy appearance, but the raised profile can snag on fabric or require periodic prong retipping. The bezel setting encircles the diamond with a metal rim, holding the stone securely and protecting its edges, making it the practical choice for buyers with active lifestyles or hands-on professions.
Halo settings place a center stone within a ring of smaller diamonds, which can visually amplify the apparent size of a modest center stone. Pavé settings line the band with small closely set diamonds, creating a continuous line of sparkle that gives the impression of a larger, more diamond-dense ring at a lower cost than a single large stone would require. Each setting style changes how the diamond's color and size read face-up, which is why setting selection belongs in the same conversation as stone selection, not after it.
Step 9: Shop Trusted Vendors and Protect the Purchase
Reputable vendors, whether physical boutiques or established online retailers, will provide independently certified stones, high-resolution imaging or loupe video, and clear return policies. Once purchased, schedule an independent appraisal promptly, particularly if the stone was acquired online. The appraised retail replacement value will typically exceed the purchase price, which is the figure your insurer needs. Jewelry riders on homeowners' or renters' insurance policies, or dedicated jewelry insurance policies, cover loss, theft, and accidental damage, risks that a warranty from the retailer will not address.
The ring you ultimately choose will reflect a sequence of trade-offs: shape against budget, color against metal choice, clarity grade against stone size. Made in order, with cut quality as the fixed priority and everything else calibrated around it, those trade-offs consistently yield a stone that looks better than its price tag suggests it should.
This article was produced by Prism’s automated news system from verified source data, official records, and press releases, then run through automated quality and moderation checks before publishing. The system is built and supervised by the people who set the standards it runs under. Read our full AI policy.
Did this article answer your question?