Layer Necklaces Without Tangling: Use 2-inch Spacing, Anchors and Tools
Keep about 2 inches between layers, anchor chains with detanglers or a jump ring, and use simple tools, clear polish, silicone O‑rings and zip‑lock pouches, to stop knots before they start.

A single knot can undo a morning. The good news: layering necklaces without tangling is less about luck and more about spacing, anchoring, and a handful of tools you can carry in a travel pouch. Below is a practical, gem‑minded guide that translates numeric rules into wearable craft.
1. Keep 2‑inch spacing as your baseline
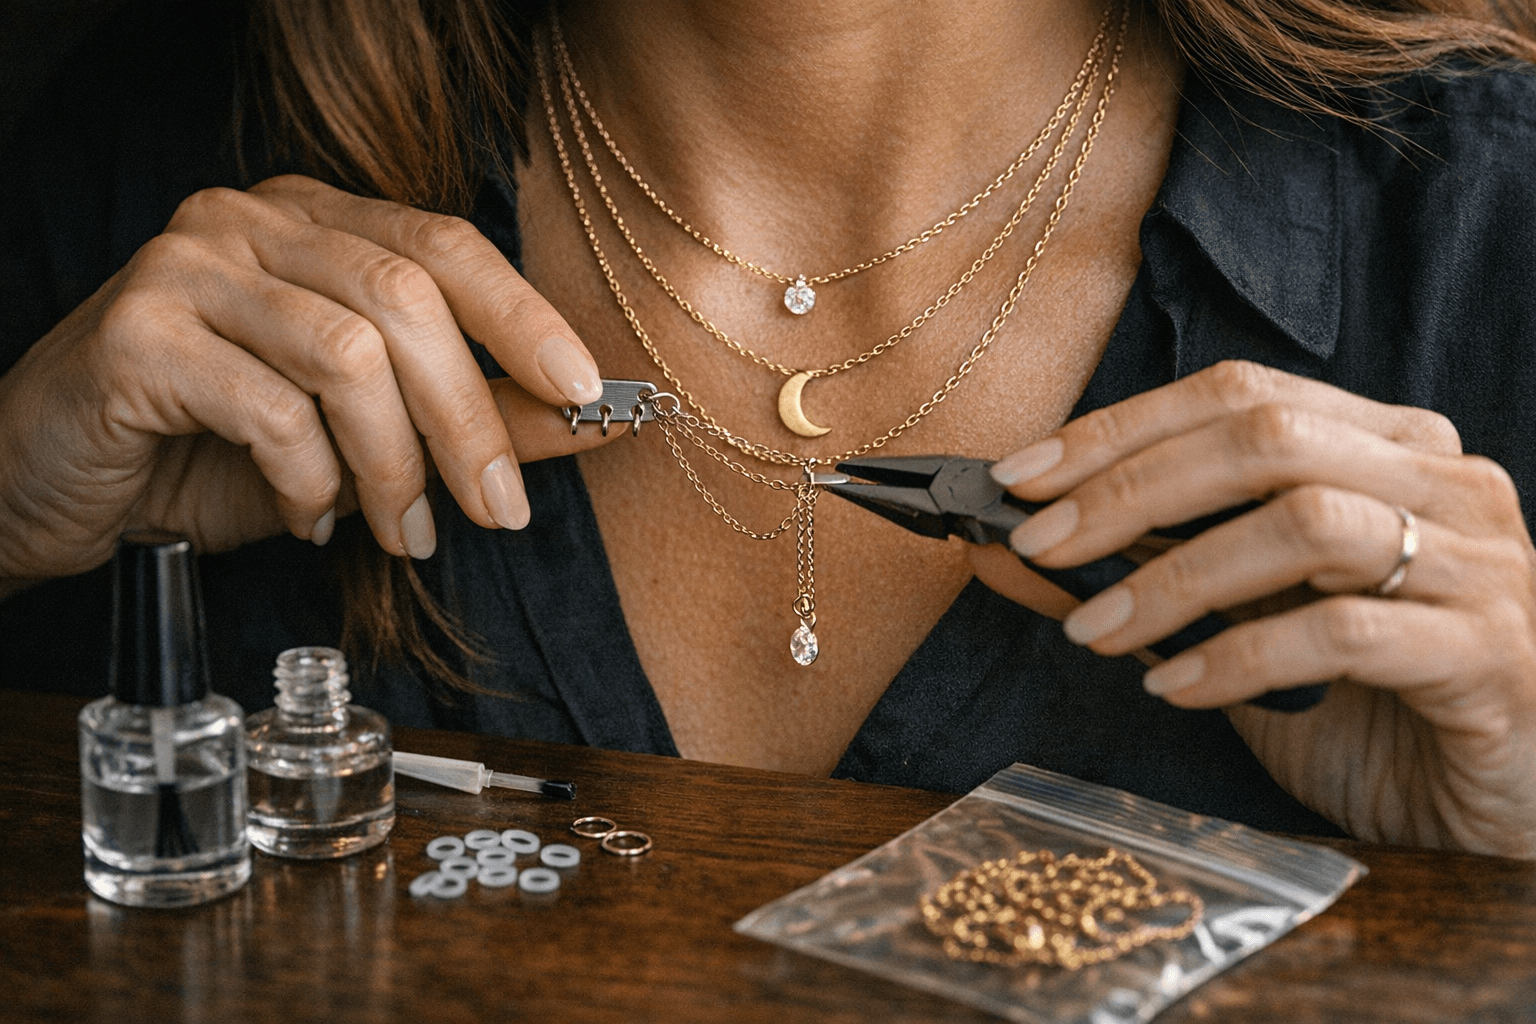
Spacing is the easiest and most effective defense against knots. “The general rule is to keep at least two inches between pieces, which gives each chain room to breathe and helps prevent tangling,” Goodstoneinc advises; Sylviejewelry concurs: “If you’re wondering how to create layered necklaces that feel balanced, start by choosing pieces that differ by at least 2 inches in length.” Practically, this means selecting chains so that a choker sits well above a mid‑length and a longer chain falls another two inches below, this vertical separation prevents chains from tracking together during movement.
2. Establish a clear layering hierarchy (short to long is standard)
Most stylists and jewelers recommend the shortest necklace closest to the throat, a mid layer next, then the longest outermost, all to create a graduated, readable silhouette. Allthebrilliants’ expert guidance lays this out numerically: shortest 14–16 inches, middle 18–20 inches, and longest 22–28 inches; Goodstoneinc offers a complementary practical set (14–16, 17–19, 20–24). Note a single outlier: one source suggests the reverse ordering; treat that as an inversion rather than a new rule, the conventional, majority approach is short→middle→long for both aesthetics and anti‑tangle logic.
3. Use anchoring devices so chains move on separate tracks
Anchors are the mechanical heart of a tangle‑free stack. “Use a Necklace Layering Clasp or Separator… These clasps keep each necklace anchored to its own designated clasp, helping maintain their position throughout the day,” Sylviejewelry explains. Layering clasps, multi‑clasp connectors, magnetic clasps and slider‑style detanglers sit at the nape and hold two to four chains independently; Goodstoneinc notes these “keep each necklace on its own track” and prevent crossing. For a low‑tech alternative, Allthebrilliants recommends binding multiple necklaces to the same jump ring so their clasps behave as one anchored unit.
4. Choose chain thickness and texture deliberately
Chains that behave differently are less likely to entangle. Allthebrilliants provides a helpful classification by gauge: fine chains under 1 mm, medium chains 1–2 mm, and statement pieces over 2 mm. Mix a smooth snake chain with a textured link chain or pair a delicate 0.8 mm chain with a 1.8 mm rope to create friction differentials that keep pieces separate; Goodstoneinc and Monishamelwani both emphasize that heavier pendants or thicker chains “stay in place better than super delicate ones.”
5. Equip a small toolkit: the practical list
A compact kit saves time and prevents stress. Include layering clasps or separators, necklace extenders, magnetic or slider clasps, a jump ring for binding, silicone O‑rings and a bottle of clear nail polish. Add soft pouches, a zip‑lock bag for travel, and a small jewelry spray if you prefer detangling products. These items are repeatedly recommended across sources and together address the three failure points of a layered stack: length, anchor and friction.
6. The nightly reset ritual, simple, repeatable steps
Diamondveneer’s ritual is as efficient as it is literal: “Lay each necklace flat, re‑apply a tiny dab of clear nail polish to any stubborn clasp, pop a silicone O‑ring on the clasp, then tuck them into your chosen organizer.” Spend two minutes: separate chains by length, smooth out twists with your fingertips, secure clasps with a dab of polish or an O‑ring, and stow the finished stack. “This ritual tells your jewelry, ‘We’ve got this,’ and it tells you, ‘I’m ready for tomorrow,’” a small but decisive ceremony that prevents knots from accumulating.
7. Pack and store like a jeweler when you travel
Treat layered necklaces as a single, high‑value unit. For travel, Diamondveneer recommends tucking “the finished stack into a zip‑lock bag or a dedicated necklace pouch, nothing beats a little plastic barrier to keep knots at bay.” At home, hang chains separately on hooks, use compartments in a jewelry box, or wrap each chain in a soft cloth. Allthebrilliants adds that storing pieces flat and fastened overnight reduces wear on softer gemstones and keeps chains untangled.
8. Styling rules by occasion and neckline
Be intentional about how many layers you wear and where they sit. For work, Sylviejewelry suggests keeping it to two layers, “a simple collarbone‑length chain paired with a linear pendant creates depth without visual noise”, and avoiding oversized pendants or long chains that can catch on buttons or lapels. If you have a shorter neck, Monishamelwani counsels skipping chokers and choosing mid‑lengths (16–24 inches) to elongate the line.
9. Care, wear and risk mitigation
Preventative care protects both gems and chains. Remove necklaces before swimming, using saunas or hot tubs, showering, or exercising; Allthebrilliants specifically lists these environments as risks. For clasps that stick, a tiny dab of clear polish or a silicone O‑ring offers a quick mechanical fix; for overall chain behavior, try a detangling spray to reduce friction as Sylviejewelry recommends.
10. Troubleshooting: what to do when tangles happen
Start gentle and patient: separate chains by length and use your fingertips to coax out twists, Diamondveneer: “Separate the chains by length, and gently straighten any twists with your fingertips; a tiny bit of patience now saves you hours of untangling later.” Layering clasps or bind‑together jump rings eliminate the problem at its source; if a knot has formed, steady surface, a fine needle and a drop of light oil can help (professional cleanings are always preferred for fragile chains or gem settings).
- Necklace layering clasp / separator / multi‑clasp connector, anchors multiple chains at the nape and prevents crossing.
- Magnetic clasps and slider‑style detanglers, quick to operate and effective for 2–4 chains.
- Necklace extenders, allow precise two‑inch increments to create separation between layers.
- Silicone O‑ring and clear nail polish, tiny barriers for stubborn clasps; Diamondveneer prescribes both as travel staples.
- Jump rings, bind multiple clasps into a single anchor point, reducing independent movement.
- Zip‑lock bags, soft pouches, jewelry boxes with compartments and hangers, storage solutions that stop knots before they form.
- Jewelry/detangling sprays, reduce friction and chain twist when needed.
11. Tools to buy, and why each matters
Final word Layering necklaces well is an act of small engineering as much as taste: two inches of intentional spacing, a reliable anchor at the nape, and a few humble tools transform a morning ritual into a polished wearable composition. Follow the spacing rules, invest in a simple detangler or jump ring, and keep a tiny reset ritual, then let your necklaces move, not tangle, as you go about your day.
This article was produced by Prism’s automated news system from verified source data, official records, and press releases, then run through automated quality and moderation checks before publishing. The system is built and supervised by the people who set the standards it runs under. Read our full AI policy.
Did this article answer your question?