wikiHow Updates Necklace Layering Advice With Illustrated Steps and Troubleshooting
wikiHow refreshed its illustrated necklace‑layering how‑to (last updated Feb 19, 2026), emphasizing three lengths, a single focal piece, mixed textures and a practical troubleshooting section.

wikiHow refreshed its illustrated how‑to on necklace layering, adding step‑by‑step images and a troubleshooting section aimed at mainstream readers; the update was last updated February 19, 2026. The guide's backbone is simple: choose three lengths, pick a focal piece, mix chain textures, then use straightforward illustrated steps to assemble the look and solve common problems.
1. choose three lengths
wikiHow recommends building a layered look from three distinct lengths to create visual depth rather than clutter. Practically, that means a choker or collar length for the first layer, a mid‑length (often sitting at the collarbone) for the second, and a longer pendant or rope for the third; these three tiers stop chains from competing and produce a clean profile in photographs and everyday wear. The how‑to’s illustrations show spacing between layers clearly, which helps when you’re measuring or ordering extenders.
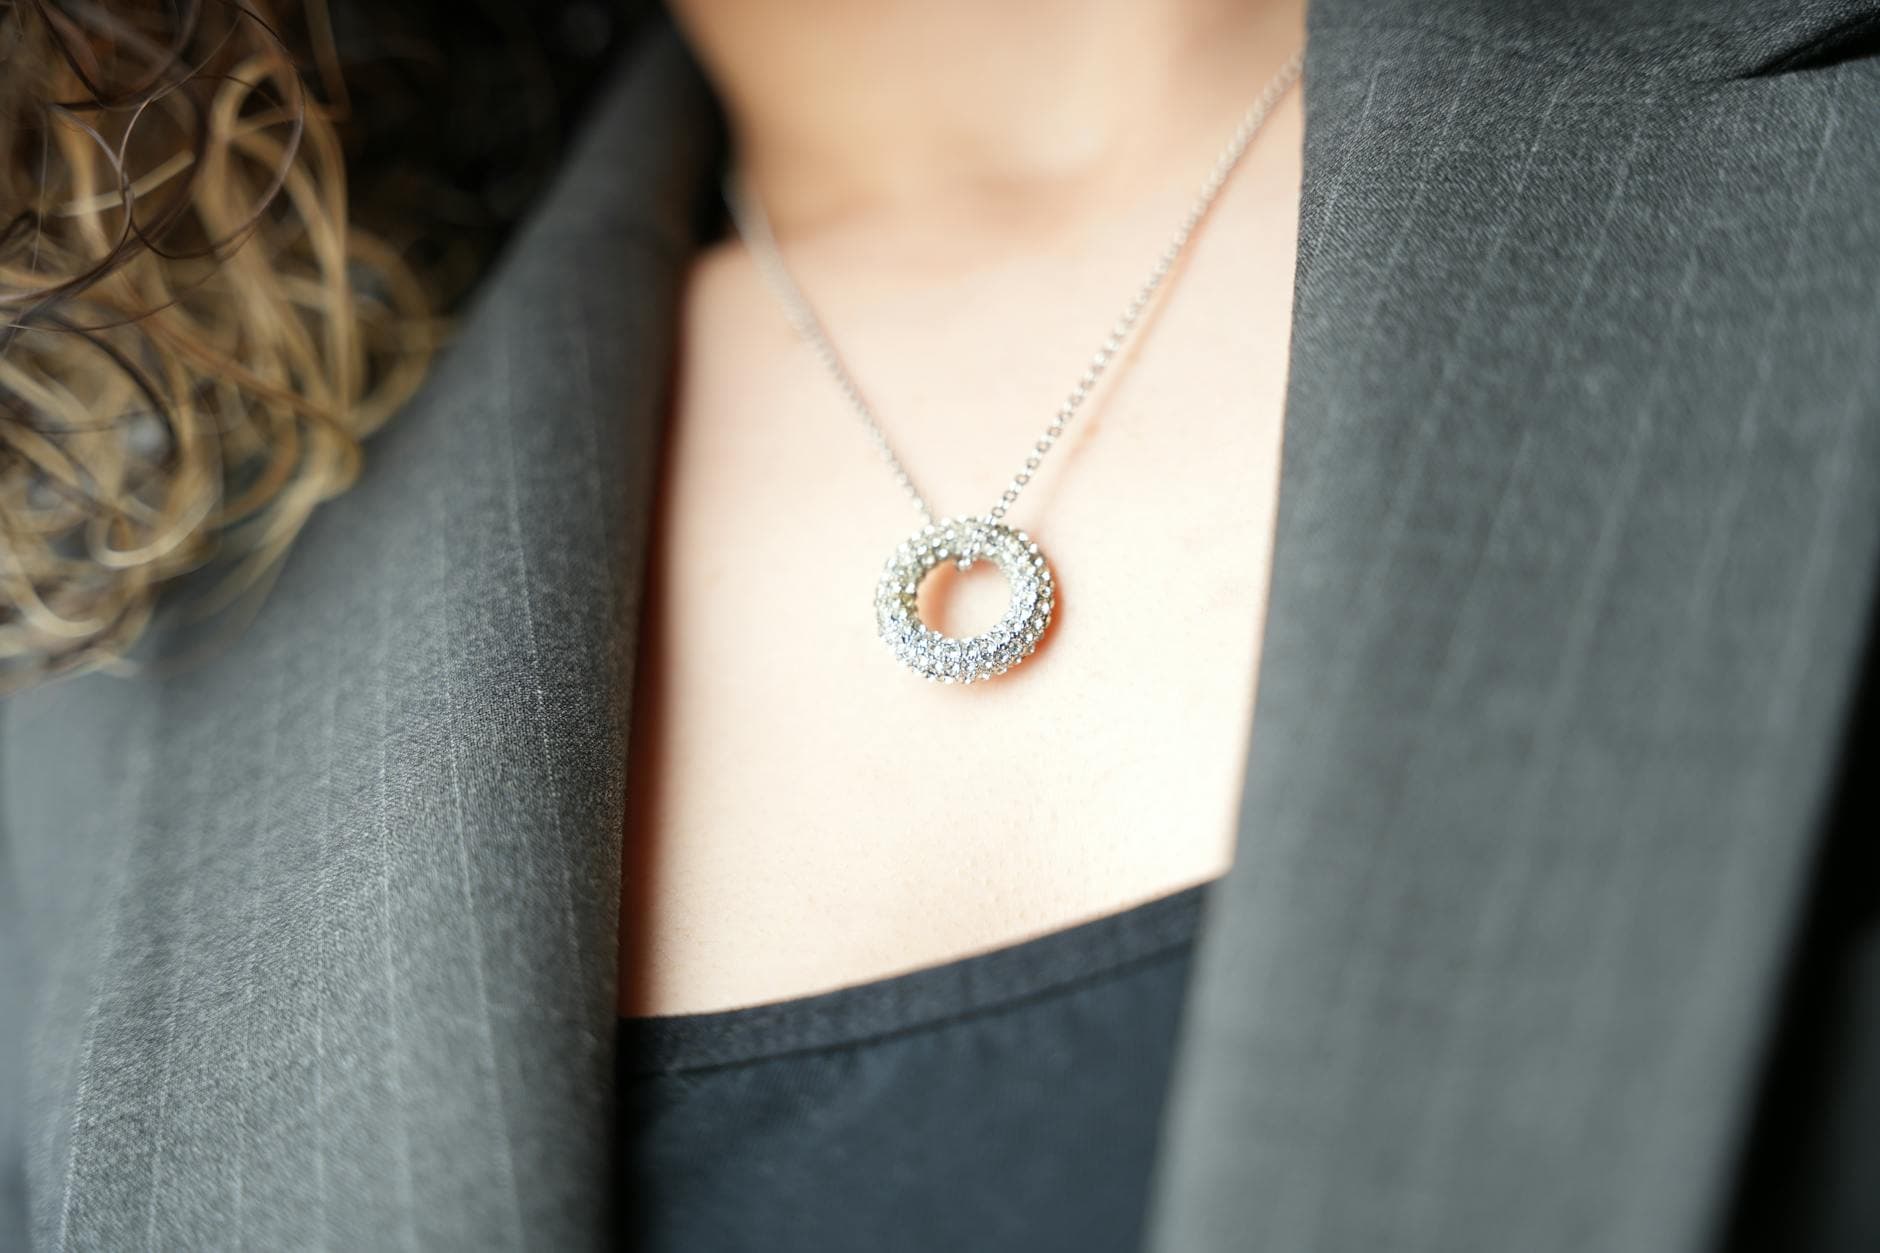
2. decide on a focal piece
Begin by naming one necklace as the focal piece, a pendant, coin, signet, or colored gemstone, and let the other chains support it. The updated guide emphasizes selecting a single “hero” so the eye has a landing spot; surround that hero with simpler chains so it reads clearly on the body. If the focal piece carries a stone, check its setting and backplate: a bezel or flush setting sits closer to the chest, while a prong or open‑back setting will read as lighter and more delicate when layered.
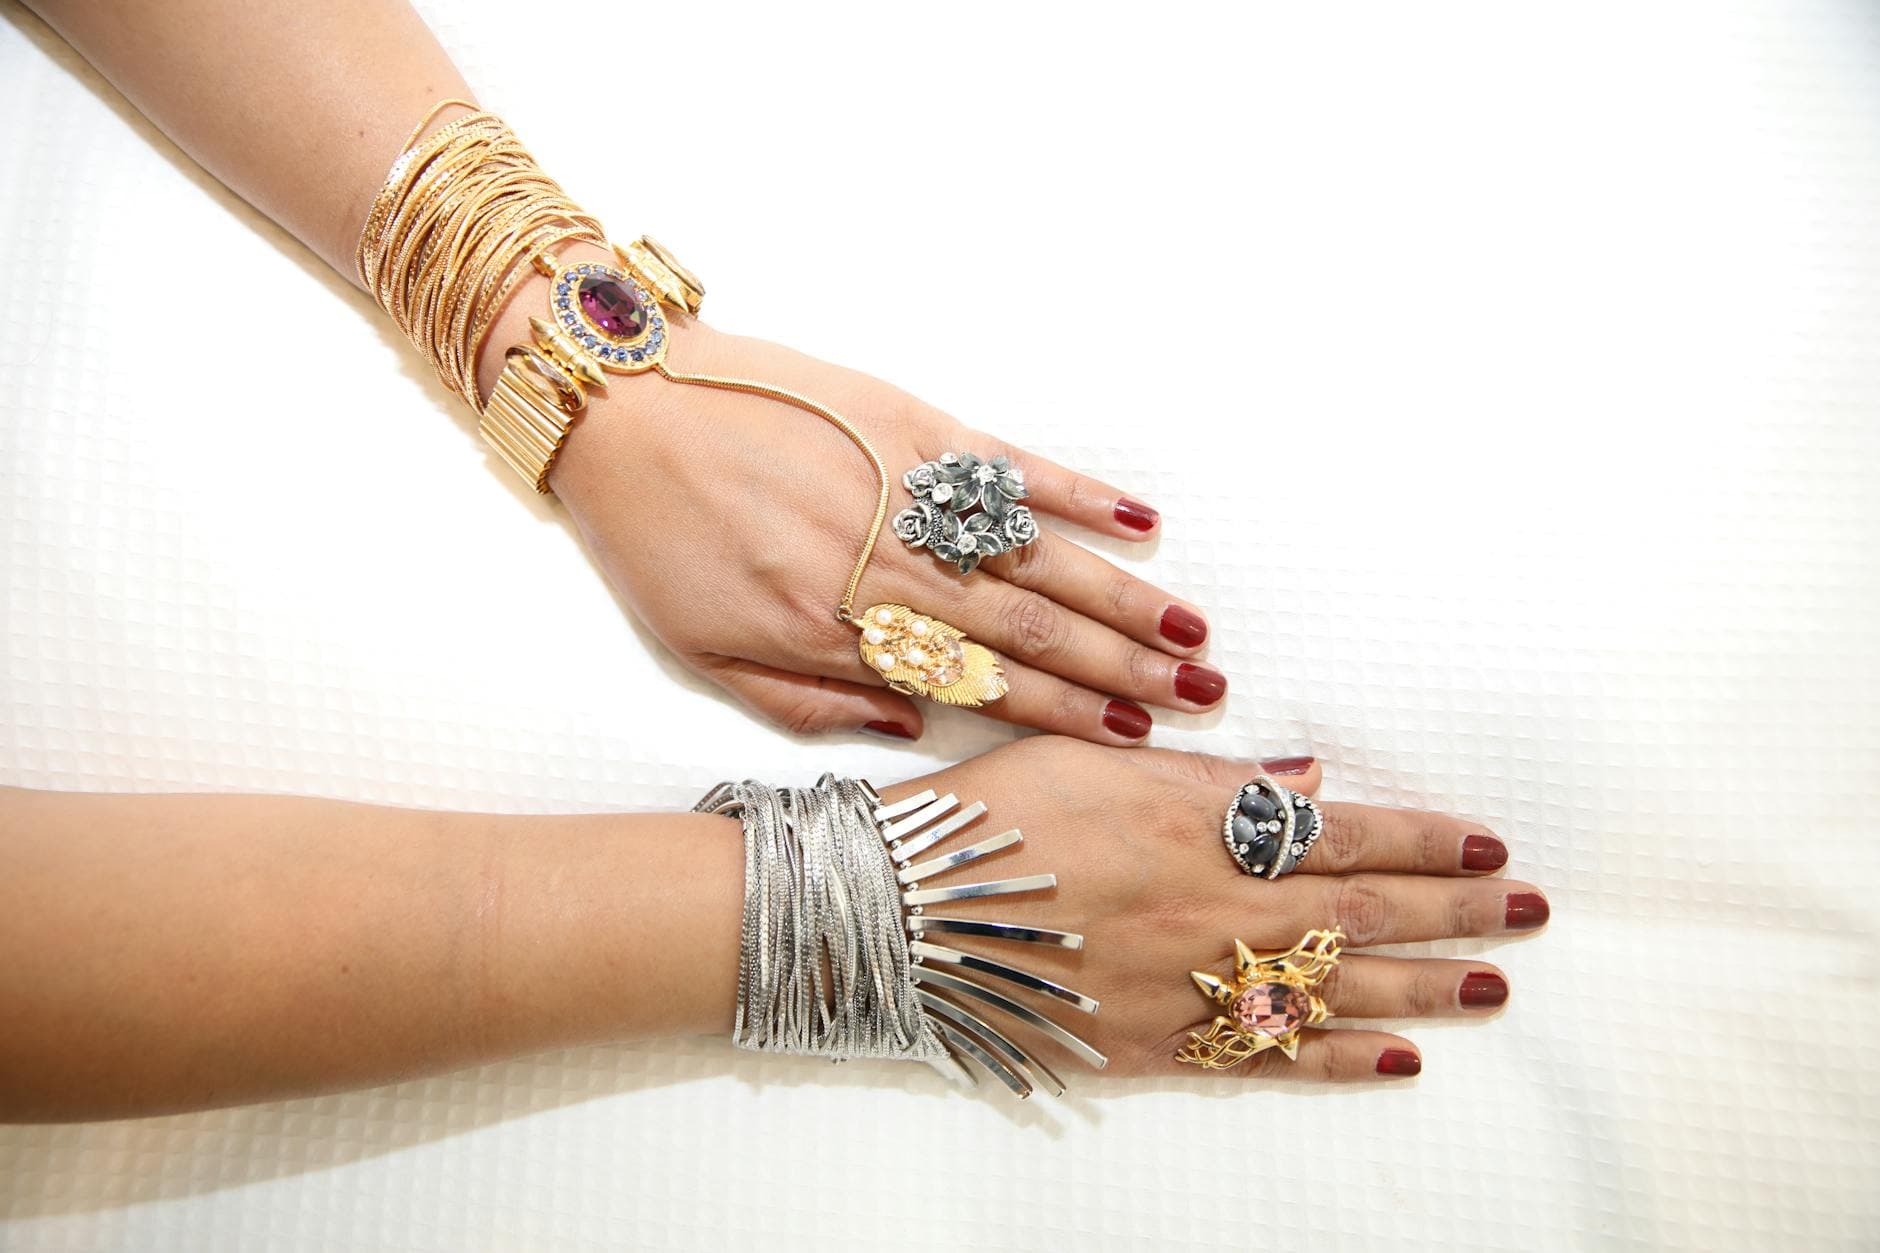
3. mix chain textures and widths
The new instructions stress texture contrast, pair a delicate cable or box chain with a heavier curb, rope, or Figaro rather than three identical chains. Mixing finishes (matte vs. high polish), link shape, and width keeps a stack legible; the illustrated steps show examples of a 1mm box chain against a 3–4mm curb to demonstrate proportion. The guide also highlights that very thin chains can disappear next to chunkier links, so balance a lightweight chain with at least one medium or bold element.
4. layer in sequence using the illustrated steps
Follow the visual sequence: start with the shortest necklace, add the mid‑length second, and finish with the longest piece to check spacing at each stage. The illustrations in wikiHow map how chains should sit on a torso and where clasps should be hidden, which is useful when you try pieces on in front of a mirror. The guide’s step‑by‑step images also show simple adjustments, moving a pendant up an inch, swapping a chain for a lighter weight, to achieve the look without trial‑and‑error.
5. practical clasping and extender tricks
The update includes pictured solutions for fastening multiple necklaces: use a 2‑or‑3‑way clasp converter, small safety pins, or chain extenders to alter length without restringing. When combining chains of similar length, attach one to an extender so you can micro‑adjust spacing; illustrations demonstrate where to clip and how much length to add. These hardware fixes are a low‑cost alternative to custom resizing and preserve original clasps and hallmarks.
6. troubleshooting tangles and wonky hang
wikiHow’s new troubleshooting section addresses the common problems readers face: tangled chains, pendants flipping, and uneven hang. For tangles the guide illustrates a needle or straight pin technique to tease knots apart and recommends laying chains flat on a towel before attempting to separate them; for pendants that flip it suggests a small jump ring or soldered bale to stabilize orientation. If a chain constantly twists, the illustrated fix is to swap position with another chain of similar diameter or to add a small weight near the clasp to encourage proper hang.
7. scale, proportion and neckline pairing
The updated how‑to shows how stacked necklaces read against different necklines, short, open, crew, and V, and why scale matters: chunky chains compete with high collars while delicate layers are lost against plunging necklines. The guide’s drawings demonstrate ideal combinations (for example, a collar, a princess, and a matinee length) and recommend choosing a top of neutral texture when testing stacks to avoid pattern interference. These practical pairings make layered looks wearable for both daytime and evening.
8. material, care and ethical considerations
While the how‑to focuses on styling and mechanics, apply the same scrutiny to materials: ask jewelers whether chains are recycled gold or plated base metals, and request hallmarks or certification when buying fine pieces. Check solder points on clasps and bails in the illustrations, the guide shows that well‑finished soldering and closed jump rings prolong life. For gemstone focal pieces, seek grading (for diamonds, GIA; for colored gems, credible third‑party reports) and prefer reputable supply chains; this keeps a stack beautiful and defensible as an investment.
9. storing and maintaining layered necklaces
The illustrated guide closes with storage tips, hang stacks individually, or place each chain in its own soft pouch to avoid interlocking, and shows step‑by‑step methods for cleaning depending on metal and stone. For plated or mixed‑metal necklaces the how‑to suggests gentle, brief cleaning rather than abrasive polishing, and the images demonstrate safe drying on lint‑free cloths to prevent water spots or uneven tone. Proper storage preserves the spacing you’ve worked to achieve and saves time the next morning.
The beauty of the wikiHow update is its blend of visual instruction and pragmatic fixes: illustrated sequences teach you where each chain should sit, and the troubleshooting panel keeps the look wearable outside a photo shoot. Taken together, the steps make layering less about guesswork and more about intentional choices, length, focal point, texture and responsible material selection, that hold up over time.
Know something we missed? Have a correction or additional information?
Submit a Tip