How to Read Hallmarks and Makers' Marks on Estate Jewelry
A small stamp on the inside of a ring shank can unlock a piece's maker, metal purity, and birth year — if you know exactly where to look and what to read.

Pick up an inherited ring or a brooch pulled from an estate sale, and you are holding a small archive. The scratches and patina are one kind of record; the marks stamped into the metal are another, more precise one. A hallmark can tell you whether a bracelet was certified in Birmingham or Paris, whether the gold is 18 karat or gold-filled, and in many cases, within a few years of when it left the workshop. Learning to read those marks takes under five minutes once you know the workflow, and it changes everything about how you buy, price, and understand old jewelry.
The Taxonomy of Marks: Know What You Are Looking For
Not every stamp on a piece of jewelry means the same thing, and conflating them is the first place new collectors go wrong. Hallmarks are official marks applied by a government-authorized assay office after the metal has been tested for purity. They are distinct from maker's marks, which identify who submitted the piece for hallmarking — typically the manufacturer or studio, represented by initials inside a distinctive cartouche or shield. Then there are assay office marks, which pinpoint the city where testing occurred, and date letters, which encode the year. On a fully hallmarked British piece, you can find all four of these symbols clustered within a few millimeters of each other: a compressed biography of the object.
Beyond those four, some pieces carry commemorative marks (struck for royal jubilees or special occasions), import marks added when a piece crossed a border, and fineness marks that express metal purity as a decimal fraction per thousand, so 750 means 18-karat gold, 925 means sterling silver, and 585 means 14-karat gold. Each category answers a different question about the piece's identity.
Step 1: Find the Marks (Under Two Minutes)
Location is everything, and it follows logical rules. On rings, look inside the shank, the band that encircles the finger. This is the standard placement for both purity marks and maker's marks, and the vast majority of vintage and antique rings carry their information there. For necklaces and bracelets, go directly to the clasp or check a small attached metal tag nearby; high-end houses often engrave their name on the clasp itself. On brooches and pins, examine the flat back surface near the pin stem or safety catch. On earrings, check the posts or the interior surface of a clip back. On pendants, look at the reverse.
Before you reach for magnification, wipe the surface gently with a soft cloth. Tarnish on silver and oxidation on gold fill the recessed areas of stamps and make them nearly illegible. A clean surface under good light often reveals marks that appeared absent a moment earlier.
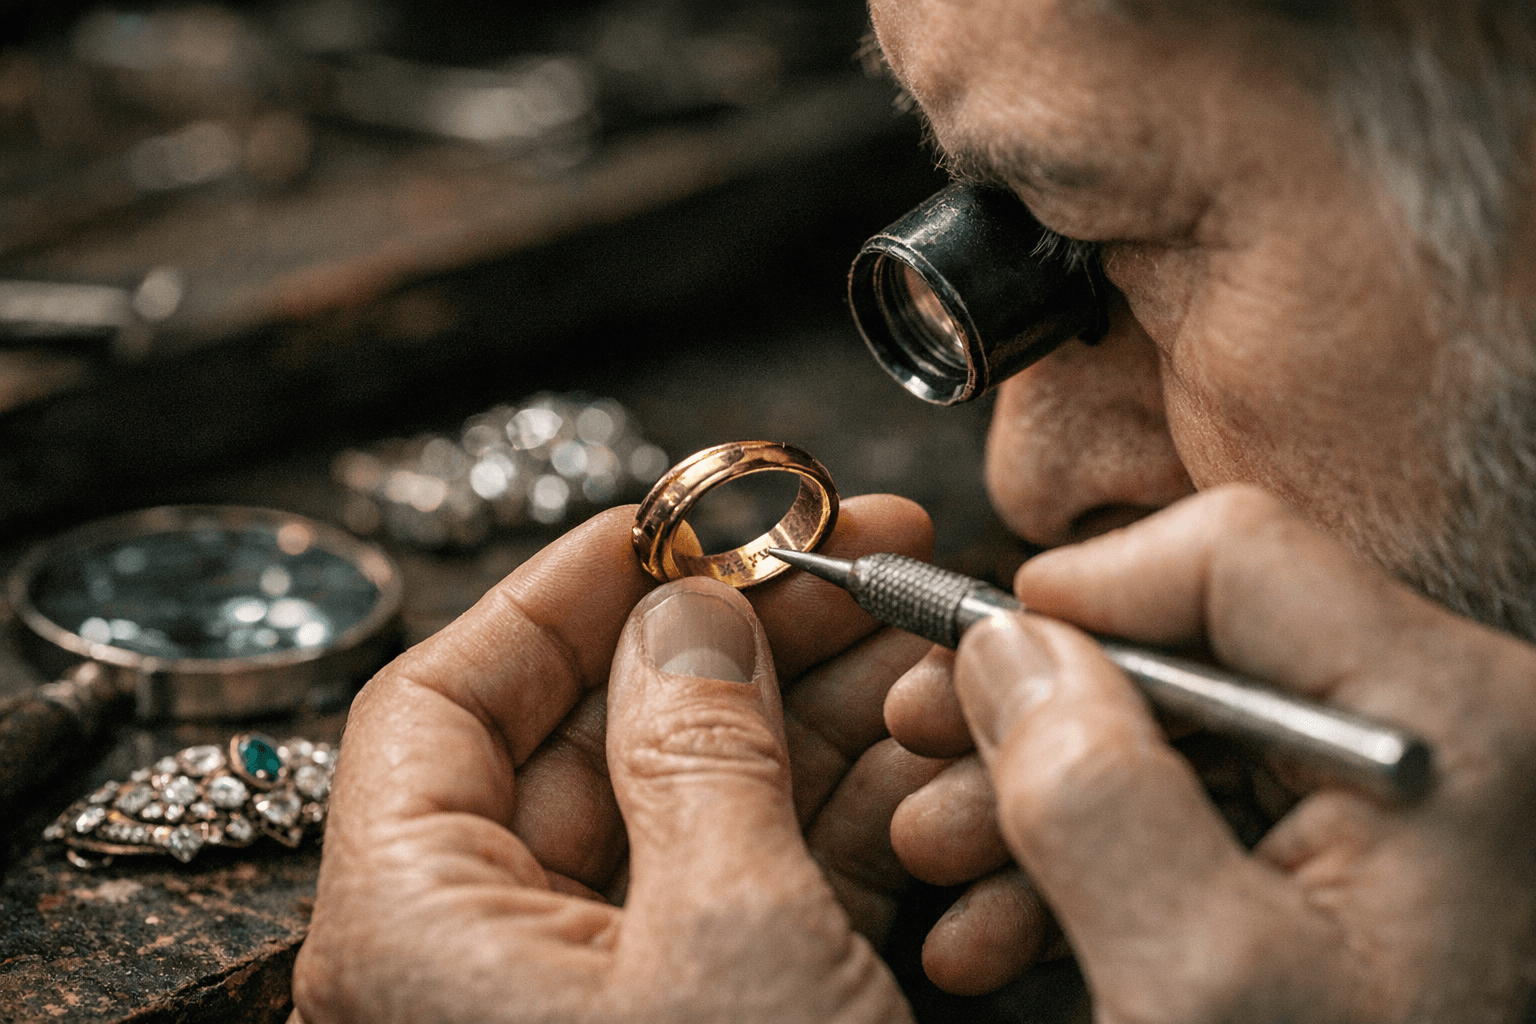
Step 2: Photograph and Magnify (Under Two Minutes)
A jeweler's loupe at 10x magnification is the industry standard minimum; 15x to 20x is preferable for worn or shallow impressions on antique pieces. If you do not have a loupe, a smartphone camera in macro mode is a functional field substitute. The key technique is raking light: position a bright LED or hold the piece at an oblique angle to natural daylight so that light falls across the surface at a low angle rather than straight down. This creates shadows inside the stamp that dramatically increase legibility, revealing depth and contour that flat overhead light erases completely.
For documentation purposes, photograph the marks from multiple angles under raking light before you start comparing references. A clear image lets you zoom into details at your desk, share with specialists, and compare against library images without having the physical piece in hand. Once you locate one mark, scan immediately around it; hallmarks almost always cluster together rather than scatter across the piece.
Step 3: Decode Country-Specific Symbols
This is where most collectors get stopped, because the symbolic vocabulary changes dramatically by country and era. The British system is the oldest and most codified: King Edward I passed a statute in 1300 requiring all gold and silver items manufactured or sold in England to be tested for purity, and the assay infrastructure that grew from that statute is still in use. Each British assay office carries a unique symbol: London uses a leopard's head, Birmingham an anchor, Sheffield a rose, and Edinburgh a castle. For sterling silver, the purity mark is a lion passant (a walking lion), while Scottish silver uses a thistle. The date letter was introduced in 1478 as a way of marking each piece with the year in which it had been hallmarked. A Victorian ring, for example, might show a crown alongside a specific date-letter shield and an assay office symbol — read together, these three marks narrow its origin to a specific city and year.
Continental European systems use a different grammar. French hallmarks often feature an eagle's head for gold or a Minerva's head, while an "800" stamp indicates the metal contains 80% pure silver, a standard common throughout Germany, Austria, and Italy during the 19th and early 20th centuries. Imported pieces add another layer: when jewelry crossed a border, a separate import mark was often struck alongside the original national marks, which is why a French Art Nouveau brooch sold in England might carry both French poinçons and a British import stamp.
Step 4: Use the AJU Library to Narrow Maker, Date, and Metal
Antique Jewelry University, the educational platform maintained by Lang Antiques, provides an extensive makers' marks library and guides to reading hallmarks, assay stamps, and studio marks across periods and countries. The resource is organized for exactly this kind of targeted lookup: once you have identified your country of origin from the assay symbols and your approximate period from the date letter or style, you can cross-reference the maker's initials or cartouche shape against the library entries to identify the studio.
The resource emphasizes how maker's marks combine with construction details, gemstone cuts, and mounting techniques to date and authenticate rings, brooches, and other estate jewelry. This is the part of authentication that marks alone cannot complete. A rose-cut diamond set in a closed-back collet setting suggests pre-1900 manufacture; an Old European cut in a prong setting with milgrain edges points toward the Edwardian or early Art Deco period; a calibré-cut colored stone in a geometric channel setting is almost certainly the 1920s or 1930s. The AJU library works best when you bring both the stamped evidence and the construction evidence to the same investigation simultaneously.
For printed references, Dorothy T. Rainwater's "American Jewelry Manufacturers" is the canonical source for U.S. studio marks, while Judith Banister's work on British hallmarks remains the standard desk reference for English silver and gold. The Goldsmiths' Company maintains one of the most comprehensive online databases for British marks.
Don't Get Fooled: Pseudo-Hallmarks, Lookalikes, and Construction Clues
The single most common trap for new collectors is confusing pseudo-hallmarks with genuine assay marks. Stamps such as EP, EPNS, EPBM, A1, or B1 are plating indicators, not purity marks. EPNS stands for electroplated nickel silver; the metal beneath the bright surface may be base metal with no precious content at all. These stamps are often arranged in small cartouches that visually mimic the layout of a genuine British hallmark set, which is deliberate.
Another deceptive practice involves altered stamps: a gold-filled bangle may have its original "gold fill" mark scraped away and replaced with a fake "14k 585" stamp to mislead buyers into thinking the piece is solid gold. Examine the edges of any purity stamp closely; a genuine assay mark is crisp and struck cleanly into the metal. A tampered stamp often shows tool marks, uneven depth, or slightly mismatched metal color around the impression.
On chains and bracelets, a common trick is to use genuine gold clasps and end rings while the body of the piece is gold-plated base metal. The clasp, the area you instinctively inspect for marks, is technically authentic; the rest of the piece is not. Always examine the body of a chain, not just the fittings.
For signed designer pieces, construction is your second opinion. A "Tiffany & Co." mark on a piece with a modern design claiming to be from the 1920s is suspect; major makers changed their stamping styles over time, and a branded maker's mark without an appropriate purity stamp is unusual. Beyond the stamps themselves, look at clasp hardware: a c-catch with no rollover safety is characteristic of pieces made before roughly 1910; the addition of a safety mechanism came later and is a useful corroborating detail when a mark is ambiguous. Wear patterns tell their own story too. Genuine antique pieces show even wear along high-contact surfaces, not random scratches; artificially aged pieces tend to show wear in implausible locations or with a uniform distressing that no amount of actual use would produce.
The marks are the starting point, not the destination. Read them carefully, photograph them well, cross-reference them against a rigorous library like the one maintained by Antique Jewelry University, and then let the stone cuts, the construction, and the clasp hardware either confirm or complicate what the stamps suggest. A piece that passes all four tests is about as close to a verified archive as estate jewelry gets.
Know something we missed? Have a correction or additional information?
Submit a Tip